Summertime is the best time for NO BAKE (!) recipes and today I’ve got 3 delicious and super easy ideas using a store bought Oreo cookie crust. Easy Peasy!!
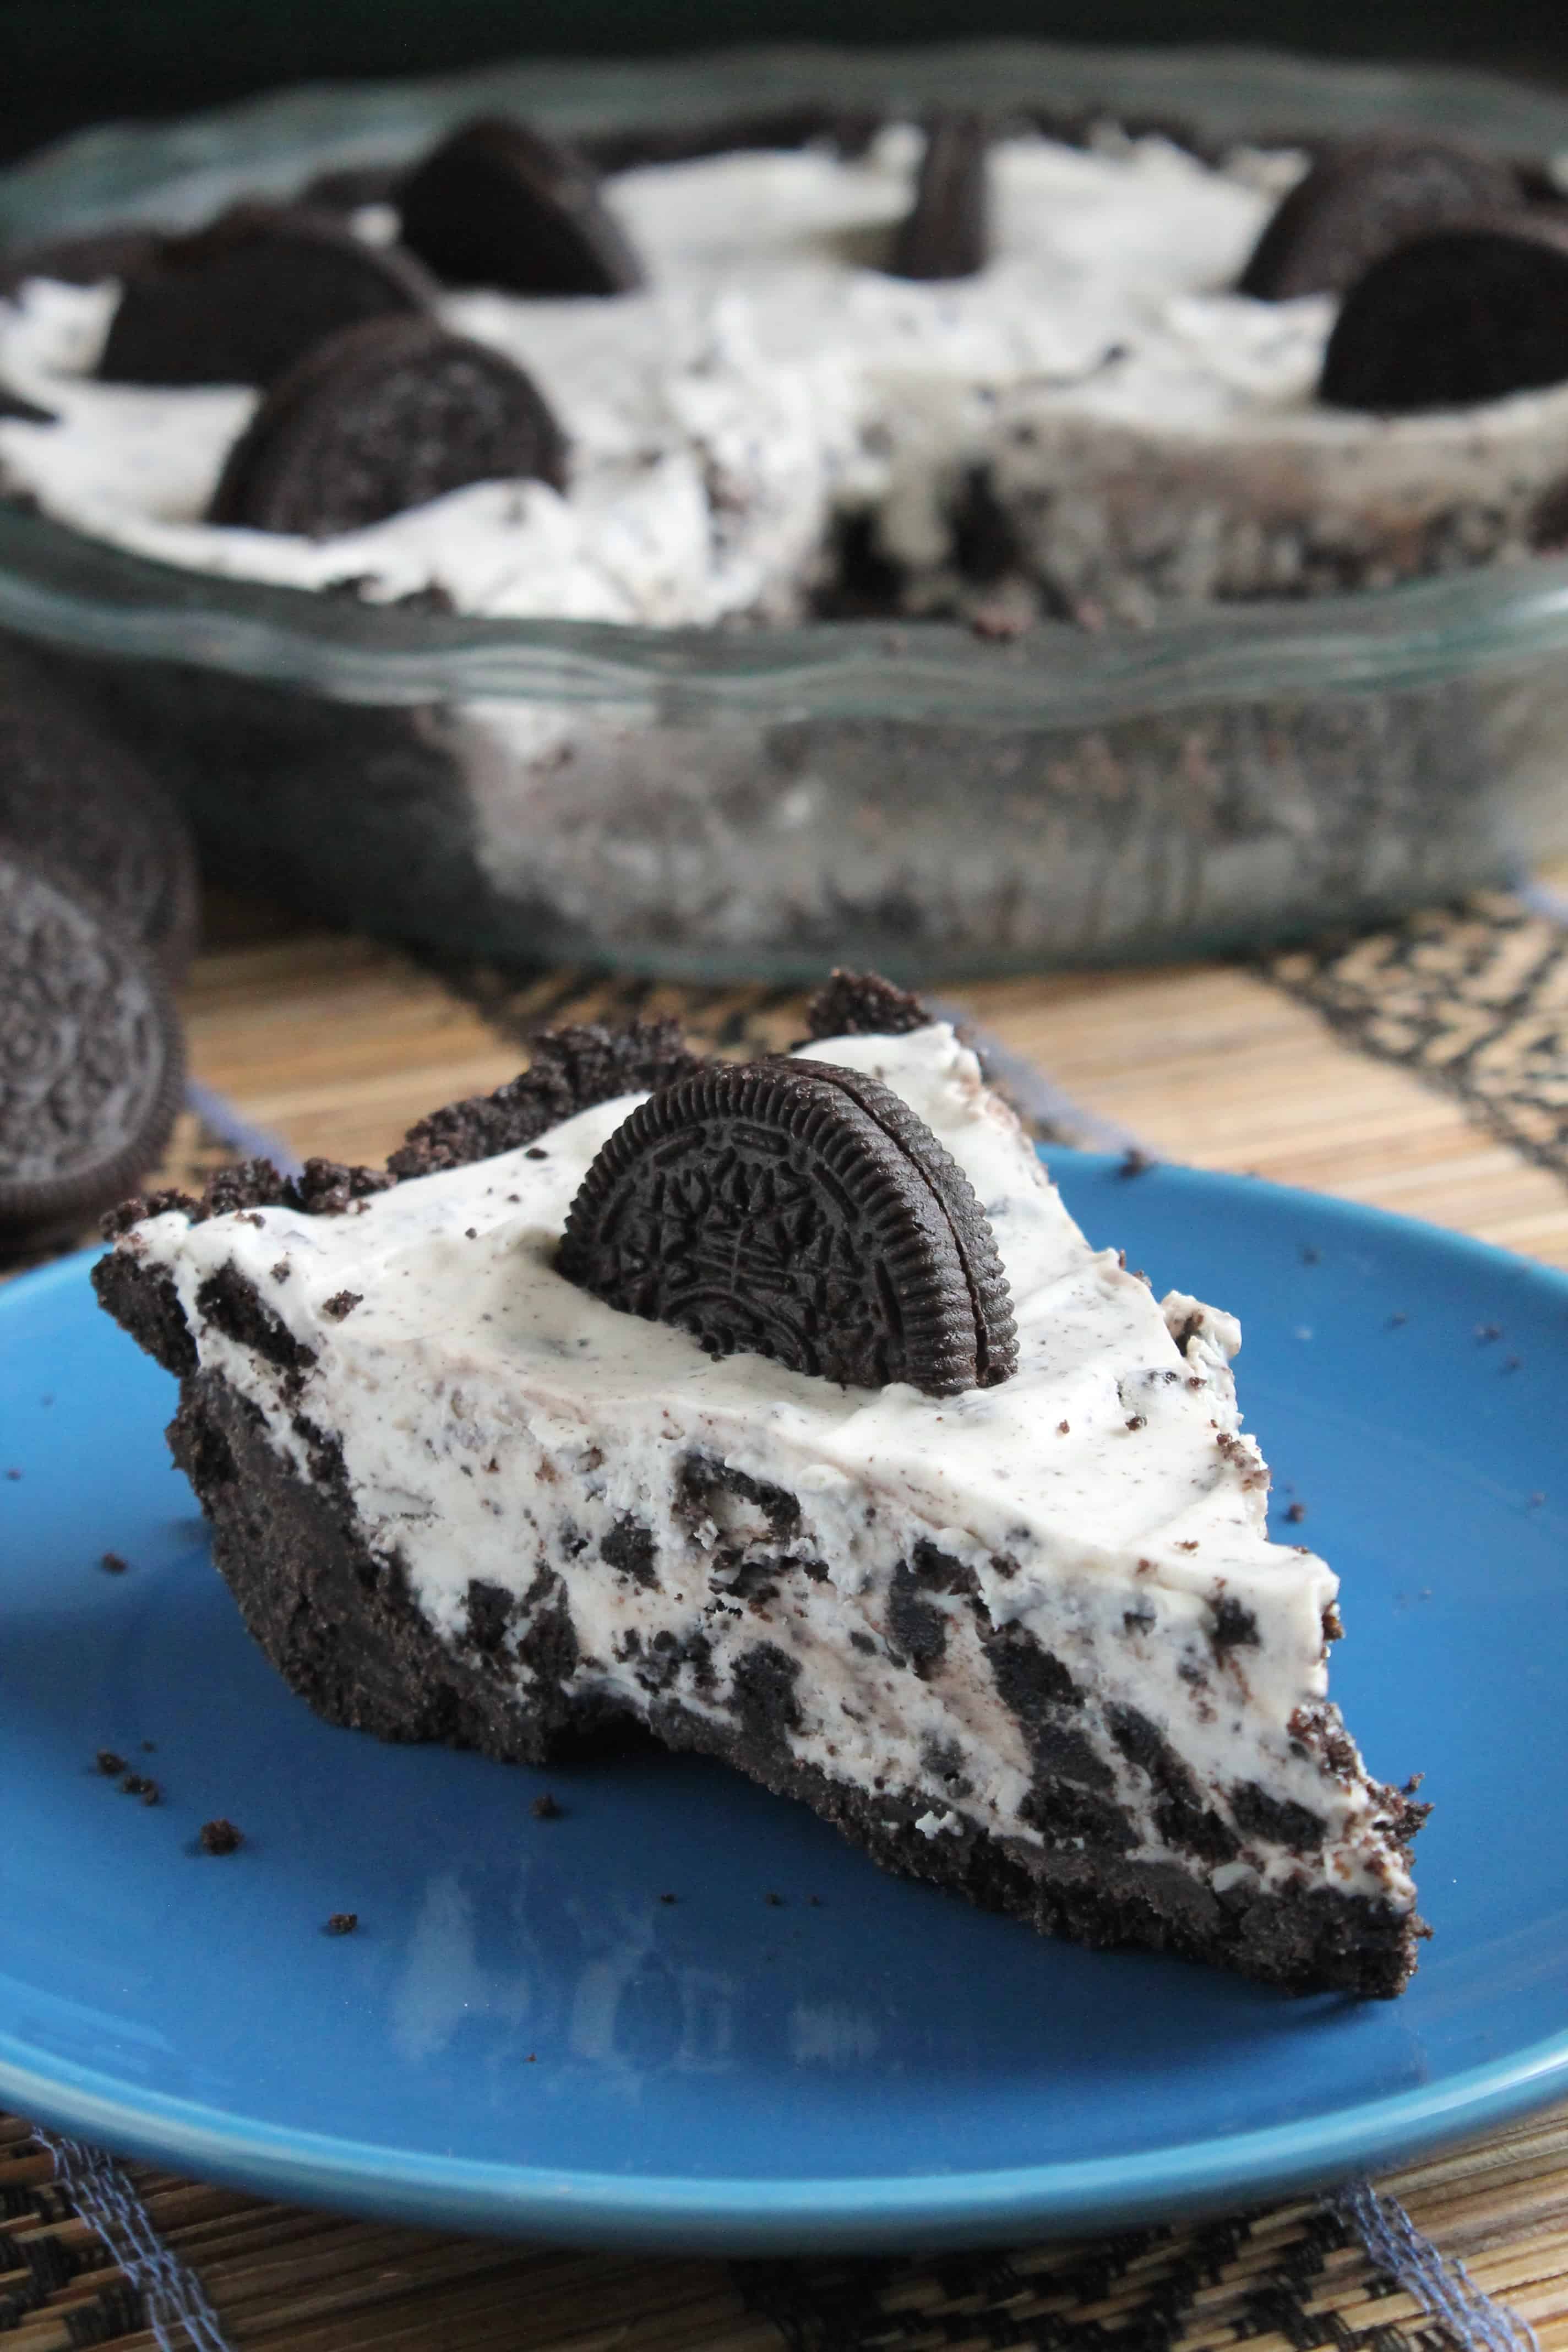
Ice Cream Oreo® Cookie Pie
Ingredients:
16-ounce package chocolate sandwich cookies
1 quart vanilla ice cream, softened
1 8-ounce container of Cool Whip, thawed
I Oreo Cookie Crust
Reserve 8 cookies–place the remaining cookies in a plastic Ziploc bag and using a rolling pin, crush the cookies. Stir the crushed cookies into the softened ice cream and mix well. Spoon the ice cream mixture into the Oreo crust. Place into the freezer until firm, about an hour. Remove from the freezer and spoon the Cool Whip over the ice cream layer and top with the Oreos. Enjoy!
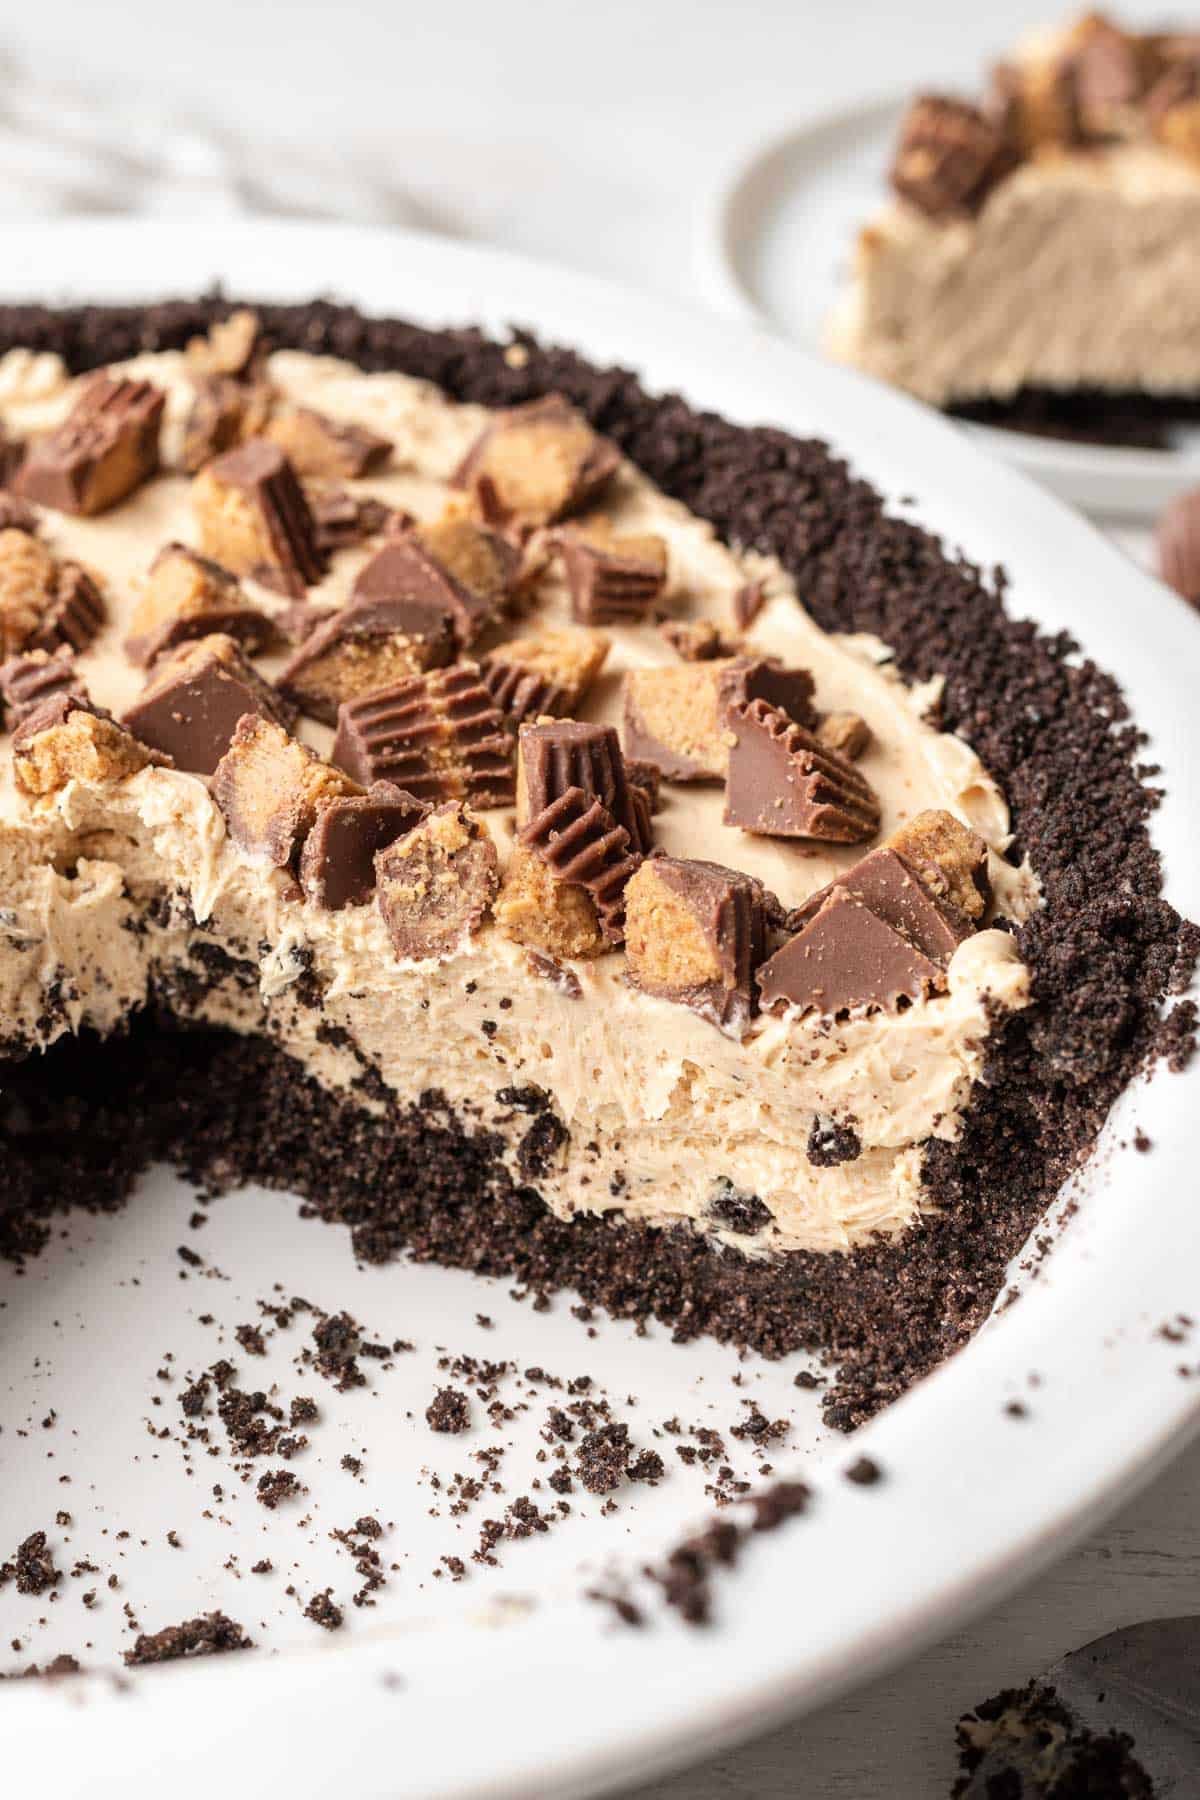
Peanut Butter Pie
Ingredients:
Oreo cookie crust
1 8-ounce cream cheese, softened to room temperature
1 cup creamy peanut butter
¾ cup powdered sugar
1 8-ounce Cool Whip, thawed
Reese’s peanut butter cups (chopped—for topping)
With an electric mixer, beat the peanut butter and the cream cheese until smooth. Add in the powdered sugar and mix. Add the Cool Whip. Spoon into the Oreo cookie crust and top with the chopped peanut butter cups. Chill in the freezer for at least 3 hours (or 5 hours in the refrigerator). Enjoy!
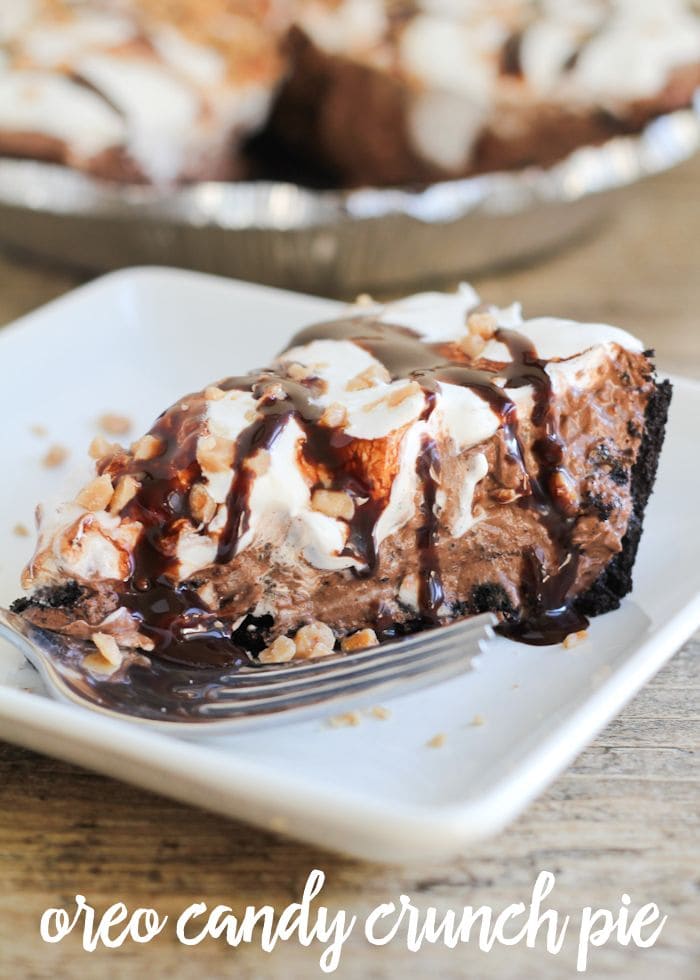
Oreo Candy Crunch Pie
Ingredients:
3.9-ounce instant chocolate pudding mix
2 cups milk
1 8-ounce Cool Whip, thawed
1 cup Heath toffee bits
2 Tbsp Hershey’s syrup
6 Oreos, crushed
1 Oreo cookie crust
Make pudding as directed. Add half the Cool Whip and ¾ cup of the Heath bits. Stir in the crushed Oreos. Pour into crust. Drizzle the Hershey’s syrup over pudding mixture. Top with the remaining Cool Whip and toffee bits. Refrigerate for 3-4 hours before serving. Enjoy!
Many years ago, when all of our families were younger and we lived much closer to one another, we had wonderful picnics and parties. We would rotate who hosted, who brought the meats, who was in charge of games for the kids and so on. No one family was stuck doing it all, all the time.
not us, but could be
There were traditions, of course, my mom made the potato salad and I was always in charge of games. My mother-in-law always made either the beans or occasionally mac & cheese. Her beans, though, were the STANDARD for baked beans! They were homemade, soaked overnight, honest to goodness baked beans! And the flavor? Perfection! So much so that my sister-in-law and I repeatedly asked for her recipe.
She always promised to give us the recipe, but event after event would pass, and still we were recipe-less. One day, while we were planning the next picnic, my sister-in-law and I decided we would tag team her to get the recipe. (After all, she never said it was her own secret, never-to-be-revealed recipe. That we would have respected.) When we invited her and my father-in-law (it was at my sister-in-law’s house this time), I told her I would come over the morning of the picnic and help with the beans. That way, I told her, I could write the recipe down as we made the beans and she wouldn’t have to worry about it.
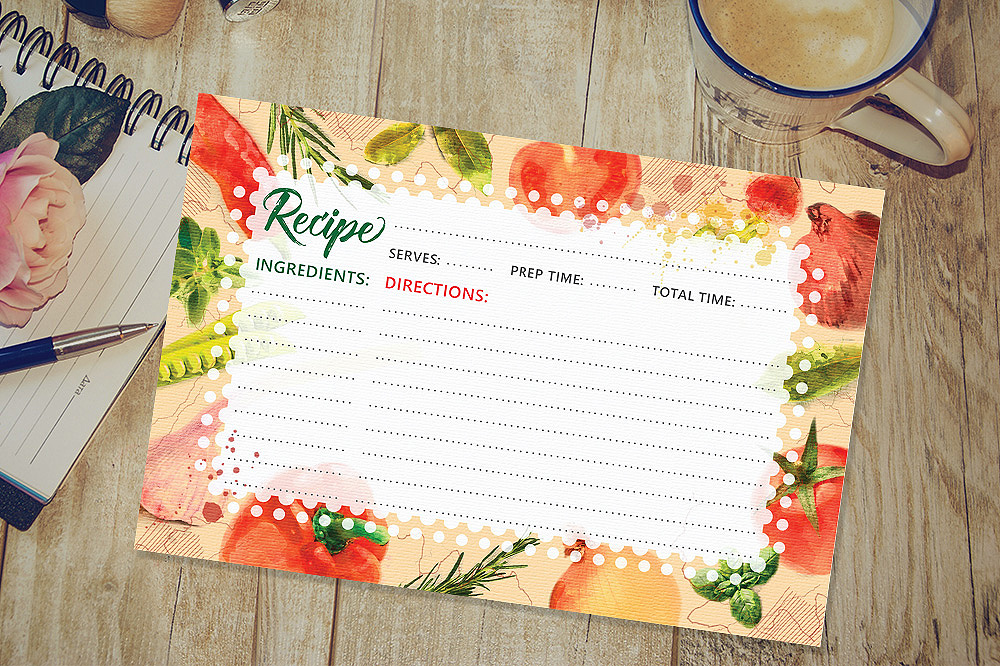
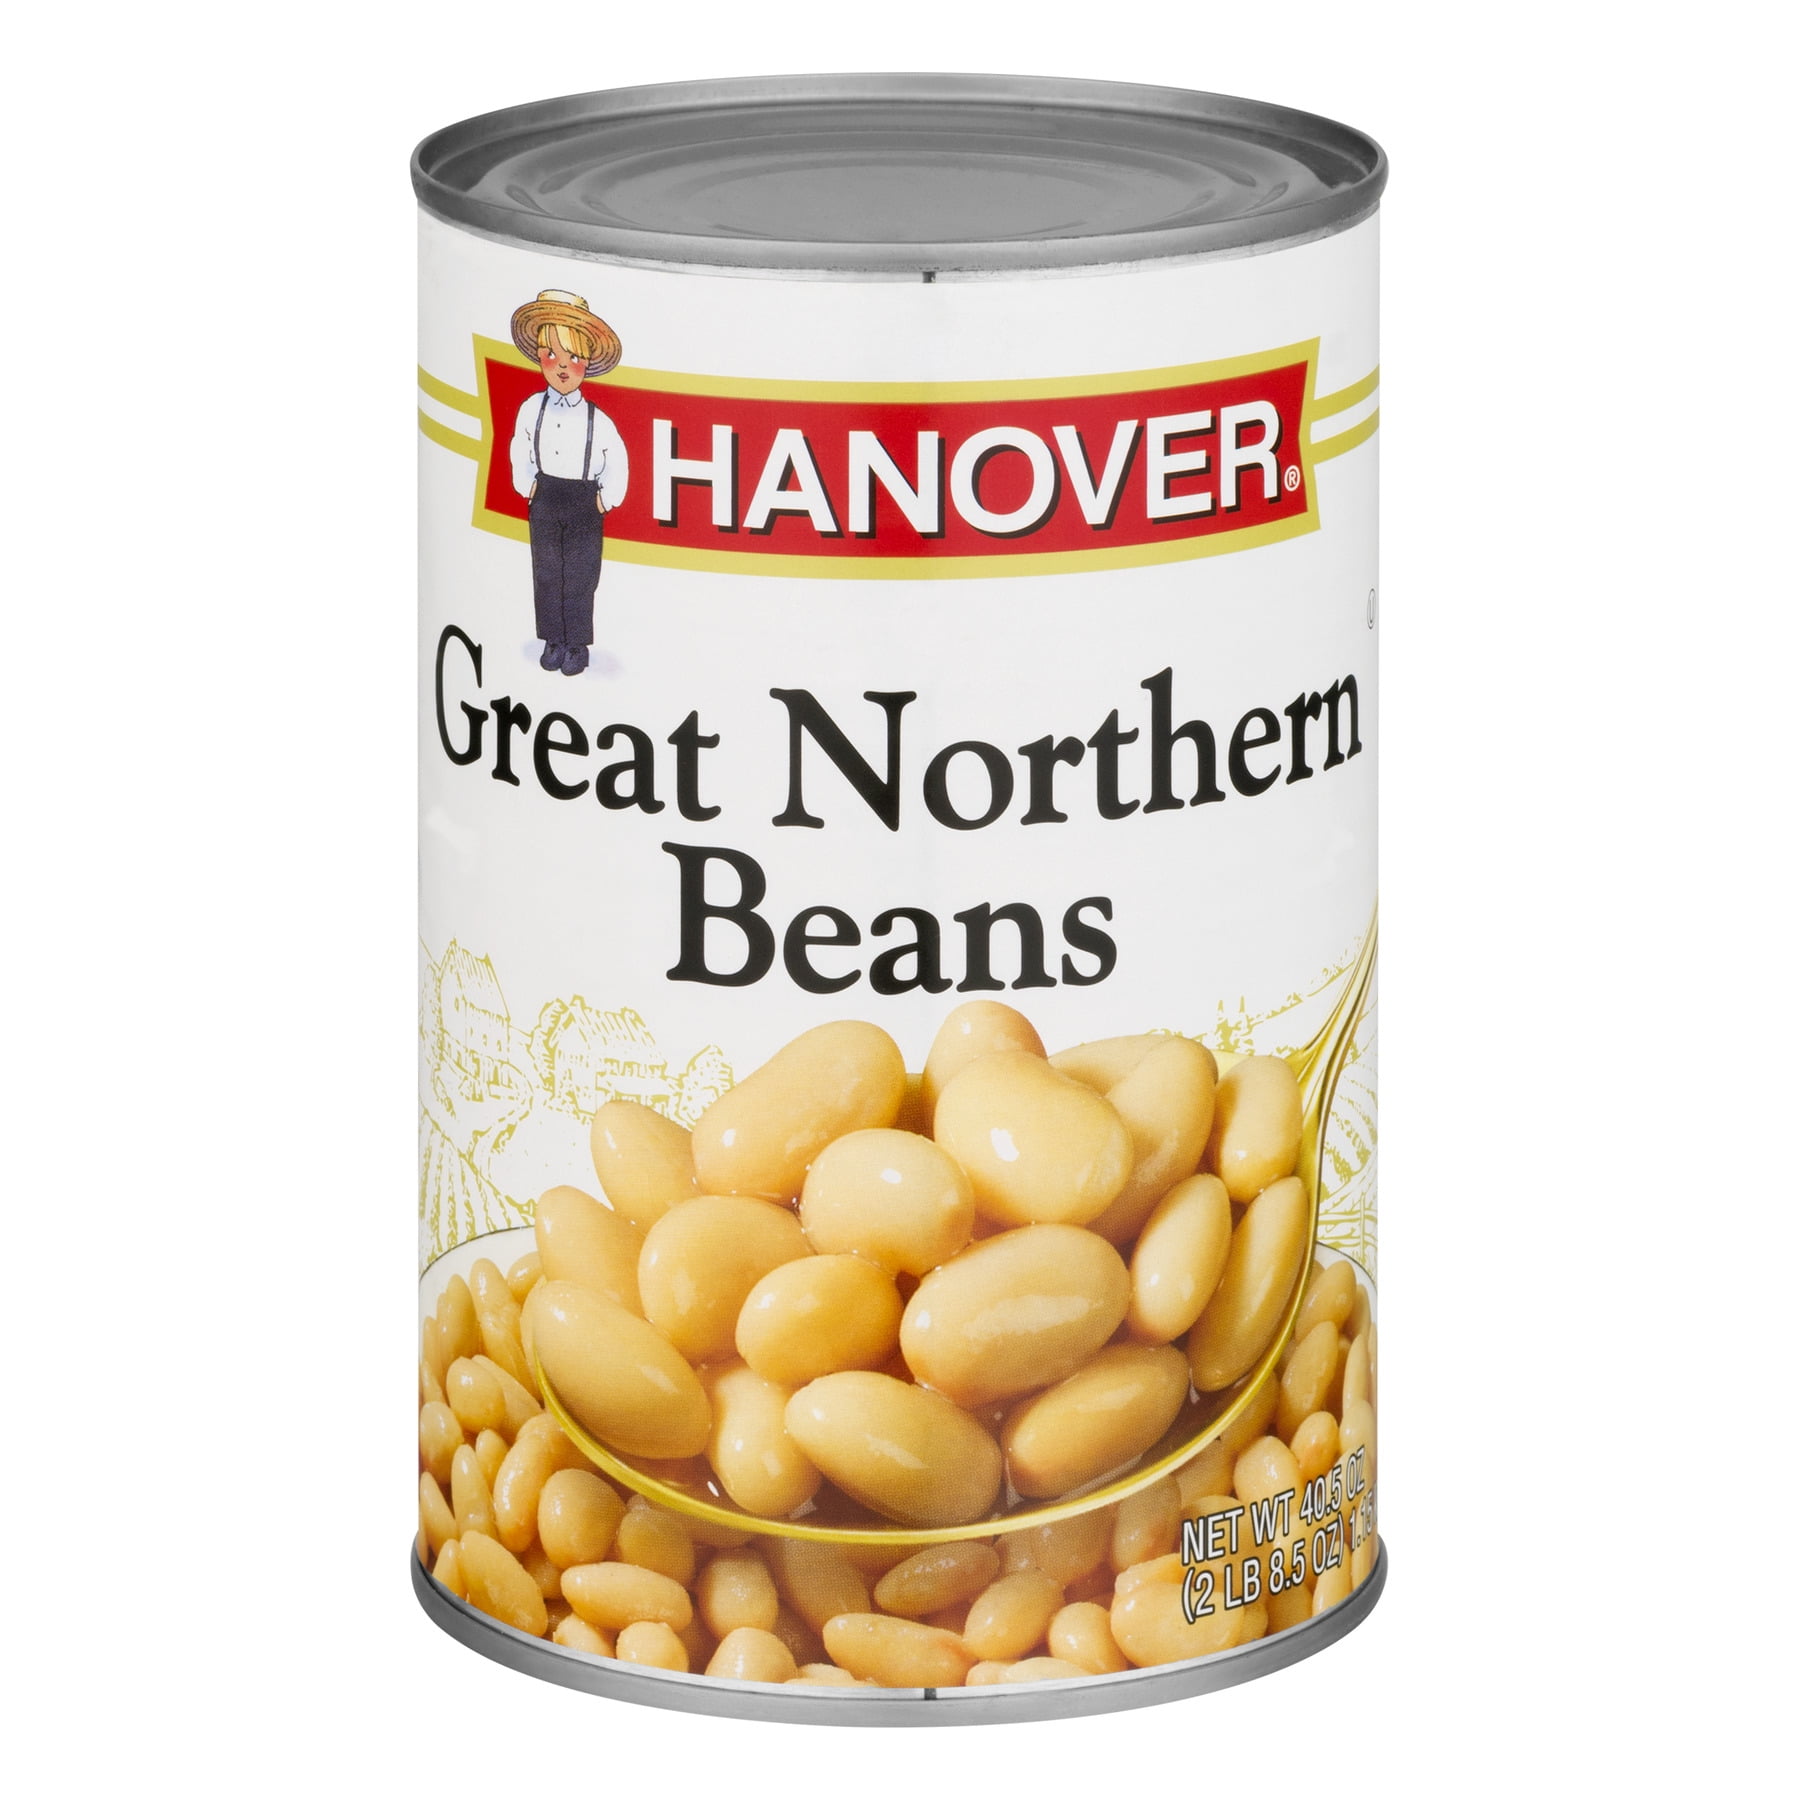
Imagine my surprise when she told me she already had it written down for us! And true to her word, she brought us each a recipe card! I tucked the card into my purse, and didn’t give it another thought. A few weeks later, I was planning hamburgers for supper and pulled out the recipe to make a pot of beans. Hmmmmm…there was no need to soak beans overnight? Her recipe was just throwing ingredients into a casserole, baking for half an hour, stirring and repeating that process 2 more times. Puzzled, I called her and asked. Sure enough, she said she no longer soaked the beans, just used northern beans and assured me this was her recipe.
At dinner that night, the beans were good, but not my mother-in-law good, so the next day I called my sister-in-law. I wondered if she made the beans and how they turned out. She said she tried the recipe—and while they were good—they weren’t quite like our mother-in-law’s. We puzzled over it for a bit, and then she asked, do you think it’s the Worcestershire Sauce? I asked what Worcestershire Sauce? Hmmmmmmm…as we compared the recipes, each of our recipes contained ingredients the other did not. Sigh…
When we confronted my mother-in-law about the discrepancies, she denied knowing that she did that. She explained that she was always “tweaking” the recipe and we both got possible versions. Neither of us bought the excuse, but filed it under “keeping the family peace” and moved on.
Several years later, my mother-in-law passed away suddenly and since my sister-in-law was no longer a part of the family, my daughter and I were tasked with cleaning out her kitchen. We came upon the recipe box and sat down to thumb through the recipes. My daughter was anxious to “inherit” the mac & cheese and nut tassie recipes and I was curious about the beans. None of those was in the box. We were stumped. Perhaps she had her recipes memorized and never wrote them down?
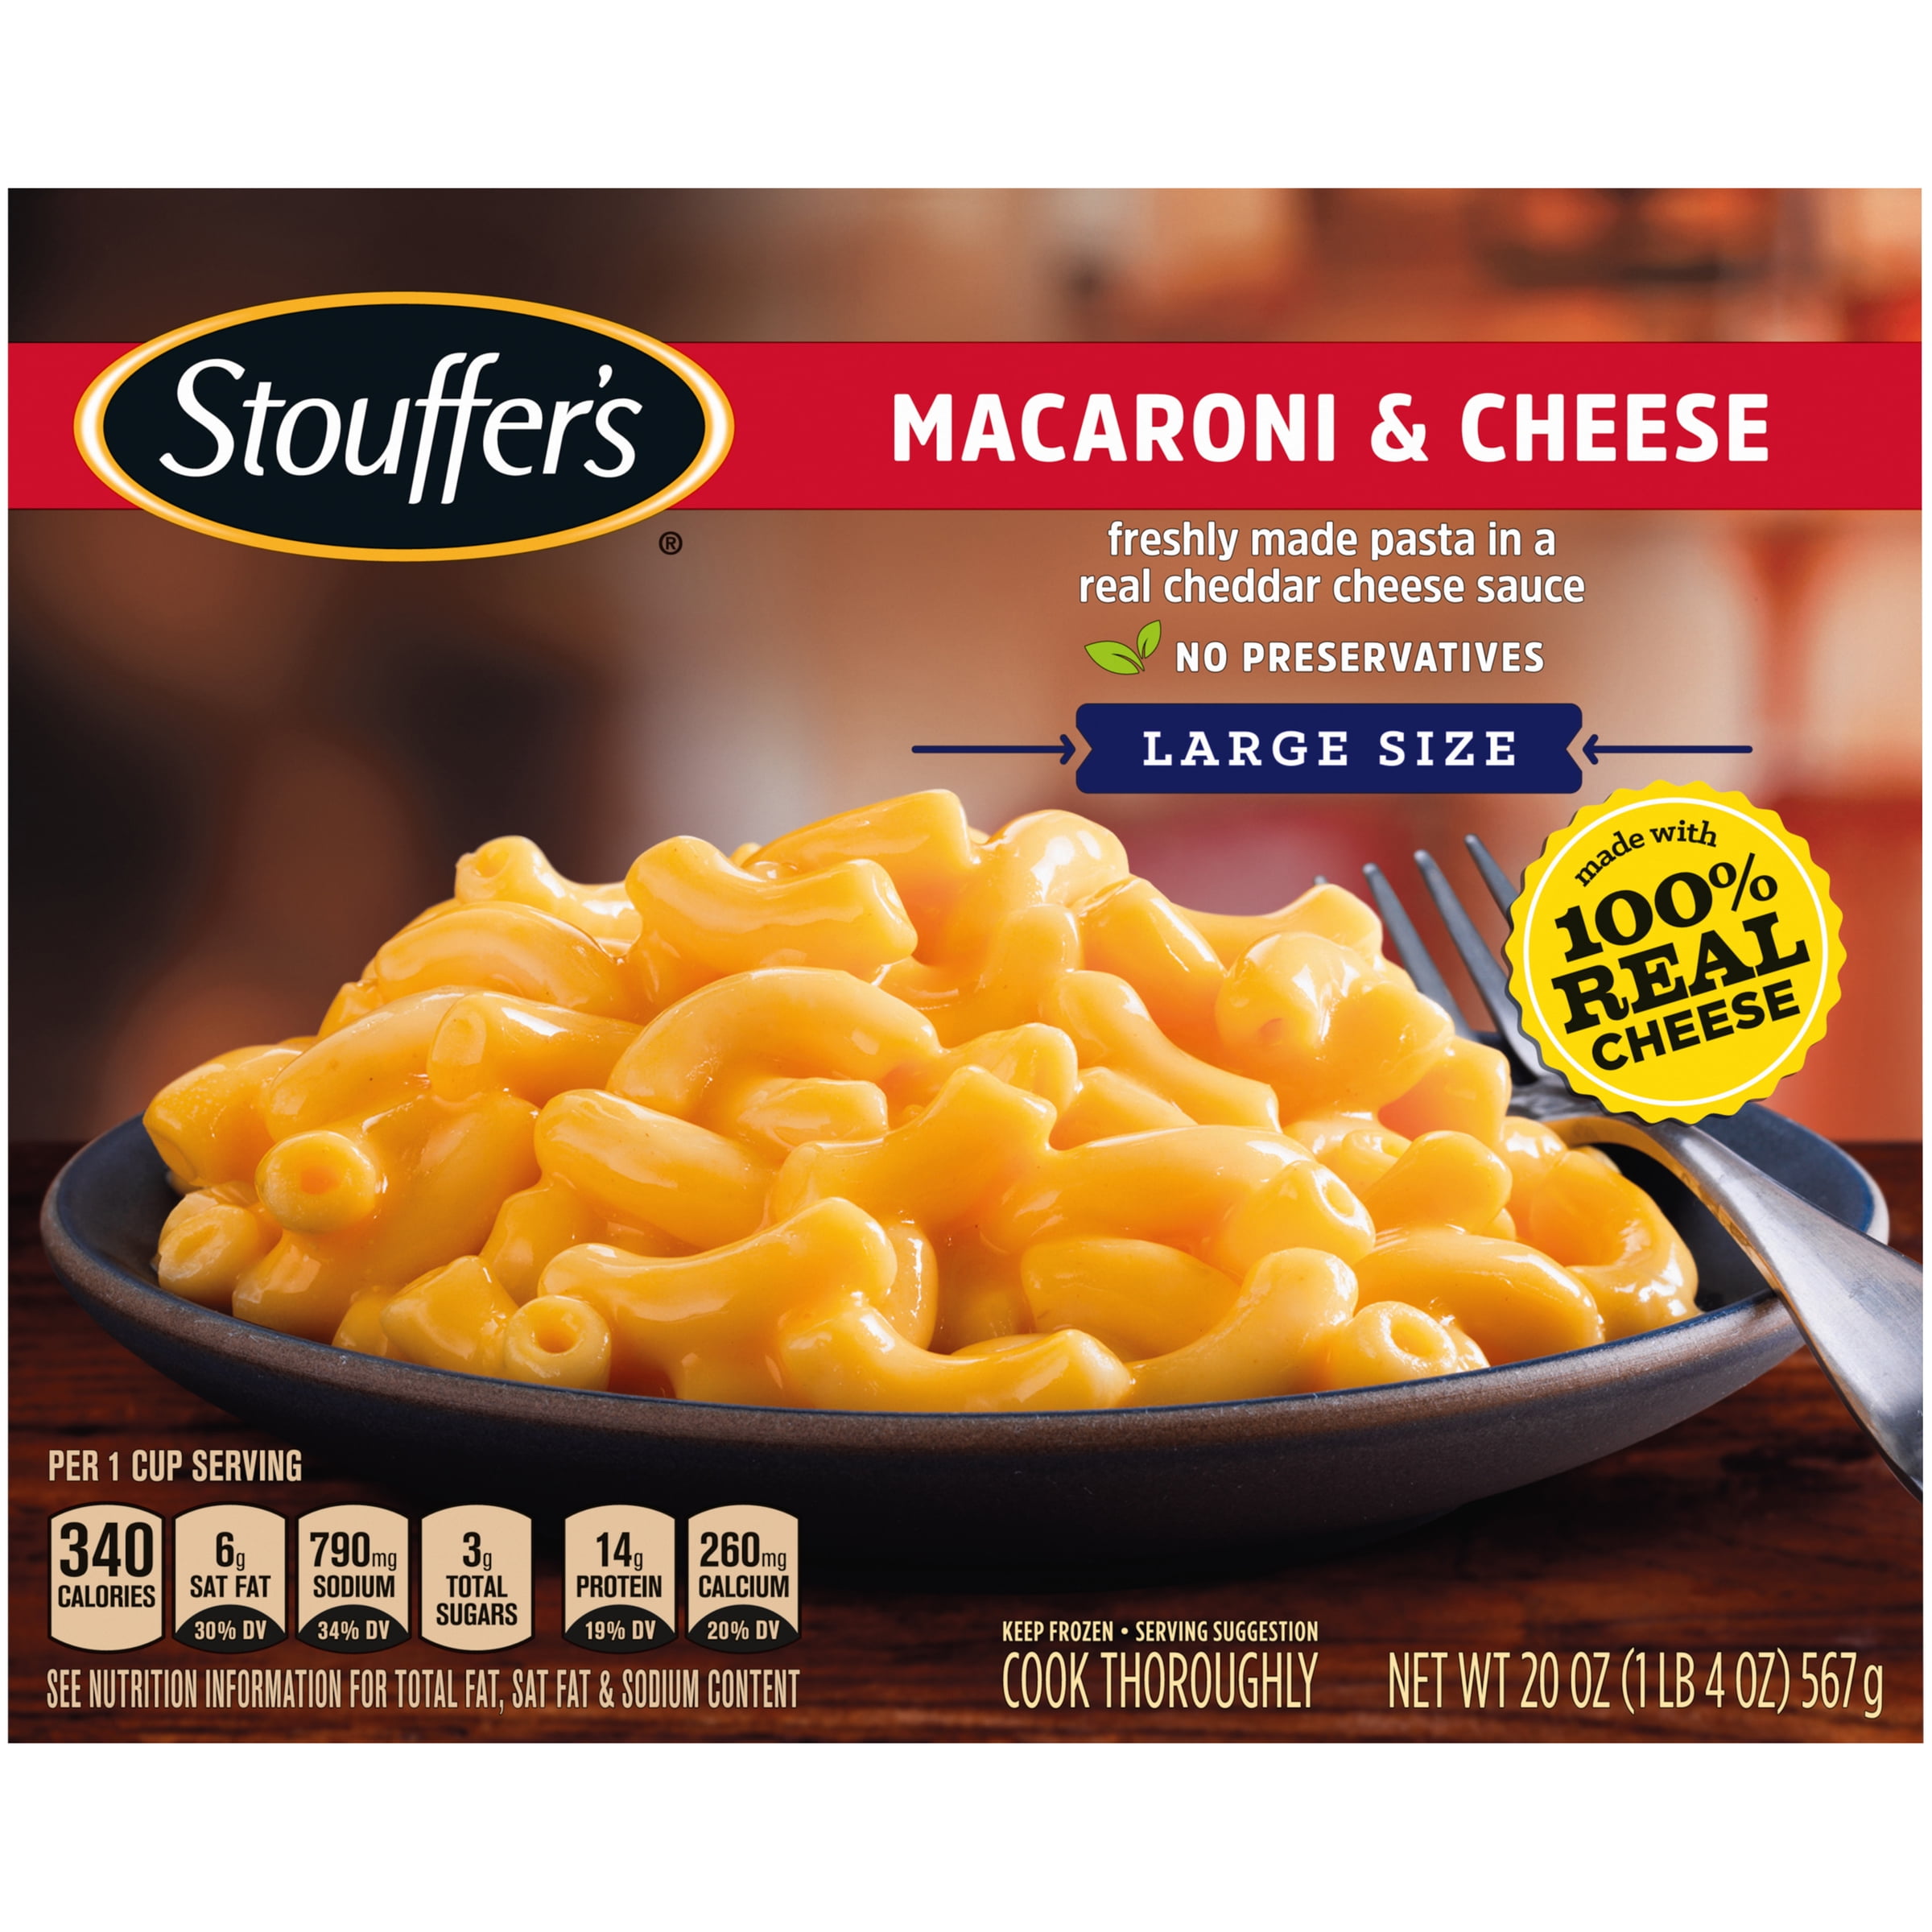
We moved on to other cabinets and eventually found the casserole dish she always brought the mac and cheese in. My daughter gleefully claimed the dish. If she couldn’t have the recipe, she could at least have the dish! Then she opened the freezer. There on the shelf were a half dozen Stouffer Mac & Cheese dinners…the size that would fit perfectly into the casserole dish she was holding.
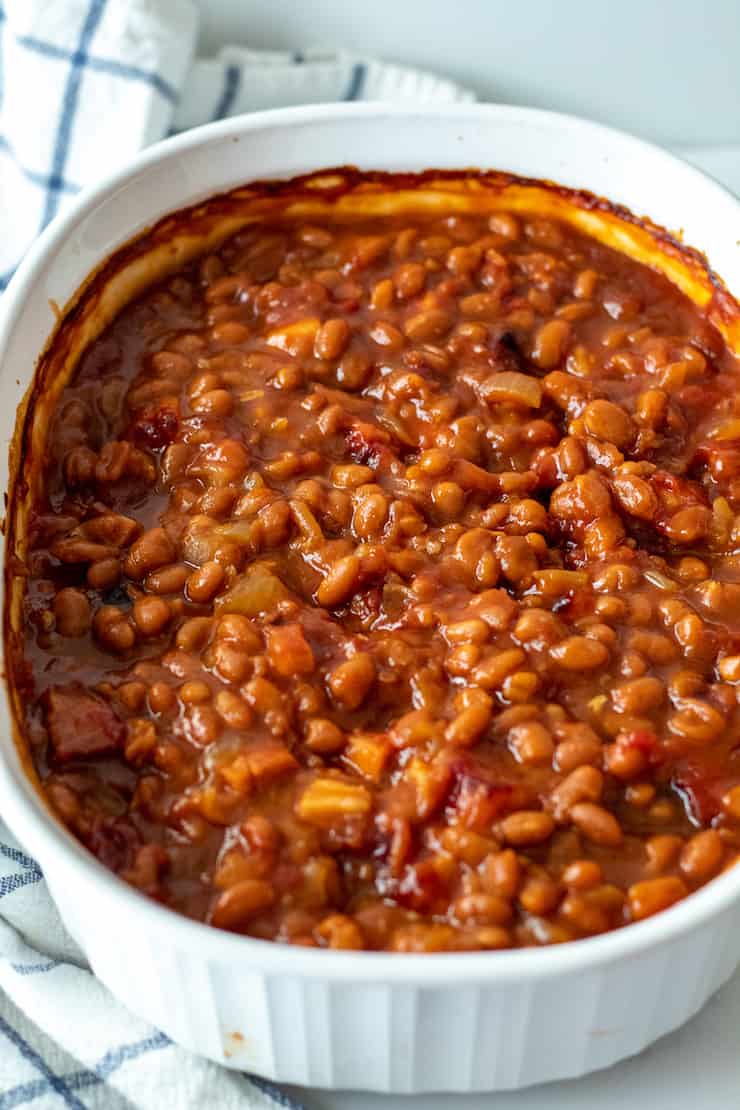
Our eyes locked over the casserole dish and we burst out laughing. To this day, I will always believe I am making the best baked beans there is. Here is my adopted recipe:
Today’s recipe came to me some 40 years ago when I worked in a small factory with a group of Portuguese women. They brought this sponge cake for all the parties we had and it always went so fast! It only takes 4 ingredients and is fairly easy. The only drawback is beating the egg whites till stiff peaks form. (If you have a stand mixer, you can ignore that last remark…lol)
Portuguese Sponge Cake
12 eggs separated
2 cups of sugar
1 1/2 cups flour
1 tsp baking powder
Preheat the oven to 350*. Grease an angelfood cake pan using 1/2 tablespoon butter or margarine. After the pan is greased, coat the pan with granulated sugar. This butter/sugar coating gives the sponge cake an excellent crust. DO NOT use a bundt pan!
In a large bowl, cream the egg yolks with the sugar. Add the flour and the baking powder. In a separate large bowl, beat the egg whites on high until stiff peaks form.
Gently fold the egg whites into the first mixture, folding until the 2 mixtures are combined. Spoon into the prepared angelfood pan.
Bake for 45 minutes.
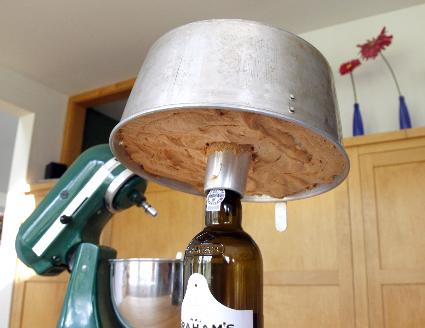
After removal from the oven, invert the cake on a bottle or covered upside funnel as you do regular angelfood cakes.
Since Father’s Day is rapidly approaching, I thought it would be a good time to look at some options to make Dad a special cake for his special day.
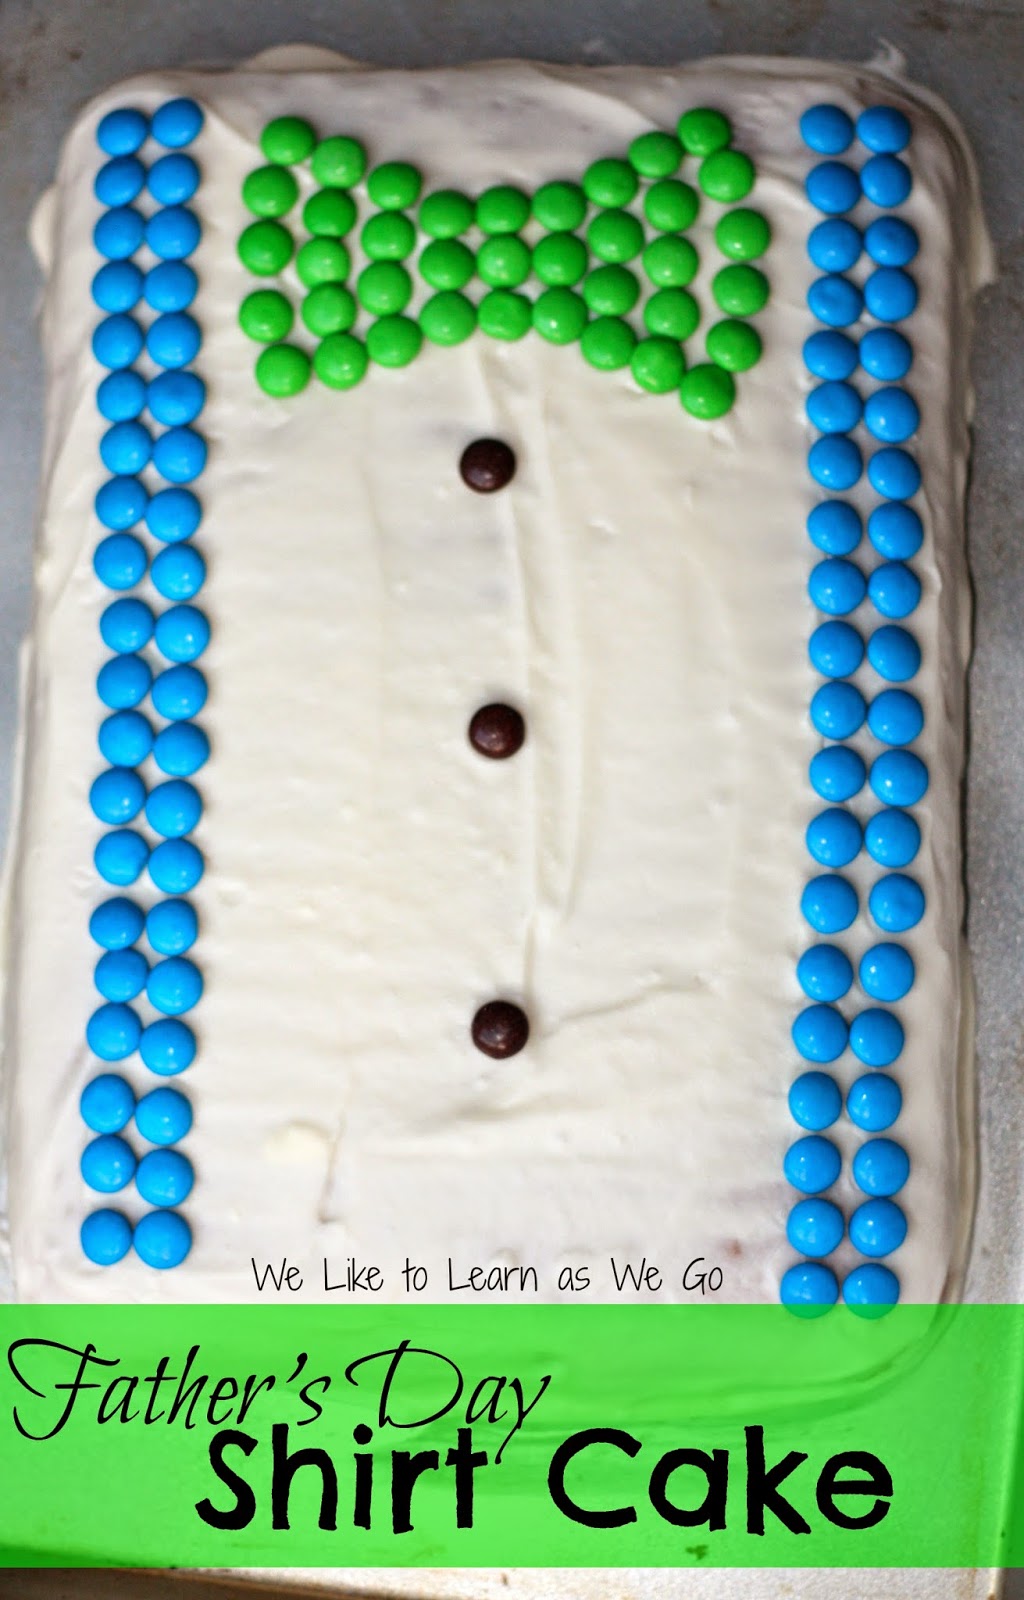
Let’s begin with a super easy one first. This cake can be made with any flavor box mix baked in a 13 x 9 pan. When cooled, you simply frost with white frosting and add M&M’s to make the suspenders and the bow tie. (You can get fancy and make a regular tie as well.)
If that seems too easy and you’d like to try your hand at more involved decorating, I suggest the Beer Mug Cake. (There are 3-D versions of this cake that are very involved, so I suggest this flat version.) It merely requires any flavor cake baked in a 13 x 9 pan, cooled and then inverted onto a baking sheet. The corners are trimmed into a rounded mug shape and the frosting is piped on in long lines in gold. White frosting is then piped in swirls to mimic foam and a handle is fashioned from white fondant. (Roll the fondant into a rope and make an elongated “U”. Insert toothpicks into the 2 ends and attach to the side of the mug.
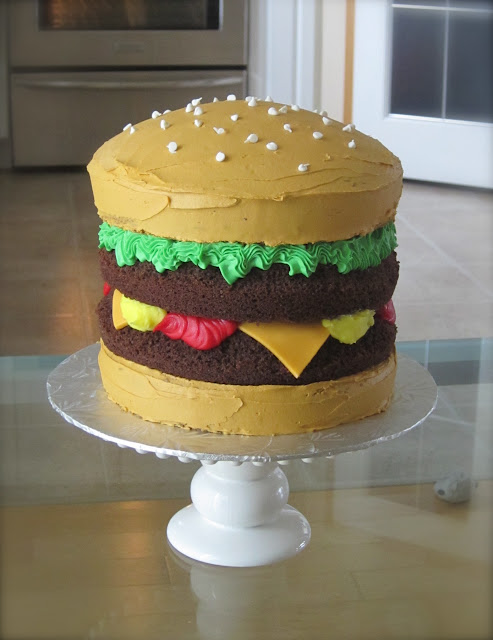
If you’re feeling even more daring, there’s always the Hamburger cake. This will require 2 cake mixes—one vanilla (for the bun) and one chocolate (for the hamburgers). The “cheese” in this hamburger is actually colored fondant. (If that sounds too involved or difficult, skip the cheese!) The sesame seeds on the top bun are mini white chocolate chips. The rest of the details, lettuce, ketchup, mustard are all tinted frostings.
If cupcakes are more your style, you can decorate them in numerous ways to honor the sports Dad loves: tennis, baseball, basketball, soccer, are all easy choices.
And while we’re discussing cupcakes, if Dad’s a beer lover, what better cake than one made of both cupcakes AND beer?
birthday cake, but you get the idea…
Lastly, might I recommend a real show stopper? The Bacon cake! A vanilla layer cake, frosted with vanilla icing infused with maple flavoring and surrounded by…BACON!
In honor of the upcoming Memorial Day holiday, I’m posting some rather easy and quick picnic desserts.
No Bake Cheesecake Flag Cake
The base for this dessert is a no-bake Jello Cheesecake (mix in a box). Prepare according to directions. Then you add raspberries and blackberries to complete the flag look.
Red, White and Blue Trifle
In a large glass compote, layer either store bought pound cake or angel food cake chunks with whipped cream, blueberries and strawberries.
Patriotic Chocolate Cake
Your favorite brand of chocolate cake mix, some whipped cream and fruit (strawberries, raspberries, blueberries and blackberries) will make this memorable dessert a breeze.
Memorial Day Pizza
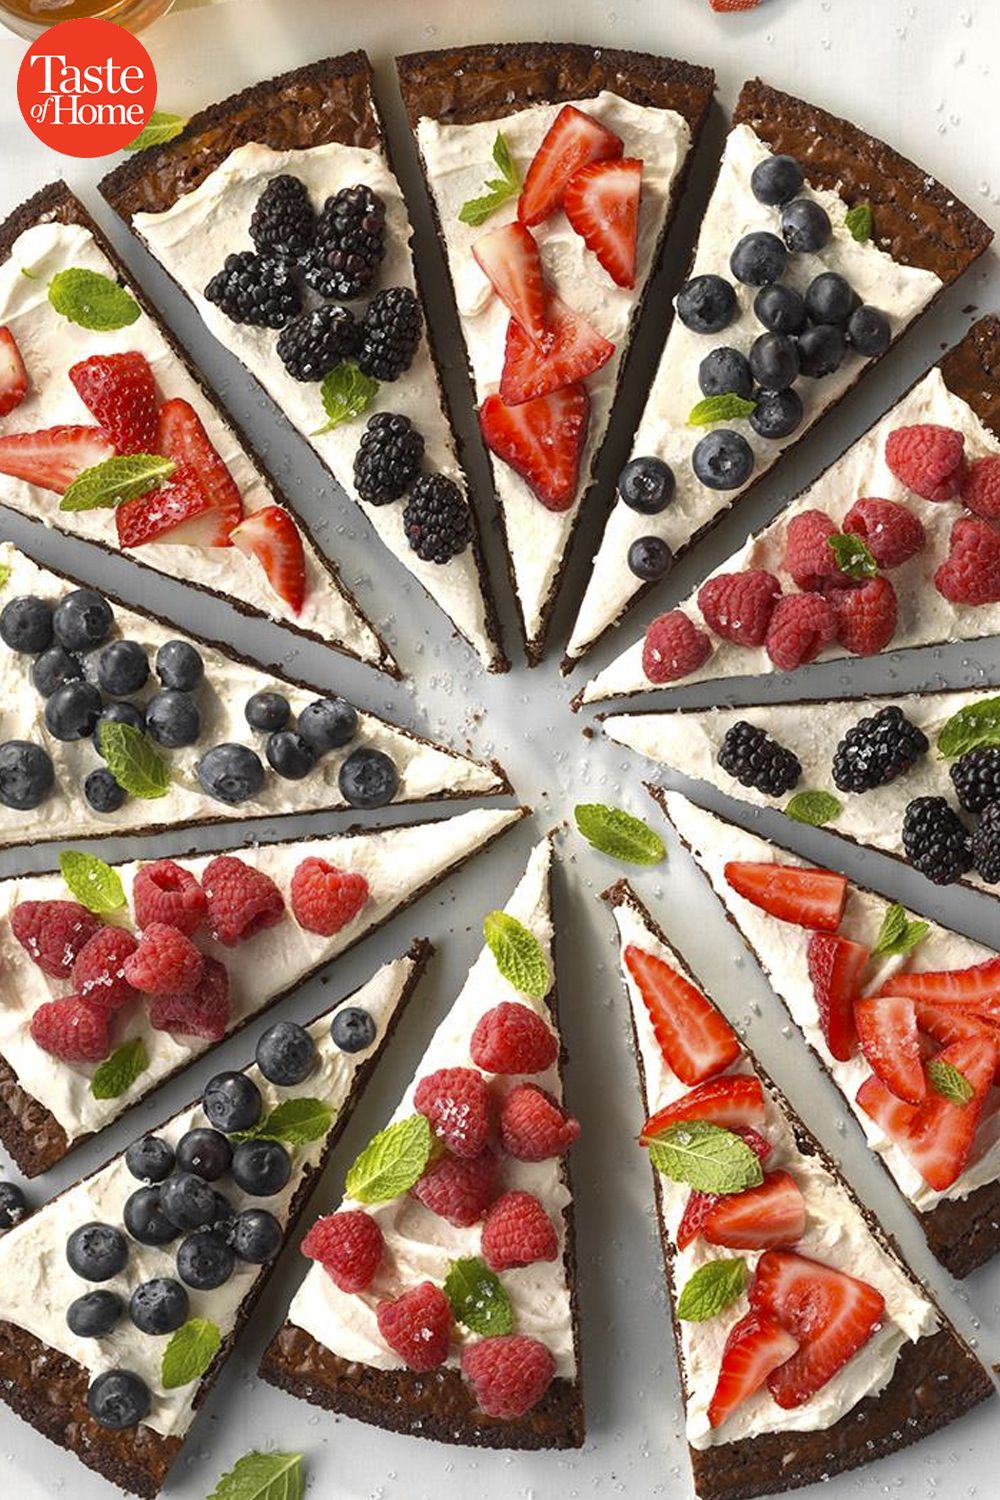
Brownie mix makes a wonderful crust for this holiday pizza! Prepare brownie mix as directed and bake in a round pan. Top with either vanilla or cream cheese frosting, add fruit and mint leaves and you’re done!
Strawberry Poppers
This dessert is an easy, pick up and go dessert. Cleaned strawberries are sliced diagonally twice (but not apart) and then whipped cream is inserted using a star tipped pastry bag and a blueberry is placed on top.
There you have it! Easy to prepare, spectacular to see and delicious to eat recipes for your Memorial Day picnic!
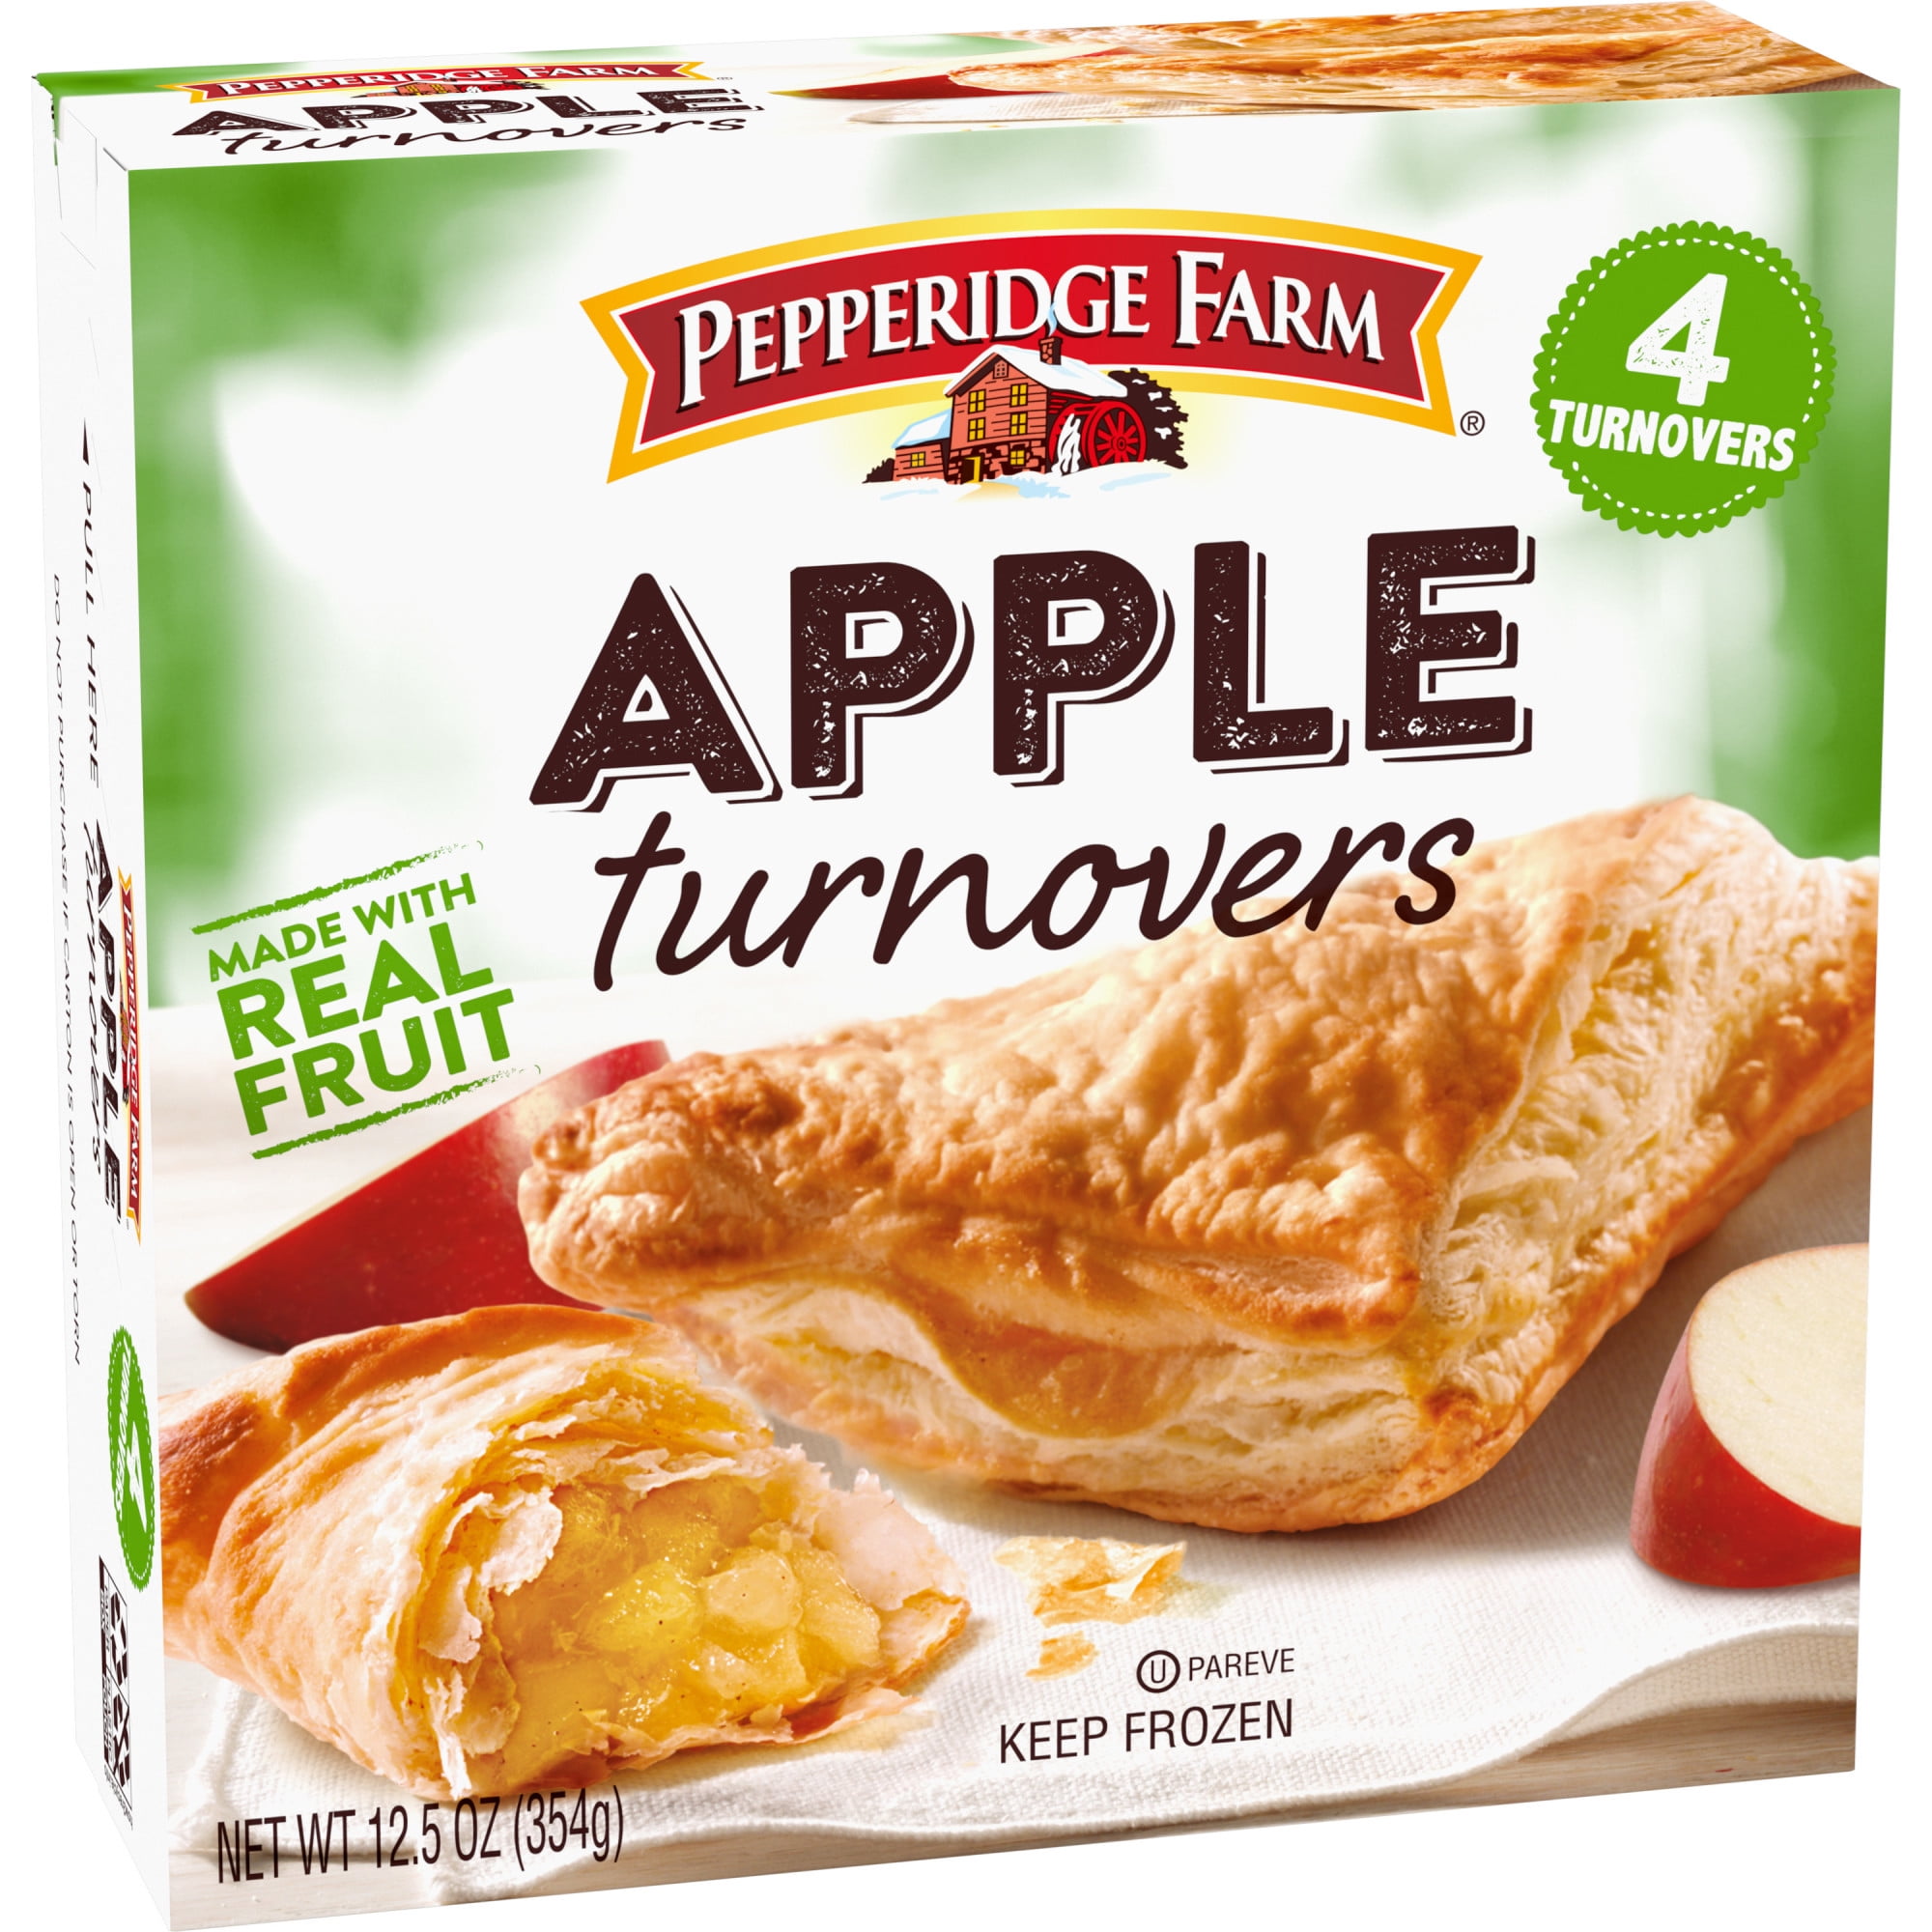
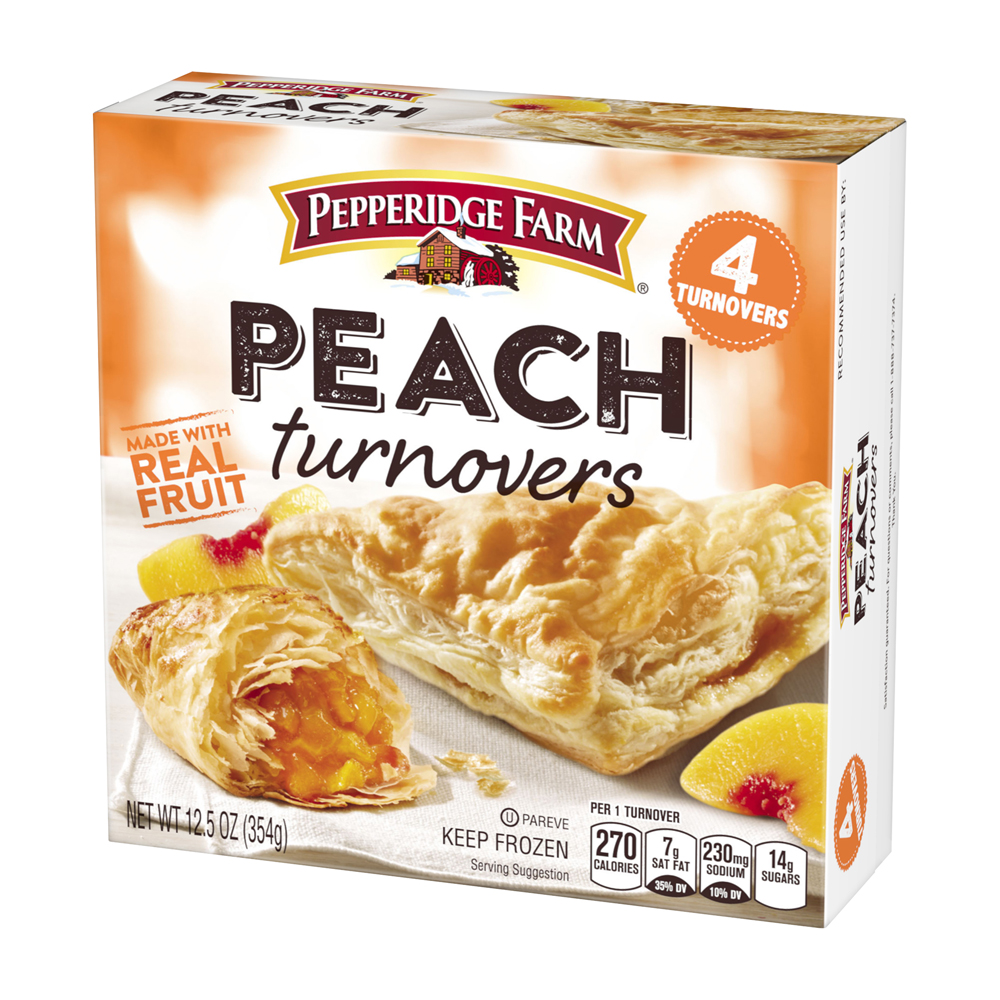
Open THIS box and remove the turnovers from the package and bake as directed. (These cannot be improved upon without much fanfare and mess! I know, I’ve tried!)
Step 3
When the turnovers have finished baking and are cooling, prepare a simple drizzle icing. I use powdered sugar (start with a cup and experiment) and a teaspoon of water at a time–mixing well before adding more water. (If you use too much water, the icing will just run off the turnovers and be wasted.) If the icing does get too runny, add a little more powdered sugar. When you get the consistency you desire, drizzle it over the turnovers. Enjoy!
Variations:
“Work smarter, not harder.”
Scrooge McDuck
BON APPETIT!!
***I will be away for a few days and Filly will be in and out. See you soon!***
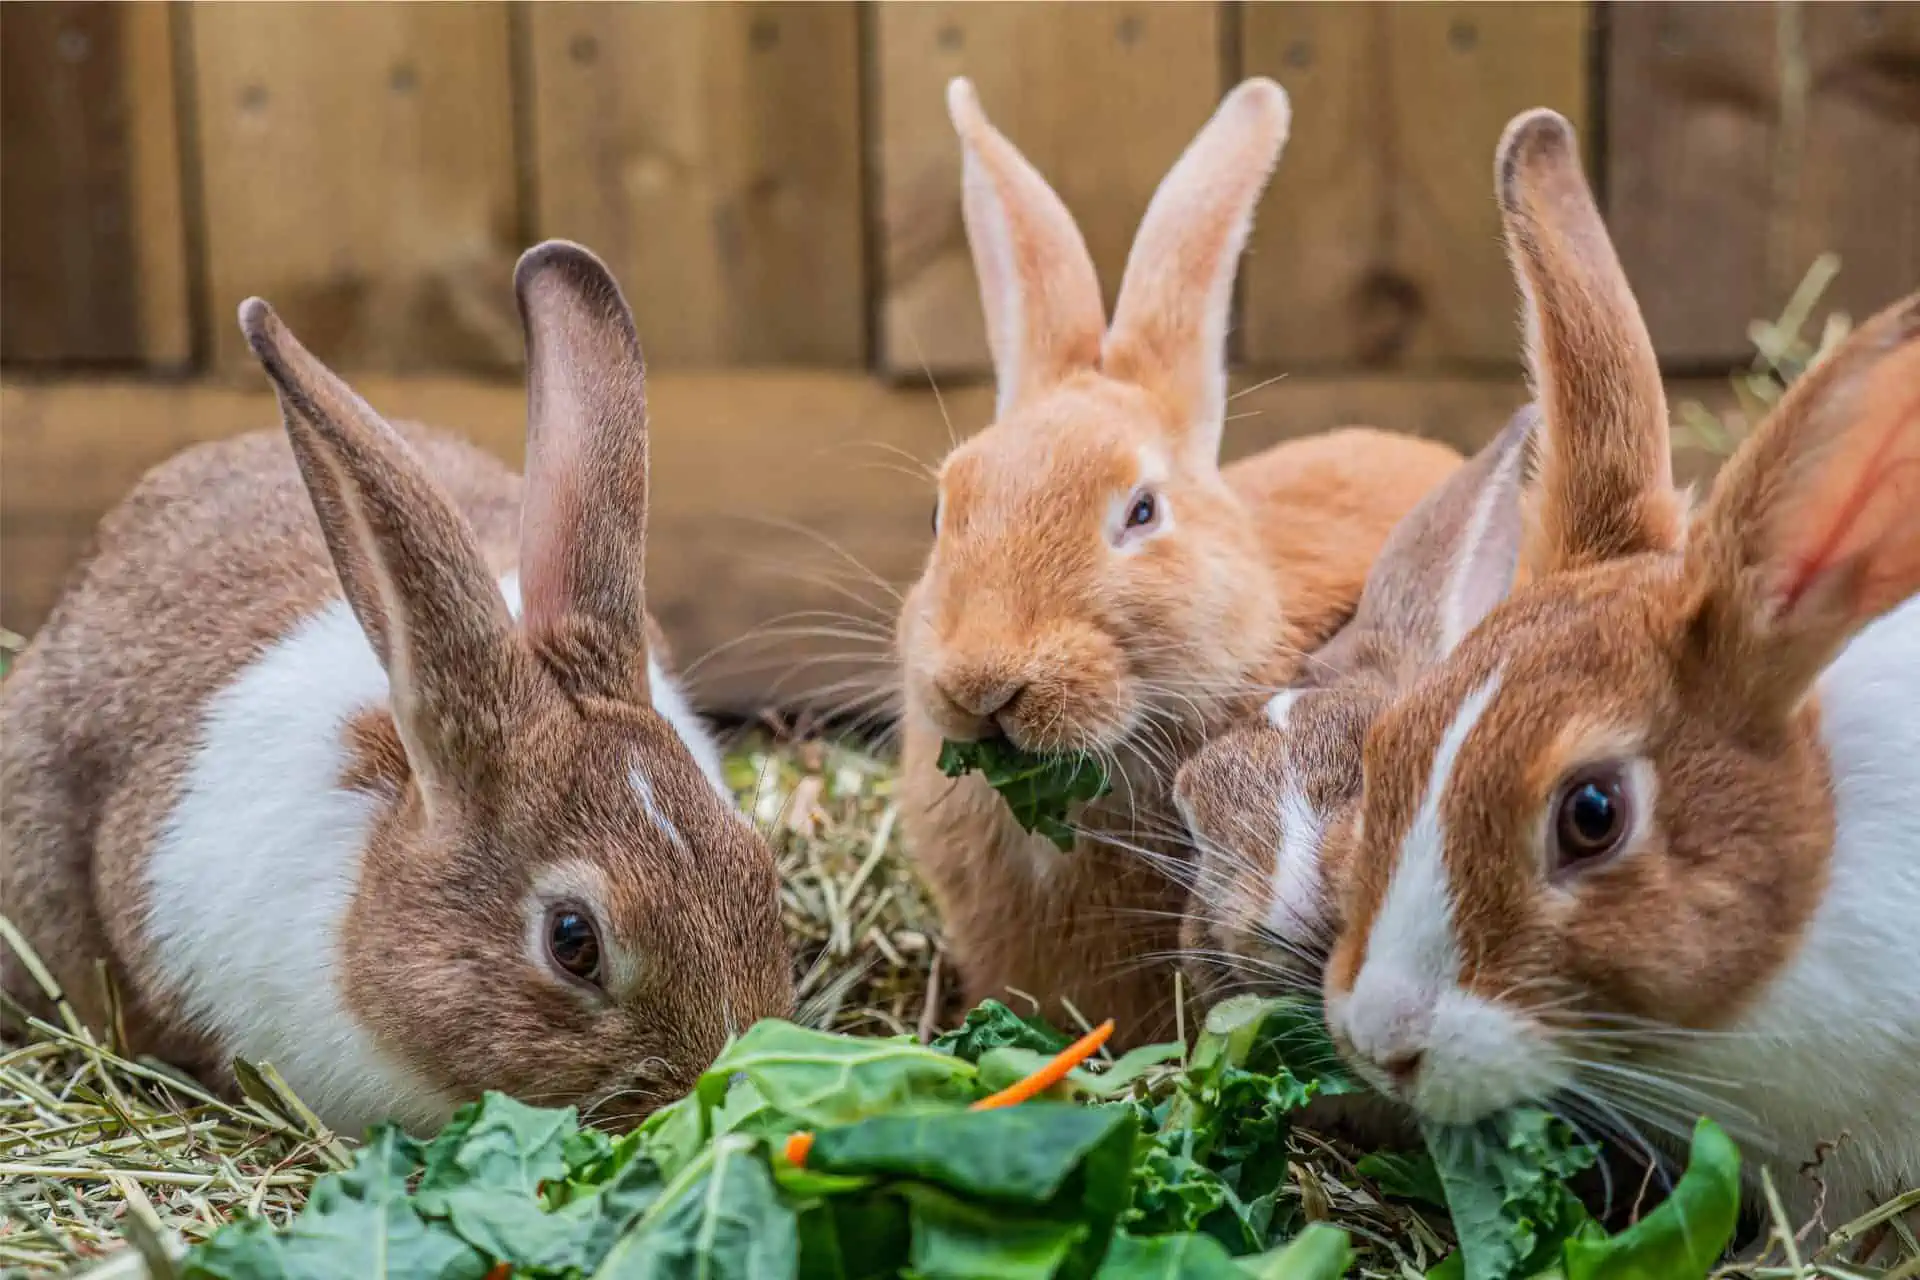
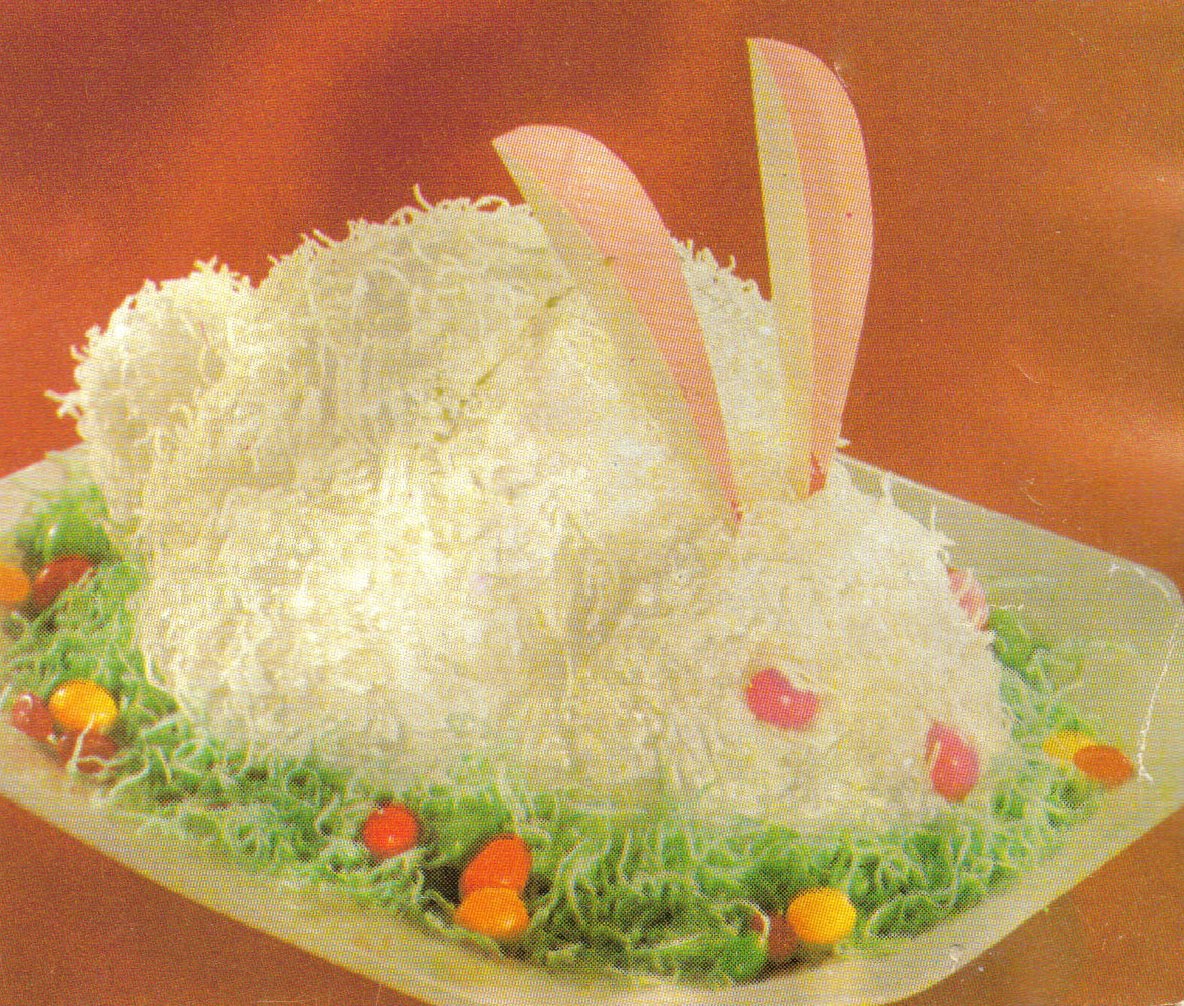
While Easter is not normally a big cake holiday–we tend to focus more on hams, chocolate bunnies, and marshmallow peeps–there are several easy to make bunny cake options which do not require special pans. We’re going to explore three: A bunny face, a bunny laying down, and a bunny butt. So let’s hop to it!
The Bunny Face
The bunny face requires 2 round cake layers. One layer is the face and the other layer is cut into the ears and bow tie.
Once assembled, you can get very creative with the decorating! The whiskers can be licorice strings, stick pretzels or just colored frosting! The bunny can be brown (chocolate frosting) or a white bunny and you can cover it with coconut! And a jelly bean for the nose!
The Laying Bunny
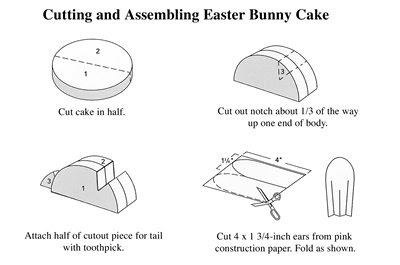
This cake also uses round cake pans. The diagram below shows only one layer, but the layers can be frosted together and cut as one. The ears are made of paper, and the eyes and nose are jelly beans. To tint the coconut for the surrounding grass, place coconut in a ziploc bag and add drops of green food coloring. Close the bag and shake or gently squeeze the bag to evenly distribute the color. Use plastic gloves to place the tinted coconut around the bunny to avoid dying your hands green!
The Bunny Butt
The butt bunny cake is shaped by using an oven safe bowl, cupcakes, and marshmallows. The carrots are celery pieces and fruit roll ups. The ears are made from paper. The feet pads can be made from fruit roll ups, fondant, icing or taffy.
These are just three of the many possibilities to delight your family this Easter!
We’re in the kitchen today making one of my favorite side dish recipes–Vegetable Pizza. (We don’t make a hot meal for Easter; we have ham sandwiches and plenty of side dishes and this is a family staple.)
Vegetable Pizza
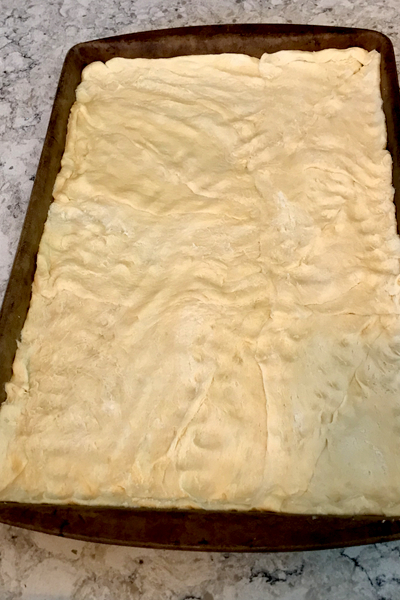
Preheat oven to 350*. Unroll 2 packages of Pillsbury crescent rolls and press the dough into a ungreased cookie sheet, patting the dough seams together. Bake for 10-12 minutes or until golden brown. Set aside to cool.
While the crust bakes, in a medium sized bowl, combine the following with a mixer:
8 oz softened cream cheese
1 package (dry) Hidden Valley Ranch Dressing mix
1 cup cottage cheese (small curd)
3/4 cup mayo
chopped scallions to taste (i use a dash of onion powder instead)
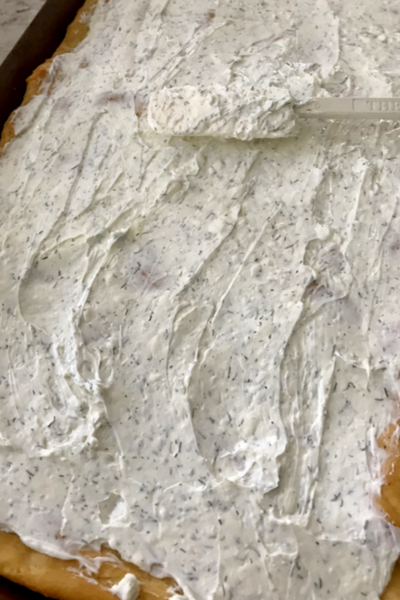
Mix well and refrigerate for at least an hour. Then spread on cooled crust.
In a separate bowl mix the following diced vegetables:
1 cup cauliflower
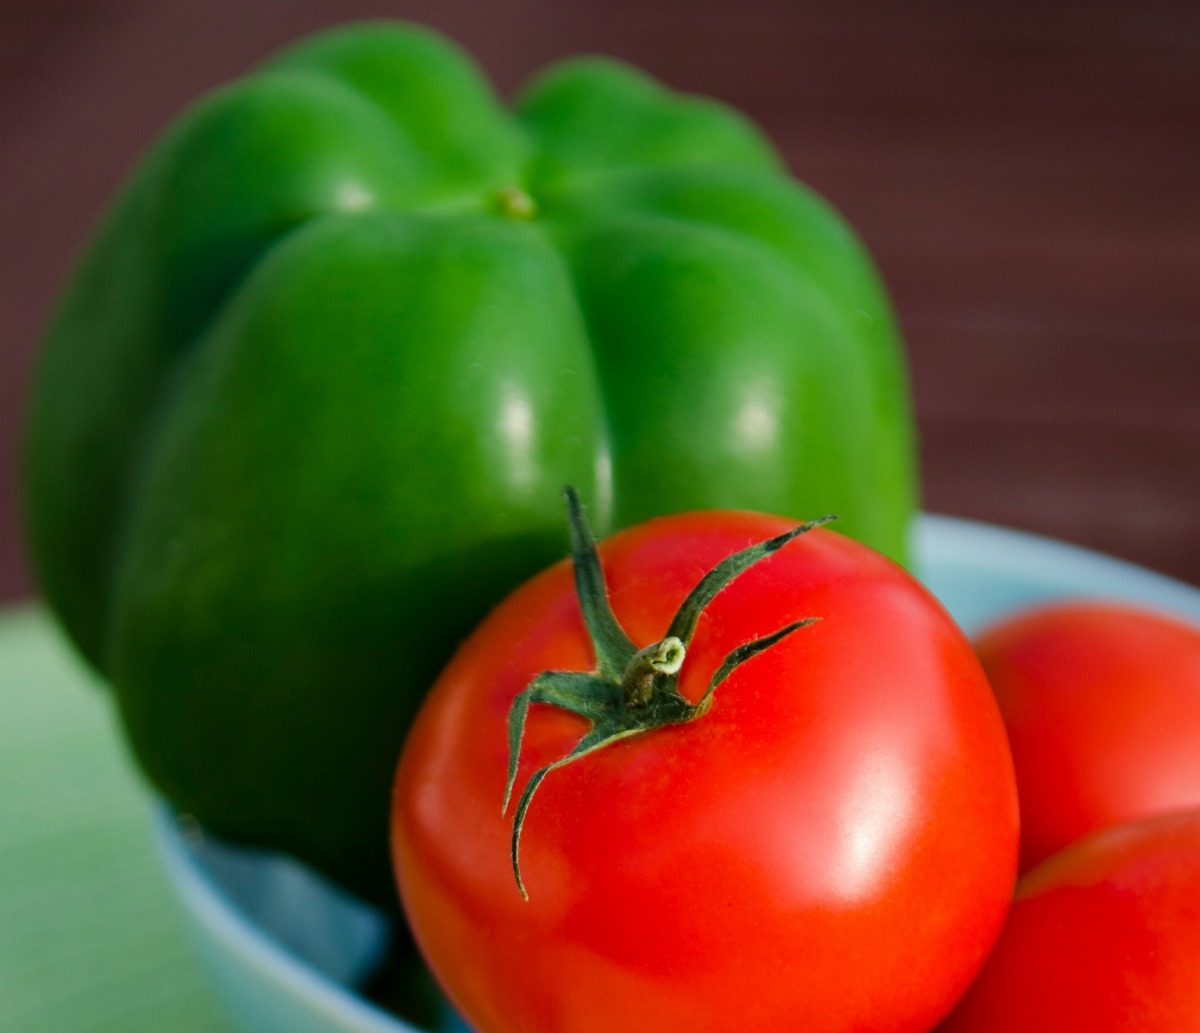
1/2 cup green pepper
1 cup broccoli
2-3 medium tomatoes
Spread the diced vegetables over the cream cheese mixture covered crust. Refrigerate. Enjoy!
I’m in the mood for cupcakes…Molasses Cupcakes to be exact. These cupcakes have a deep, rich flavor and a crumb topping and do not require eggs or an electric mixer.
Let’s begin…
Preheat the oven to 350* and place cupcake papers in 2 cupcake pans. (this recipe makes 24 cupcakes.)
In a medium bowl place:
3 cups flour
1 stick margarine
1 cup sugar
Using a pastry blender, mix well to create crumbs.
Reserve about 2/3 cup of crumbs for topping. To the remaining crumbs, add:
1 cup molasses (I use Grandma’s Original Molasses)
1 cup very hot water
1 tsp. baking soda
Mix thoroughly with a spoon. Spoon into cupcake liners and using a teaspoon add a small bit of reserved crumb topping to each.
































 Sew Colorful