If you’re planning a trip to Tennessee, Trip Advisor recommends these “must see” places!
Dollywood Theme Park
A highly awarded and widely recognized leader in the amusement industry, Dollywood consists of a 165-acre theme park near Great Smoky Mountains National Park, offering rides and attractions, festivals, shows and entertainment and crafters authentic to the East Tennessee region. As unique as its namesake and owner Dolly Parton, Dollywood is the 2010 Applause Award winner, the theme park industry’s highest accolade; winner of 64 Golden Ticket Awards; and recipient of 28 Brass Ring Awards for Live Entertainment. Dollywood earned the Golden Ticket Award for the Best Park in the world in 2023.
Graceland
Step into the world of Elvis Presley at Graceland — the legendary home where the King of Rock ‘n’ Roll lived, relaxed, and spent time with family and friends. Journey through Elvis’ personal home on an iPad tour hosted by John Stamos, including the living room, dining room, Jungle Room, Trophy Building, and Meditation Garden, where Elvis and his family have been laid to rest. Across the street, Elvis Presley’s Memphis offers 10+ themed museums and exhibits, two dining experiences, and the world’s largest selection of Elvis merchandise. Highlights include the Entertainer Career Museum with gold records, iconic jumpsuits, and all-new 2026 exhibits; Presley Motors Automobile Museum featuring Elvis’ pink Cadillac and more; plus discovery exhibits about Elvis’ daughter Lisa Marie and his time in the US Army. End your visit aboard Elvis’ custom jets — the Lisa Marie airplane features a living room, private bedroom, and gold-plated seatbelts fit for a King.
Opry
The Grand Ole Opry is country music’s biggest stage, home to legends and rising stars. The world’s longest running radio show since 1925, the Opry celebrates its 100th anniversary with Opry 100—a year-long celebration featuring bigger, bolder shows.
Parrot Mountains & Gardens
Parrot Mountain & Gardens is a walk-through parrot attraction and landscaped garden in Pigeon Forge, Tennessee, near the Great Smoky Mountains. Set on about four acres of planted grounds, it is home to hundreds of tropical birds, including lories and toucans, and features walk-through aviaries and open-perch gardens where visitors can feed some species by hand or with nectar cups. Guests typically stroll paved pathways past themed parrot cottages, see baby birds in the nursery, have photos taken with perched birds, and often combine a visit with other attractions in Pigeon Forge.
Country Music Hall of Fame & Museum
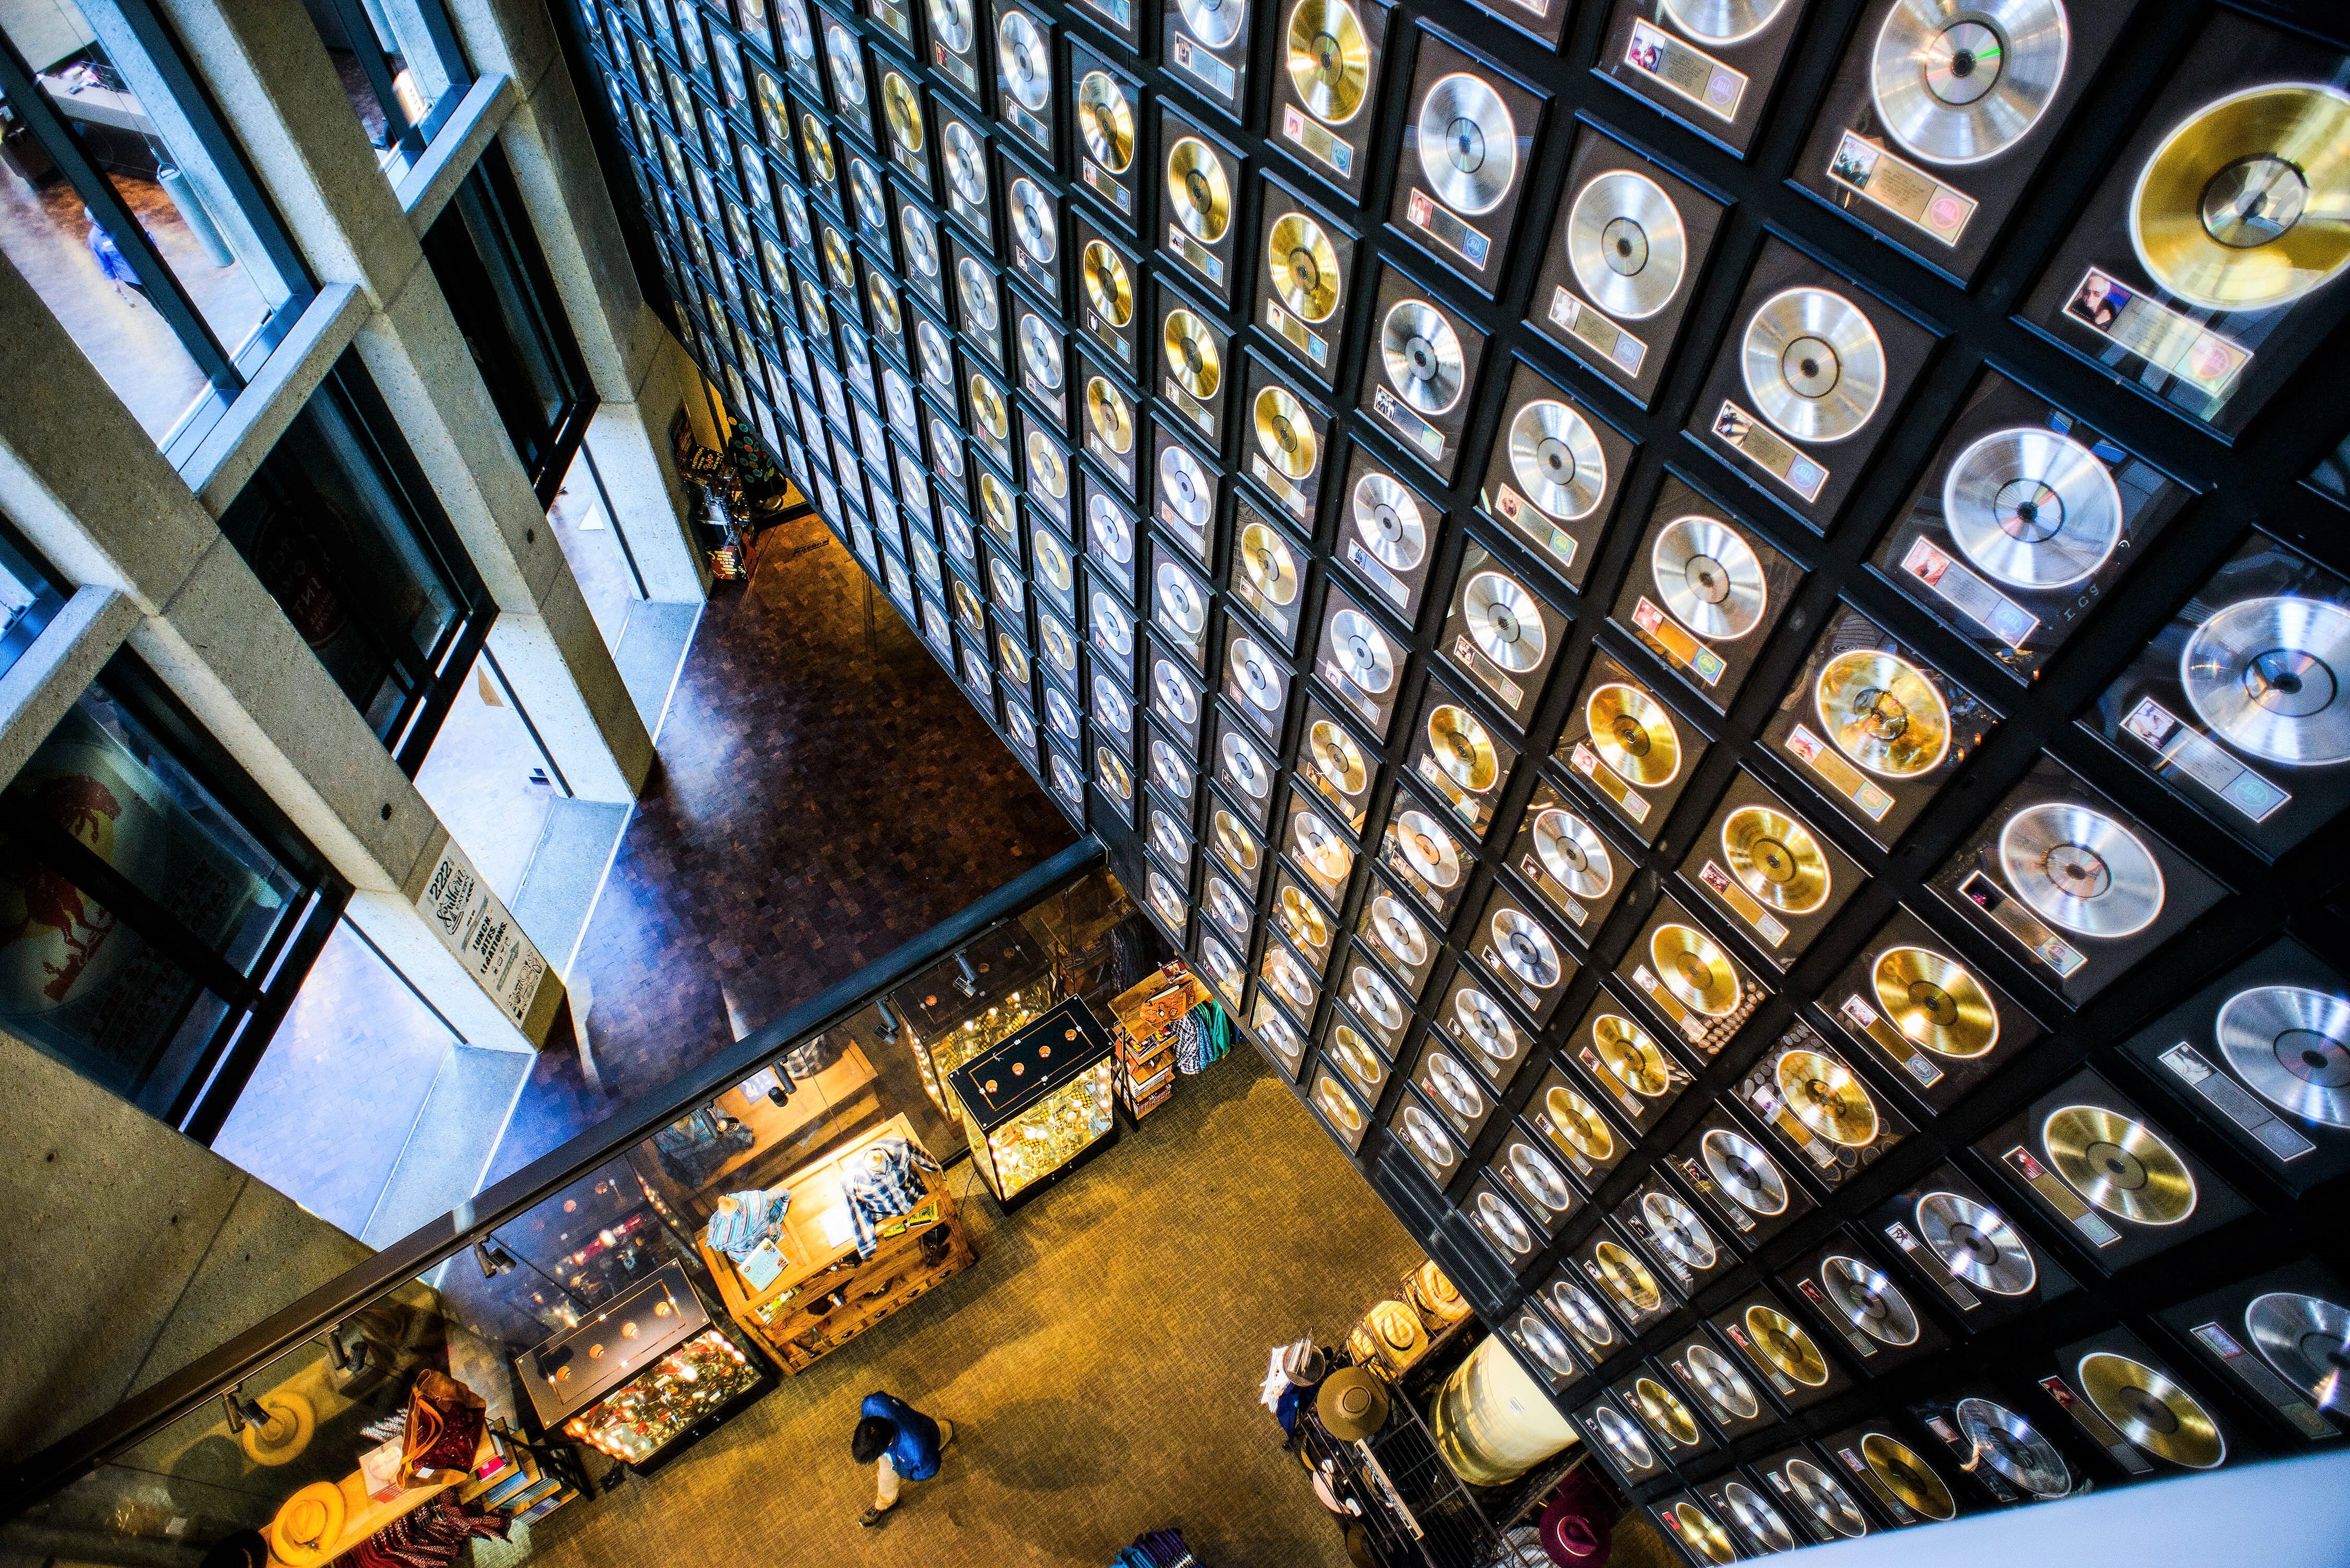
The Country Music Hall of Fame and Museum is the home of this popular American art form, safeguarding over 2.5 million artifacts, with two expansive floors of gallery space featuring permanent- and limited- engagement exhibits. The Country Music Hall of Fame and Museum is also home to Historic RCA Studio B and Hatch Show Print. It offers three dining and four retail options, all open to the public.
Heat oven to 350° F. In a medium bowl, whisk together the flour, ginger, baking soda, cinnamon, salt, nutmeg, pepper, and cloves.
Using an electric mixer, beat the shortening and sugar on medium-high speed until fluffy, 2 to 3 minutes. Reduce speed to low and beat in the egg, molasses, and vanilla. Add the flour mixture, mixing just until combined (do not overmix).
Place the granulated sugar on a plate. Roll heaping tablespoonfuls of the dough into balls; roll in the sugar to coat. Place on parchment-lined baking sheets, spacing them 2 inches apart. Using a glass, press the balls to a ⅜-inch thickness and sprinkle them with more granulated sugar.
Bake, rotating the sheets halfway through, until the edges are firm, 10 to 12 minutes. Cool slightly on the baking sheets, then transfer to racks to cool completely. Store the cookies in an airtight container at room temperature for up to 5 days.
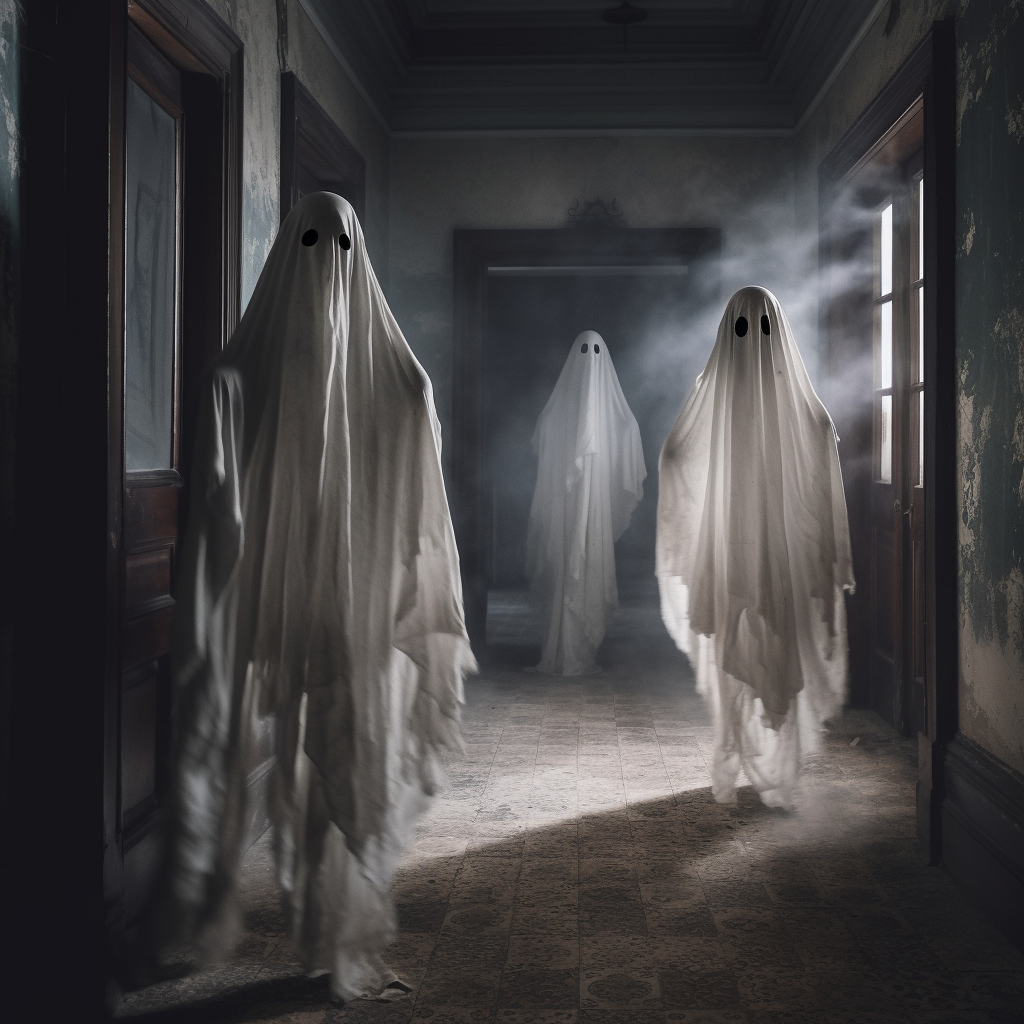
Ever had an experience you can’t explain? Ever gotten an uneasy feeling without explanation? Maybe it was a ghost. This article from allthatsinteresting.com details 11 “real ghosts” in the US.
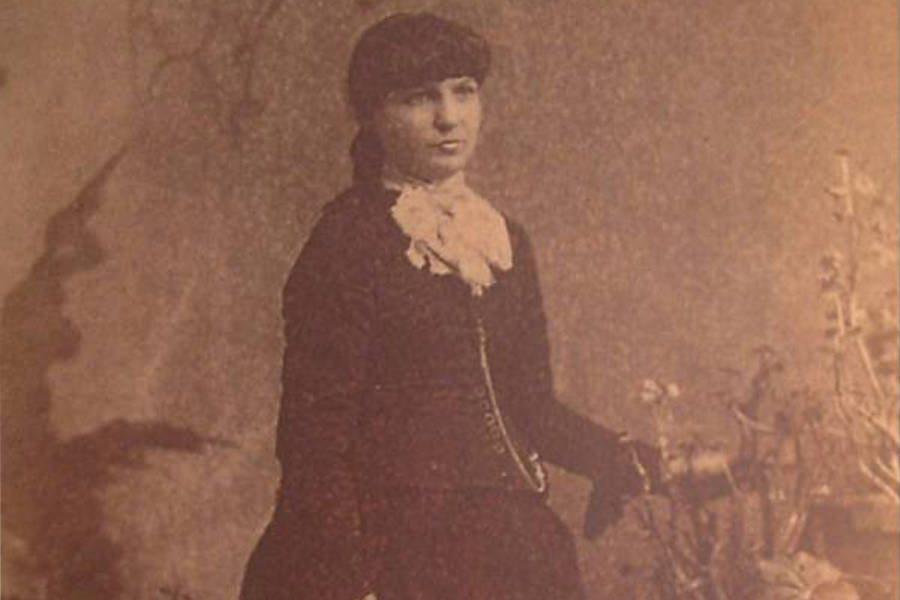
Kate Morgan: The Beautiful Stranger
It was 1892 and Kate Morgan was a grown and capable 24-year-old woman. According to California’s notorious Hotel del Coronado, she checked in to the resort on Thanksgiving Day. Some say she never checked out. Employees recalled that Morgan said she was waiting for a gentleman to join her. After five days as a guest, the ghost story goes, nobody showed and Morgan shot herself in the head. While nothing was found at the scene to identify her, police telegraphed her description to authorities around the country. The media dubbed her the “beautiful stranger” for her description and it was soon discovered she had an estranged husband. Her gentleman caller, it was presumed, was a lover. Morgan was also reportedly pregnant when she killed herself.
Before her suicide, Morgan worked as a household caretaker in an affluent suburb of Los Angeles. During her travel to the hotel, onlookers saw her verbally spar with an unidentified male. He got off mid-route and abandoned her, leaving Morgan melancholy upon her arrival. Though unclear whether this figure was her husband or not, Morgan sorrowfully wandered into town and procured a pistol. According to Beautiful Stranger: The Ghost of Kate Morgan and the Hotel del Coronado, there’s no shortage of people who’ve reported paranormal activity in the hotel. Guests have experienced flickering lights, a rogue television, and a change in temperature that appears out of nowhere and vanishes just as inexplicably. Doors have opened and shut on their own, footsteps and voices have been heard but no people have been seen.
Because human curiosity knows no bounds, Morgan’s room has been the most requested room of them all at the hotel. Even a group of independent paranormal researchers stayed there to document the so-called hauntings. The team employed infrared cameras, night vision goggles, radiation sensors, indicators for toxic chemicals, microwave imaging systems, and high-frequency sound detectors. Though Morgan stayed in Room 3327 (formerly 302), her apparition has appeared elsewhere. There have been several sightings in room 3519 (formerly 3502 and intended for maids), for instance. Guests have reported objects moving independently. Stranger still, the hotel owner’s mistress also killed herself at the resort after discovering she was pregnant. Of course, countless guests had already reported seeing her, both in the hallways and by the beach. The hotel gift shop, too, has seen unexplained phenomena, with items flying off shelves and often landing right-side up. Ultimately, it’s unclear what exactly is going on at the hotel. An elaborate ruse by management? Buyer’s remorse on behalf of guests? Or, possibly, real paranormal activity in plain sight.
Ed & Lorraine Warren
James Wan’s 2013 horror film The Conjuring introduced mainstream audiences to the “true story” of paranormal investigators Ed and Lorraine Warren and their horrifying experience with the Perron family. The true ghost story, though, may be even scarier than the film. According to USA Today, Lorraine Warren consulted on the movie and was adamant that it was true to what happened to her and the Perron family. “The things that went on there were just so incredibly frightening,” she said. “It still affects me to talk about it today.” Neurologist Steven Novella, president of the New England Skeptical Society, however, investigated the couple and is convinced they fabricated the whole thing. “The Warrens are good at telling ghost stories,” he simply stated.
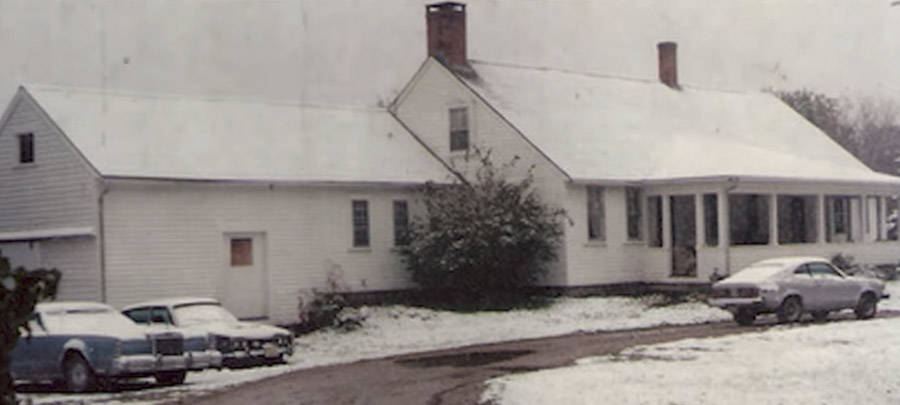
The Perron’s alleged haunting began in January 1971 when they moved into their new farmhouse, built in 1736, in Harrisville, Rhode Island. Carolyn and Roger Perron and their five daughters began to notice strange occurrences almost immediately. Oddly enough, they continued to live there for nine years. Andrea Perron was 12 years old at the time and claimed the film was “a beautiful tapestry” with “many elements of truth to it, and some moments of fiction.” Little did the Perron family know that the 200-acre home was said to have once been inhabited by a woman named Bathsheba Thayer and her four children, three of whom died young. The town labeled Thayer a satanist who allegedly hanged herself from a tree in the backyard, and the Perrons were allegedly attacked by her spirit. Some of these incidents were harmless. Some claim she never lived there at all. Other incidents on the property, however, were fairly violent.
The Perron children allegedly played and did chores with some of the spirits. Thayer’s ghost was not as friendly. She purportedly moved furniture to scare the new tenants, appeared fully at times, and as depicted in the film, haunted the family’s matriarch most of all. Carolyn Perron was allegedly pinched and forcefully slapped by Thayer’s ghost.“Whoever the spirit was, she perceived herself to be mistress of the house and she resented the competition my mother posed for that position,” said Andrea Perron.The Warrens were hired to help in 1974, but the Perrons eventually asked them to leave after Carolyn Perron became temporarily possessed. Her daughter allegedly witnessed this first-hand.“I thought I was going to pass out,” she said. “My mother began to speak a language not of this world in a voice not her own. Her chair levitated and she was thrown across the room. Both my mother and I would just as soon swallow our tongue than tell a lie. People are free to believe whatever they want to believe. But I know what we experienced.” The so-called “Conjuring House” where the Perron’s experienced the paranormal has recently been bought by two new owners. The fearless couple said they haven’t felt anything “evil” in the house, though it is certainly “busy.”
The Ghost of Myrtles Plantation
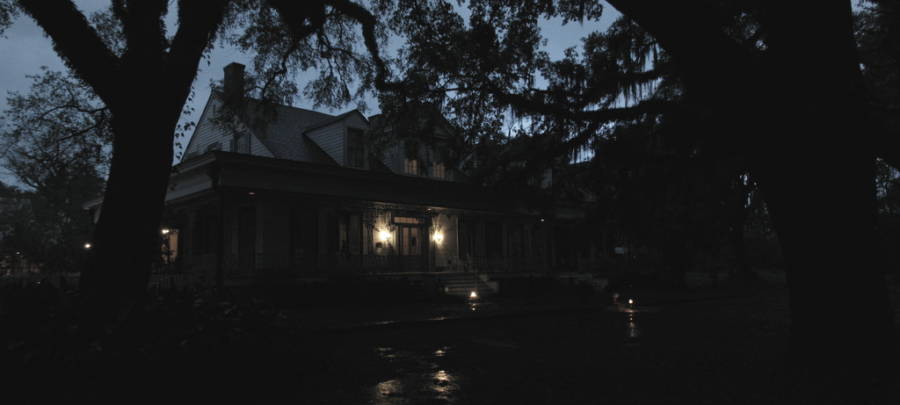
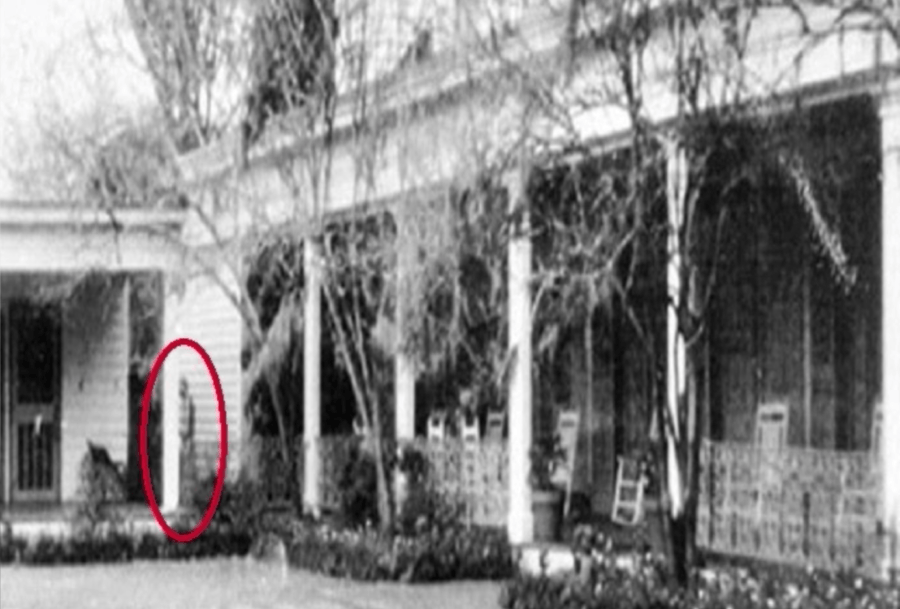
In 1992, when the proprietress of Louisiana’s Myrtles Plantation photographed the property as part of an insurance company requirement, something remarkable happened. In between two of the buildings, a figure appeared. A dark, female shape stood upright in the corner. The St. Francisville site naturally had a cruel history of slavery and today it is considered one of the most haunted places in America. According to The Myrtles Plantation website, even a film crew for National Geographic Explorer agreed that the photo contained what looked like the ghost of a slave girl. They recommended using it as a postcard, which the plantation did. Though her shape is clearly silhouetted between The General’s Store and the Butler’s Pantry of the property, the exterior boards of the house are just as visible. She was partly translucent, partly opaque, and entirely, glaringly present in the photograph.
In May 1995, a patent researcher named Norman Benoit visited the site to do some rigorous analysis of the potentially paranormal incident. He found that this was, indeed, the image of a person who was simply not present at the time the photograph was taken. He enlarged it, increased the contrasts, and found that the dimensions and proportions of the figure were entirely in line with human measurements. The postcard has since been dubbed the Chloe Postcard — named after the young slave girl who was said to have caught the attention of the plantation’s owner, Clarke Woodruff.
As the story goes, Chloe was propositioned by Woodruff into a sexual relationship. Seeing as she was a slave, Chloe had little choice in the matter and was deathly afraid Mrs. Woodruff would find out. So she began eavesdropping on Mrs. Woodruff. She was caught one day and had her ear cut off as punishment. For revenge, she slipped poison into the family’s food. Mrs. Woodruff and two of her kids promptly died. The other slaves, afraid they’d be seen as co-conspirators by the surviving Mr. Woodruff, hanged Chloe from a tree. They then cut her down and threw her body into the river. Some believe her spirit lived on, stalking the grounds.
In the 1970s, the plantation was purchased by the Meyers family and turned into a bed and breakfast. Ghostly apparitions and noises have been reported there ever since. Even before American slavery, though, the property was built on top of an Indian burial ground — which purportedly led to sightings of a Native American woman’s ghost on the gazebo centuries later. William Winter, a man killed at Myrtles Plantation, has also been seen. Of course, there’s no scientifically accredited way of confirming whether or not a ghost has been captured on film. Thus, only the stories from one highly ominous photograph remain.
The Mystery of Winchester House
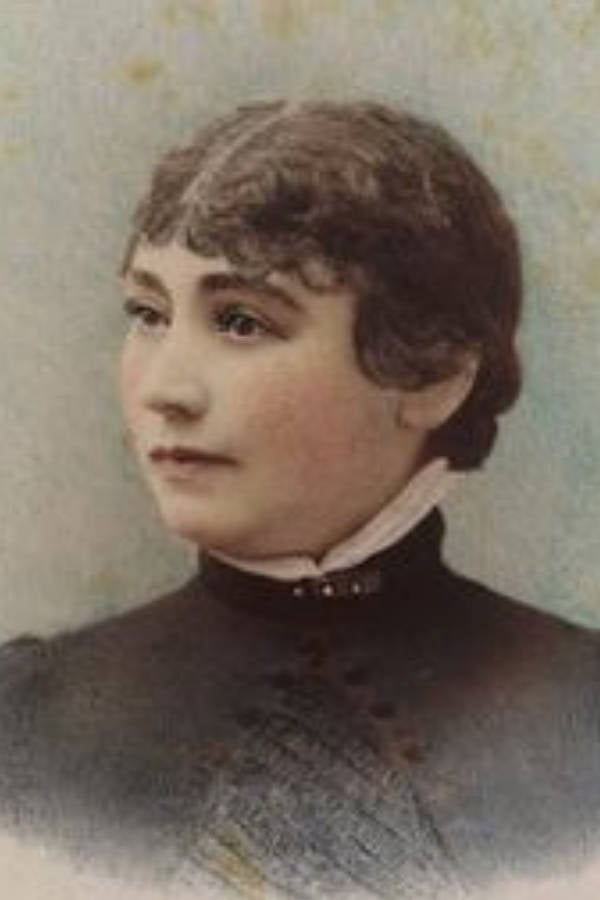
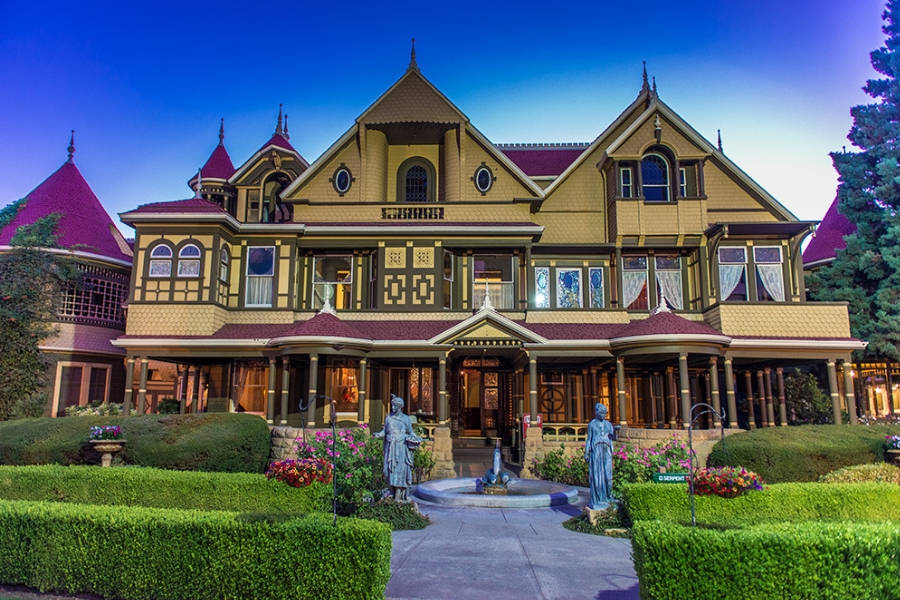
The legend of the Winchester Mystery House has endured for more than a century, especially when a film starring Helen Mirren brought the tale into popular consciousness. It’s a story of love, loss, and a good dose of lunacy. Sarah Winchester was the widow of William Wirt Winchester, the heir to the Winchester Repeating Arms Company, and she was born into privilege in 1840. But tragedy struck when Sarah Winchester’s husband and infant daughter died. She promptly visited a spiritual medium who told her these misfortunes were revenge by the evil spirits of those who were killed by Winchester rifles. The only solution, she believed, was to build a home big enough to protect her from those evil spirits. She inherited the modern equivalent of over $500 million as well as half of the company and was thus more than capable of doing so. She left New Haven, Connecticut for sunny San Jose, California and got to work building a mansion that could confuse the paranormal.
It was said Sarah Winchester’s intention was to build a home that could confuse the spirits and protect her from them. Winchester never did confirm her true intentions for the house, but builders said they had daily seances during construction. She allegedly tried reaching out to “good spirits” in order to consult them on how best to appease those who haunted her. Ultimately, the project would take 38 years to complete. The 160-room home had 2,000 doors, 10,000 windows, 47 stairways, 47 fireplaces, 13 bathrooms, and six kitchens. The house featured secret passageways, upside-down columns, rooms that were sealed off, and staircases that led nowhere. Even the bathrooms were meant to confuse them, as only one out of 13 worked.
Despite a 1904 earthquake, the house was built on a floating foundation that saved it from destruction. The top three floors were removed, unfortunately, leaving it with only four stories today. After Winchester’s death in September 1922, the legend of the Winchester Mystery House only grew larger. Winchester’s niece, Marion, inherited all of her belongings which she then promptly auctioned off. Only five months after Winchester’s death did her home open to the public for tours. Nearly a whole century later in 2016, a secret attic was discovered. Two years later, the eponymous Winchester movie was filmed at the actual house. Despite the fact that not a single paranormal investigation has captured anything remotely extraordinary, visitors continue to report feeling the presence of spirits. Visitors have claimed to have heard footsteps in her bedroom, door knobs turned by themselves, and even to have felt drastic temperature changes.
Justice Clarence Thomas joined the U.S. Supreme Court on October 23, 1991, replacing Justice Thurgood Marshall. He is the longest-serving current Justice by a wide margin, and he is the only current Justice who took his seat before 2000. Thomas was born in Georgia on June 23, 1948. He became the first person in his family to go to college when he enrolled in Conception Seminary College in Missouri. Thomas transferred to the College of the Holy Cross in Massachusetts, where he majored in English literature. He graduated cum laude from Holy Cross in 1971 and received his law degree from Yale Law School in 1974.
Over the next three years, Thomas served as an Assistant Attorney General of Missouri. He then briefly worked for the Monsanto chemical company before moving to Washington, D.C. and taking a job for the Senate Commerce Committee. In 1981, Thomas became the Assistant Secretary for Civil Rights in the Department of Education, but he would stay there for only a year. He then spent eight years as the Chairman of the Equal Employment Opportunity Commission.
In late 1989, President George H.W. Bush nominated Thomas to the U.S. Court of Appeals for the District of Columbia Circuit. He was confirmed by the Senate in March 1990. Bush considered nominating Thomas to a Supreme Court vacancy just a few months later when Justice William Brennan retired, but Bush eventually chose David Souter instead. However, Thomas would get his chance just a year later. Bush nominated him on July 8, 1991 to fill the vacancy created by the retirement of Justice Thurgood Marshall.
Thomas went through his confirmation hearings in September 1991. The Senate Judiciary Committee did not send his nomination to the full Senate with a favorable recommendation, instead voting 13-1 to send his nomination without a recommendation. Before the Senate could vote on whether to confirm Thomas, though, allegations of sexual harassment surfaced in the media, This caused the Senate Judiciary Committee to reopen the confirmation hearings, which was the first time that this happened to a Supreme Court nominee since 1925. However, the Senate ultimately decided to confirm Thomas by a 52-48 vote on October 15. He took the constitutional and judicial oaths of office about a week later.
The state motto of Maryland is unique because unlike other state mottos, it is neither English nor Latin. Rather, Maryland’s state motto is Italian: Fatti maschil, Parole femine. This motto has various translations, but the most common is “Strong deeds, Gentle words.” The motto is part of the state seal and has unofficially been adopted as the state motto of the state.
The state motto of Maryland has a lot of translations. The most widely accepted translation, “Strong deeds, Gentle words,” was presented in 1993 by the Maryland State Archivist, Dr. Edward C. Papenfuse. This translation is different from the previously accepted translation of the motto, which was “Manly deeds, Womanly words.” Papenfuse’s translation of the state motto remains the official version despite suggestions to the contrary. Other translations of the state motto of Maryland include “Deeds are manly, words are womanly,” “Deeds are males, words are females,” and “A woman for words and a man for deeds.”
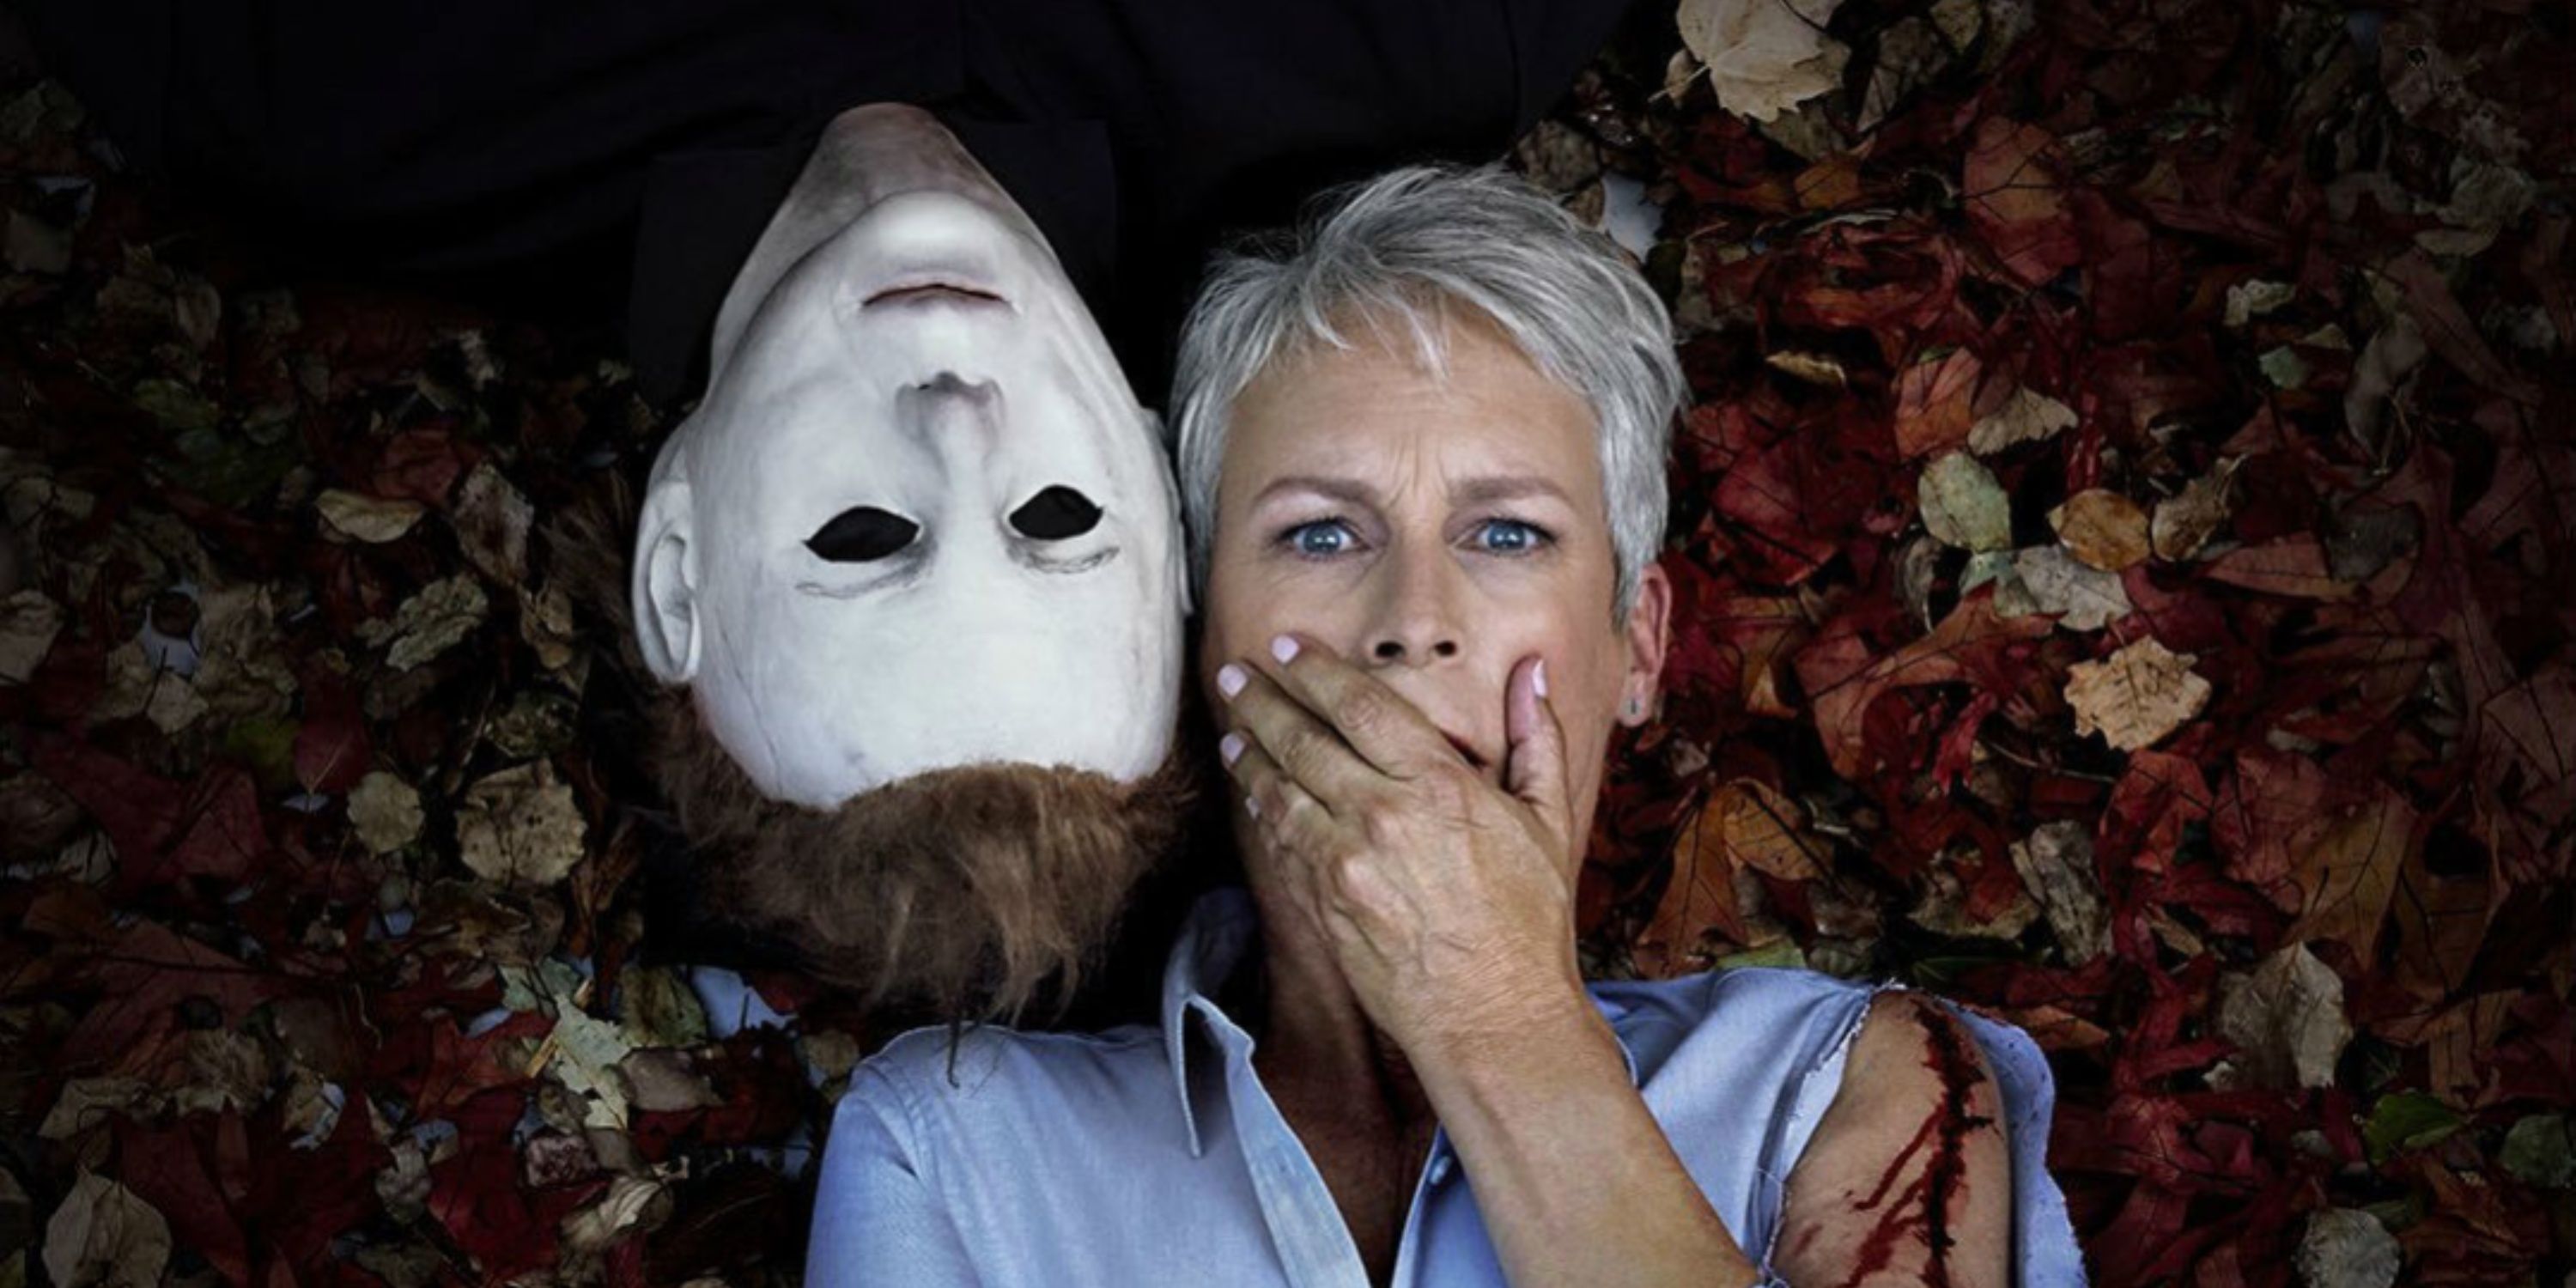
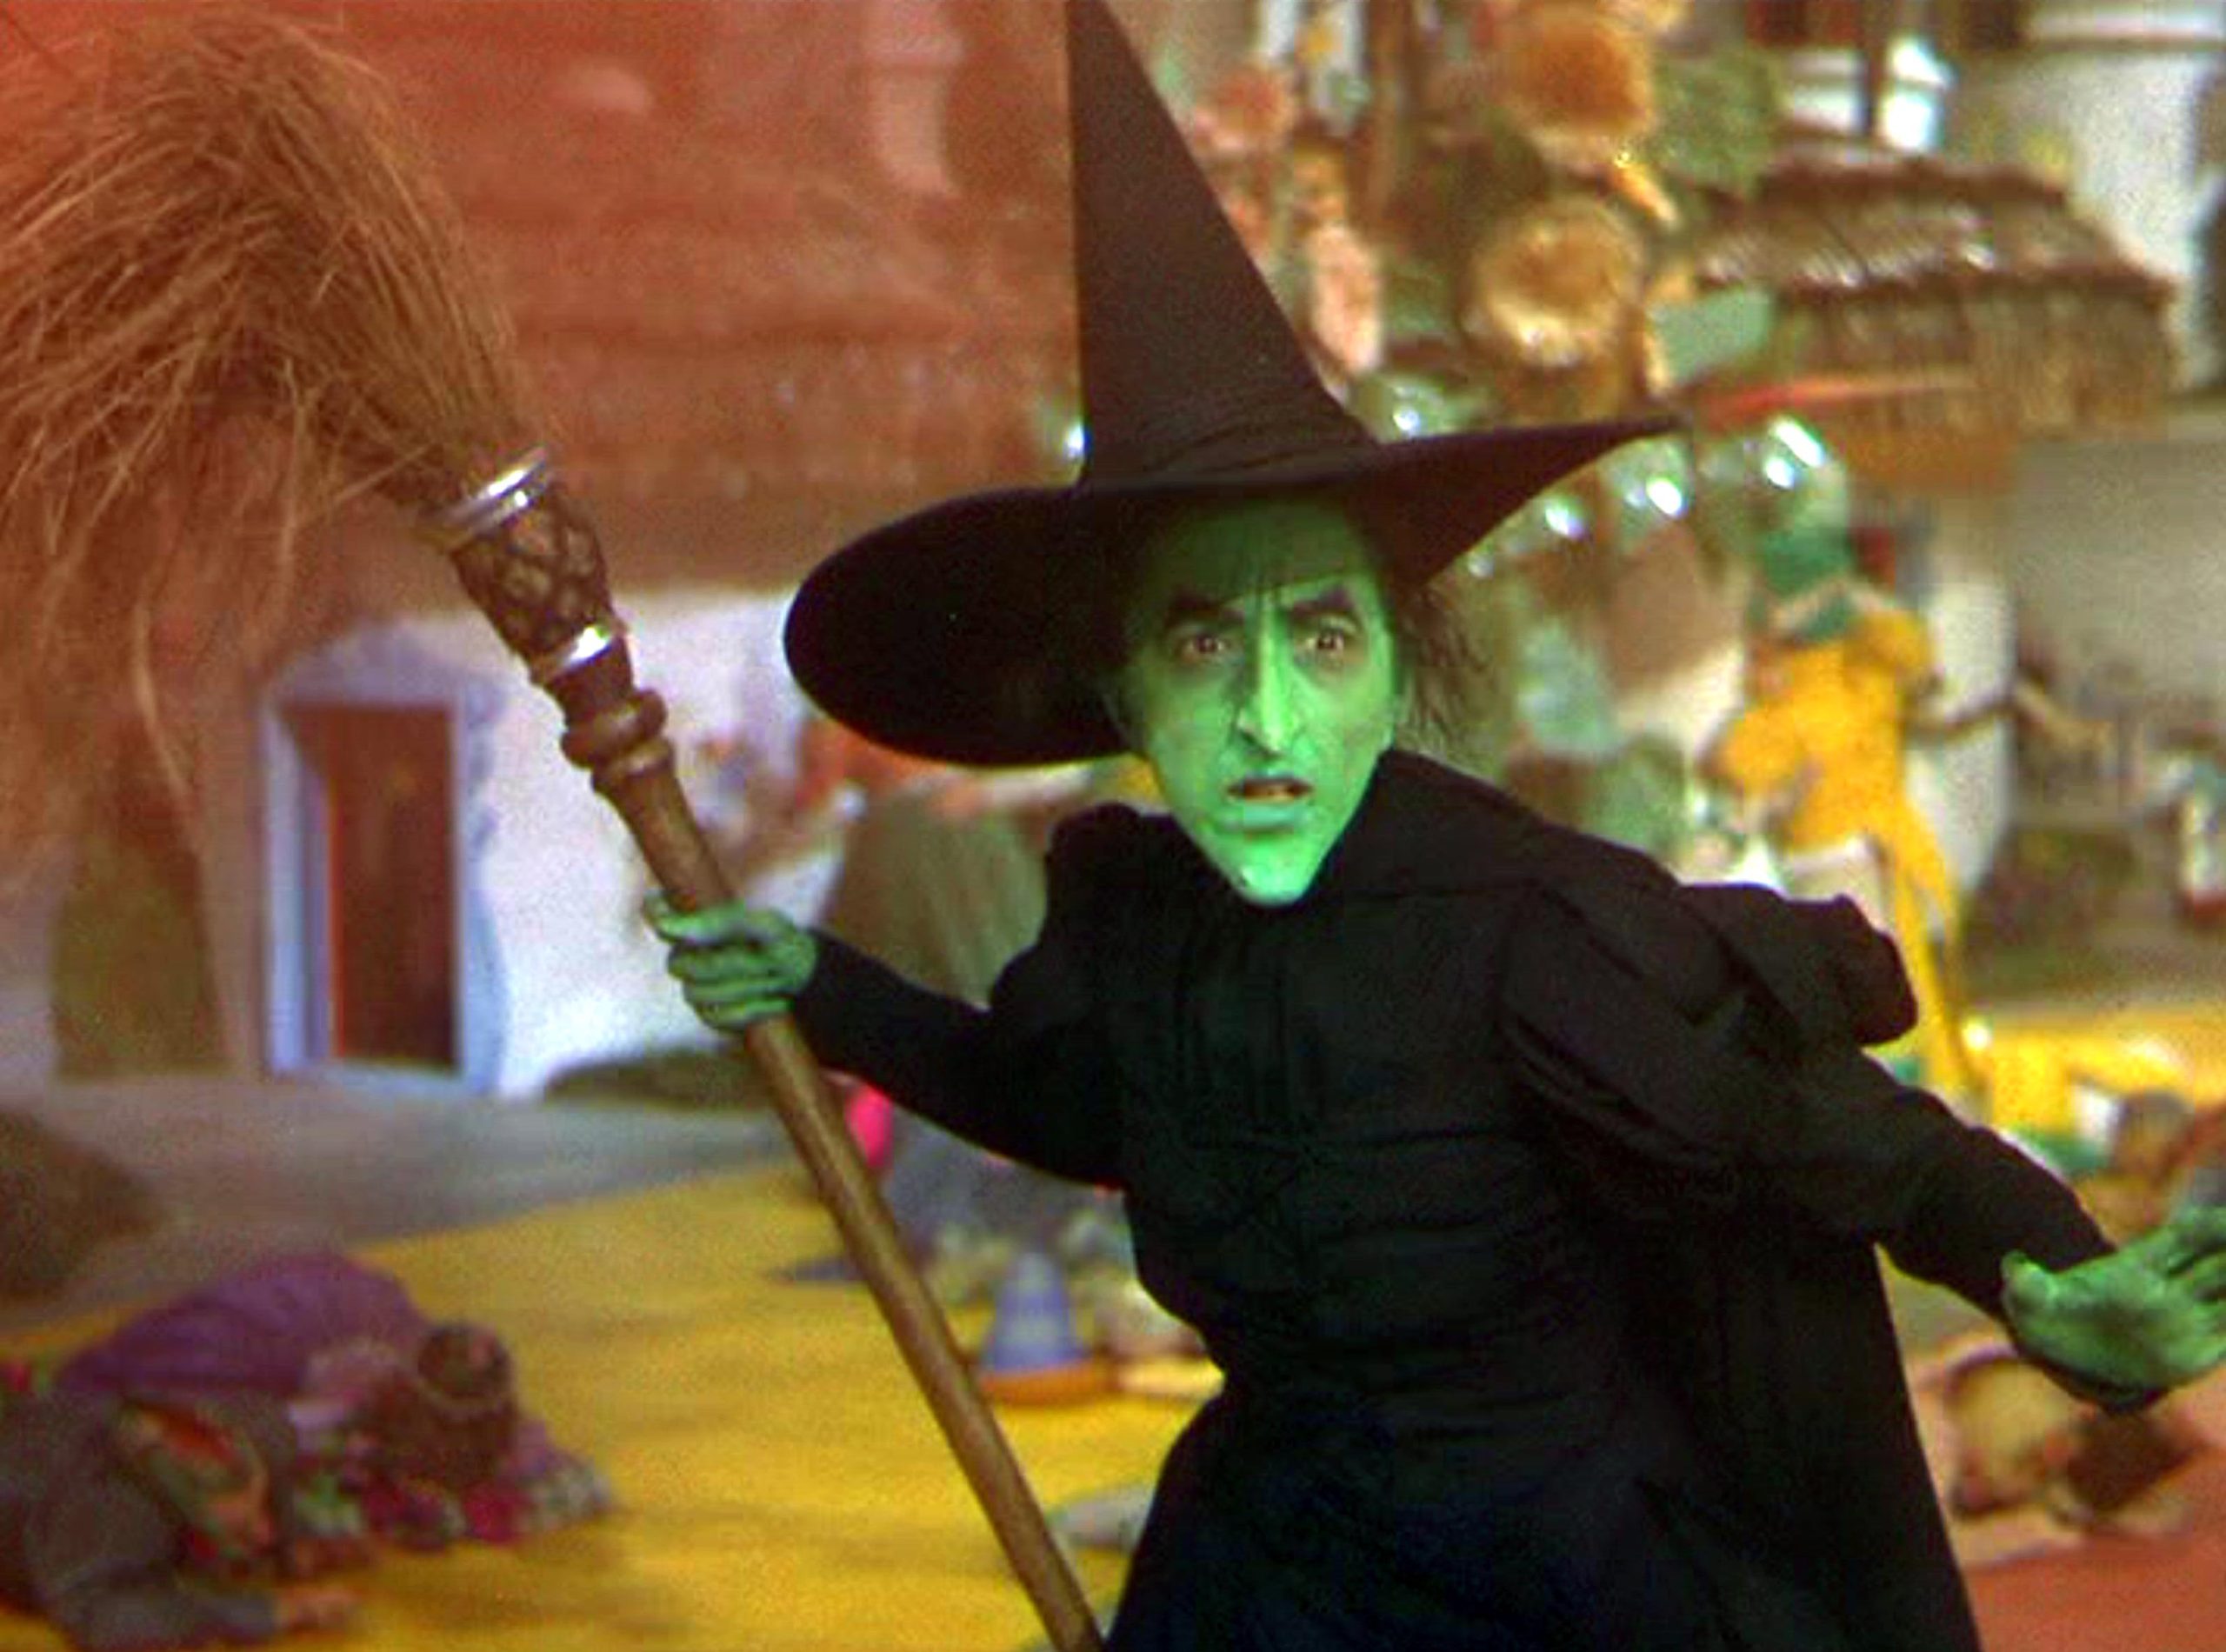
In honor of Halloween this month, I found an article on scenicstates.com detailing the most haunted places in America.
10. Whaley House (San Diego, California)
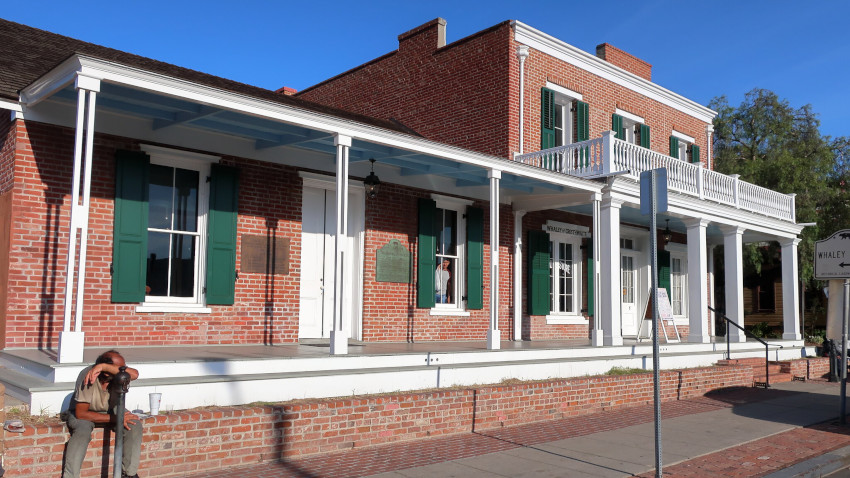
In 2005, LIFE Magazine called the Whaley House “the most haunted house in America.” Built in 1857 atop a former graveyard site, the property has been turned into a residential house, store, courthouse, city theater, ballroom hall, school, and community center. Before construction even began, the site where the house stands has reportedly been haunted by the ghost of convicted robber “Yankee Jim” Robinson, who was hanged in 1852 from a gallows that stood on the property. Thomas Whaley then bought the property and built his house there, only to hear the heavy footsteps of a large man in boots haunting the home for more than 100 years. Guests, visitors, and employees who worked in the house have reported sightings of the Whaley family ghosts, as well as the family’s dead dog running in the house. Since 1960, the Whaley House has been operating as a museum, allowing self-guided day tours and hosting guided evening tours.
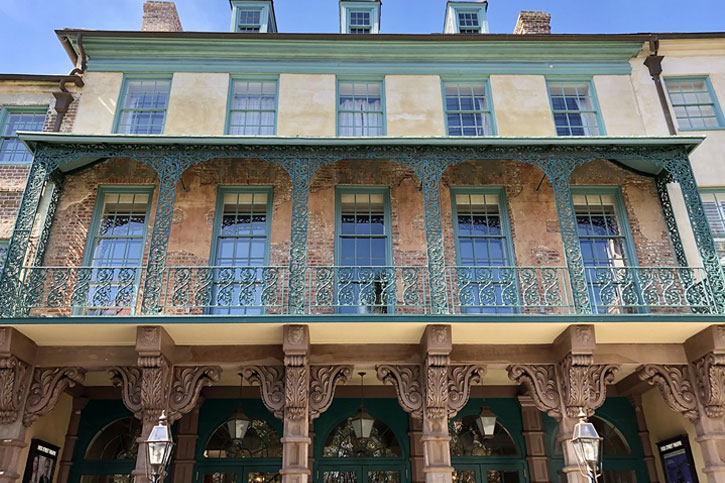
11. The Dock Street Theatre (Charleston, South Carolina)
Like many things in Charleston, SC, the history of the Dock Street Theatre is rich and super interesting. The building itself dates back to 1809 and was originally constructed as theater. When the Great Fire of 1740 (which destroyed many of the buildings in Charleston’s French Quarter) also burnt down the theater, a hotel called Planter’s Inn was built on the same location. By 1930s, the structure got back to its roots and converted back to a theater in the 1930s. Legend has its, Nettie Dickerson, a former prostitute who frequented the hotel in mid1800s, has been roaming Dock Street Theatre. According to stories, then-25-year-old Nettie was struck by lightning while standing on the balcony of the Planter’s Inn. From then on, sightings of Nettie dressed in a red gown had been happening along the second floor of the theater, . Another resident ghost of Dock Street Theatre is Junius Brutus Booth, a renowned 19th-century actor who used to frequent the inn.
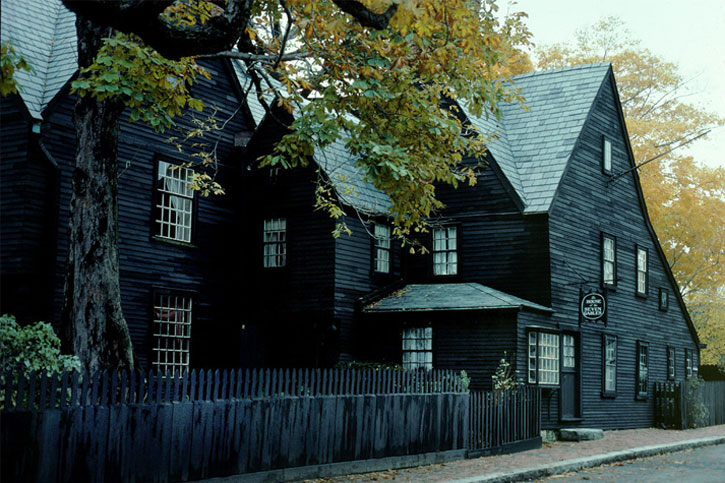
12. House of the Seven Gables (Salem, Massachusetts)
If you’ve ever read the famous 1851 novel, The House of the Seven Gables, this is the house that inspired that book. Yes, the author Nathaniel Hawthorne born in Salem and have known the gothic-like house growing up.As you may have guessed, the house in question has been shrouded with tales of ghost sightings and paranormal activities told by employees working there throughout the years.
If you’re visiting Kentucky, be sure to checkout these must-see sights!
Louisville Mega Cavern
While visiting Louisville, Kentucky, you won’t want to miss MEGA ZIPS, the world’s ONLY underground zipline adventure tour! Featuring 6 ziplines nearly 100 feet off the cavern floor and two challenge bridges, MEGA ZIPS is 2.5 hours of adrenaline-fueled adventure! Though fun for the whole family, the kids will especially love MEGA QUEST, the only underground ropes challenge course in the world! MEGA QUEST features two levels and 76 challenge elements including mini-ziplines and rope walls. Explore at your own pace in this 2-hour adventure!
Ark Encounter
Ark Encounter is a Christian theme park in Williamstown, Kentucky, centered on a full-size replica of Noah’s Ark built to the biblical dimensions in Genesis. The wooden structure measures about 510 feet long, 85 feet wide and 51 feet high, and contains three decks of interpretive exhibits that present life aboard the Ark, flood-related geology and related Biblical displays. Opened in July 2016 and operated by Answers in Genesis, the attraction sits near I-75 between Cincinnati and Lexington. Visitors typically tour the Ark’s decks during a daytime visit and often pair the trip with the nearby Creation Museum, a sister Answers in Genesis attraction.
Keeneland
Part thoroughbred race course, part sales company and considered one of America’s most beautiful tracks, Keeneland is known for its well-designed and meticulous landscaping. The grounds consist of the paddock, a prep area where visitors can view horses up-close just before the race and a combination of dirt and turf race tracks.
Louisville Slugger Museum & Factory
Batter up! It takes a special place to craft the #1 Bat in Major League Baseball. At Louisville Slugger Museum & Factory, experience history-in-the-making as you stroll through the actual factory where world-famous Louisville Slugger bats are created. The award-winning factory tour is a highlight of the visit here, but there’s plenty more to enjoy along with it. Admire the World’s Biggest Bat – stretching 120 feet into the sky. Hold bats actually used by baseball superstars like Mickey Mantle, Johnny Bench, Cal Ripken Jr. And Derek Jeter. Face down a 90-mph fastball hurled by a major league pitcher. Count the homerun notches Babe Ruth carved into his Louisville Slugger bat for every home run he hit with it. Step into the batting cages and take some swings with a replica model of your hero’s bat. Guests even get a free miniature souvenir bat at the end of the factory tour. You can even create a bat with your own name on it, just like the pros.
Lost River Cave
Lost River Cave is home to the only underground boat tour in the state of Kentucky and the only zipline in Bowling Green. In addition to the boat tour, Lost River Cave offers over two miles of nature trails, ziplines, and a unique, seasonal butterfly habitat. Lost River Cave is one of the largest nature parks in the South Central Kentucky region
Today’s recipe combines salty and sweet…Salted Caramel Cookies!
Ingredients
1 cup (2 sticks) unsalted butter, softened
1 cup packed brown sugar
½ cup granulated sugar
1 large egg
1 teaspoon vanilla extract
2 ¼ cups all-purpose flour
1 teaspoon baking
½ teaspoon salt
1 cup caramel bits
Flaky sea salt for sprinkling
Directions
Preheat your oven to 375°F
Cream the butter and sugars in a large bowl for 2-3 minutes until light and fluffy.
Beat in the egg and vanilla just until combined.
Whisk together the dry ingredients-flour, baking soda, and salt.
Gradually add the dry mix to the wet ingredients, mixing just until no flour streaks remain.
Fold in caramel bits gently with a spatula.
Scoop dough onto parchment-lined baking sheets, about 2 inches apart. Sprinkle with sea salt – just a pinch on each cookie makes that sweet-salty magic happen.
Bake for 10-12 minutes until edges are golden but centers still look slightly underdone. They’ll finish cooking on the sheet.
Let cool 5 minutes on the baking sheet before transferring to wire racks.
Rudbeckia hirta, universally beloved as Black-eyed Susan, stands as one of North America’s most recognizable and cherished wildflowers. This vibrant member of the Asteraceae (sunflower) family has earned its place as a symbol of American prairies and meadows, with its cheerful golden-yellow blooms and distinctive dark chocolate-brown centers brightening landscapes from June through August. The common name “Black-eyed Susan” comes from an old English ballad about a woman named Black-eyed Susan, though some suggest it references the flower’s dark central cone that resembles a large dark eye surrounded by bright yellow “lashes.”
Native to eastern and central North America, Black-eyed Susan has demonstrated remarkable adaptability and pioneering spirit, naturally expanding its range westward and readily establishing itself in disturbed soils, roadsides, fields, and gardens. Growing 1 to 2 feet tall, this short-lived perennial (often behaving as an annual or biennial) forms clumps of hairy, lance-shaped leaves topped by abundant daisy-like flowers that attract a stunning diversity of pollinators. Each flower head can contain 8 to 21 bright yellow ray petals surrounding hundreds of tiny dark brown disc flowers — creating a landing pad that’s both beautiful to humans and irresistible to butterflies, bees, and beneficial insects.





:max_bytes(150000):strip_icc()/chewy-spice-cookies-3d74c2a9084145e0804648986c568f1d.jpg)