Today’s offering is a very festive one…Red Velvet Cake!
Ingredients
1/2 cup butter, softened
1-1/2 cups sugar
2 large eggs, room temperature
2 bottles (1 ounce each) red food coloring
1 tablespoon white vinegar
1 teaspoon vanilla extract
2-1/4 cups cake flour
2 tablespoons baking cocoa
1 teaspoon baking soda
1 teaspoon salt
1 cup buttermilk
Preheat oven to 350°. Cream butter and sugar until light and fluffy, 5-7 minutes. Add eggs, 1 at a time, beating well after each addition. Beat in food coloring, vinegar and vanilla. In another bowl, whisk together flour, cocoa, baking soda and salt; add to creamed mixture alternately with buttermilk, beating well after each addition.
Pour into 2 greased and floured 9-in. round baking pans. Bake until a toothpick inserted in the center comes out clean, 20-25 minutes. Cool layers 10 minutes before removing from pans to wire racks to cool completely. Frost as desired.
Today’s offering is a recipe I came across that I wrote down from somewhere. (IF this is your recipe GA, please let me know so I can give you credit!!)
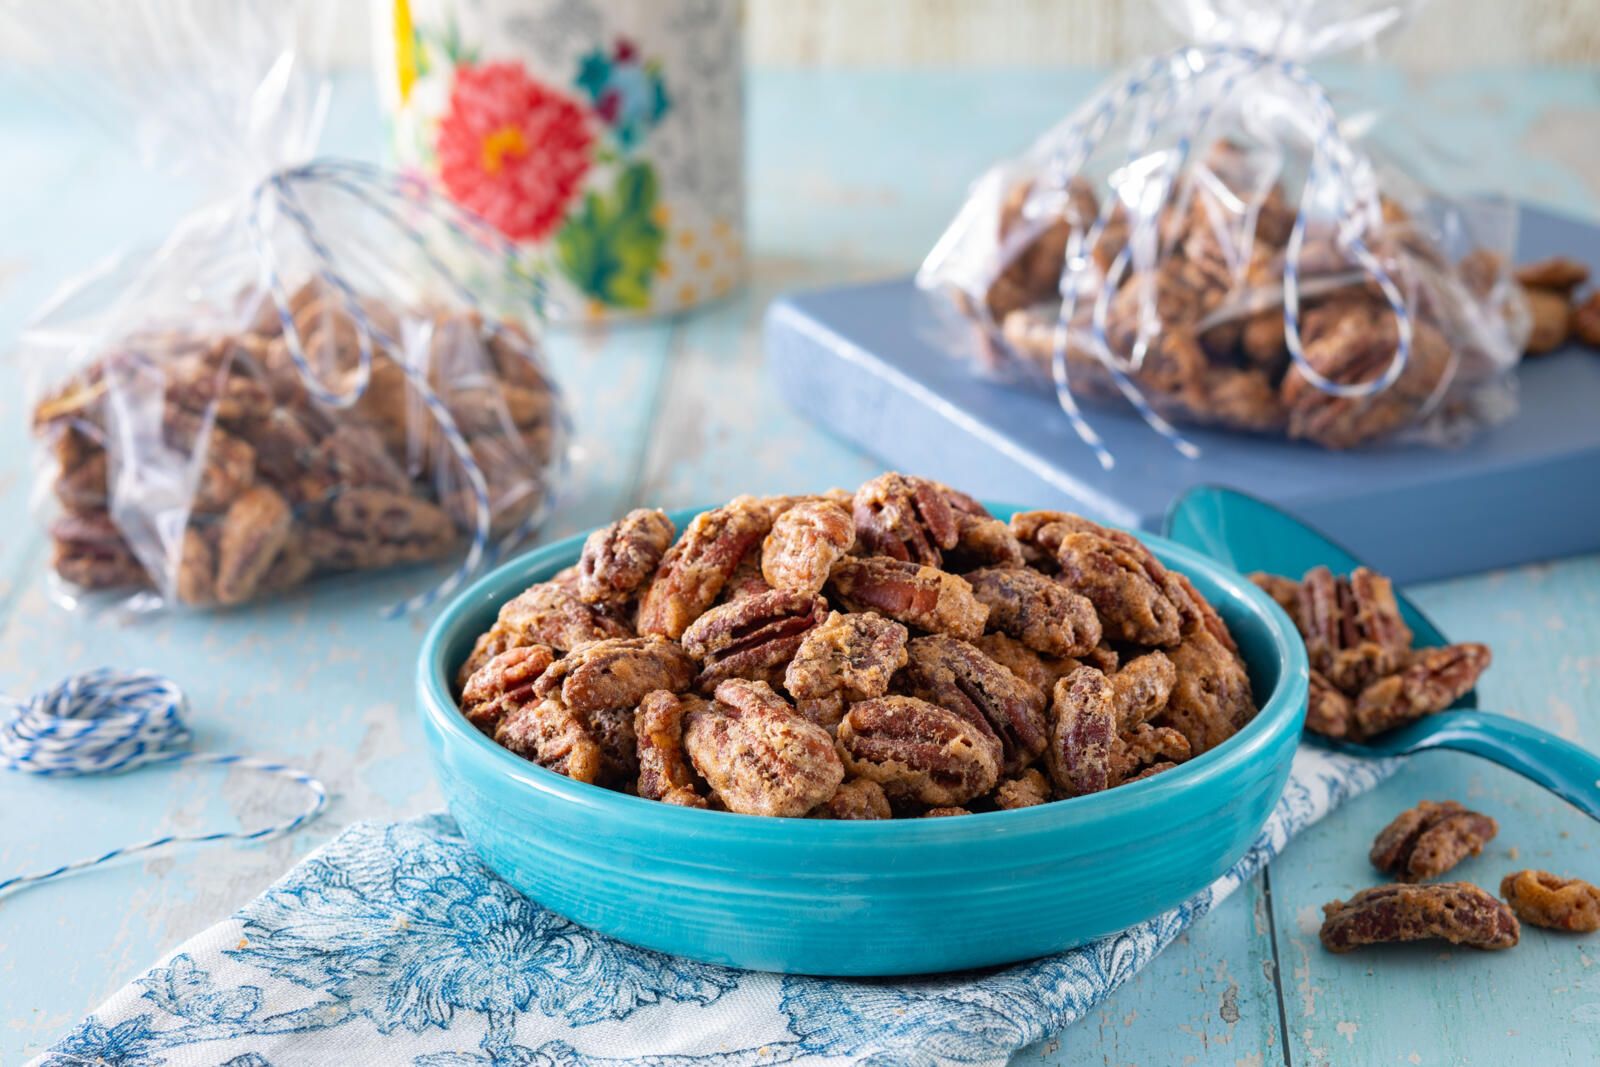
Candied Pecans
Ingredients
1/2 cup granulated sugar
1/4 cup light brown sugar
1 1/2 tsp. ground cinnamon
1/2 tsp. kosher salt
1 large egg white
1 tsp. vanilla extract
1 lb. pecan halves (about 4 cups)
Directions
Preheat the oven to 300°F. Line a baking sheet with parchment paper or a silicone baking mat.
In a small bowl, whisk together the sugars, cinnamon and salt.
In a large bowl, whisk the egg white and vanilla extract until very foamy, about 1 minute. Add the pecans and stir until well coated. Sprinkle the sugar mixture over the pecans and toss until fully coated. Spread pecans into an even layer on the prepared baking sheet.
Bake for 20 minutes. Stir and spread out evenly again. Bake for another 20 minutes or until the nuts are very fragrant and are starting to darken in color. Let the pecans fully cool in the pan on a wire rack (the sugar will harden as it cools). Break into individual pieces. Store in an airtight container in the pantry for up to 2 weeks.
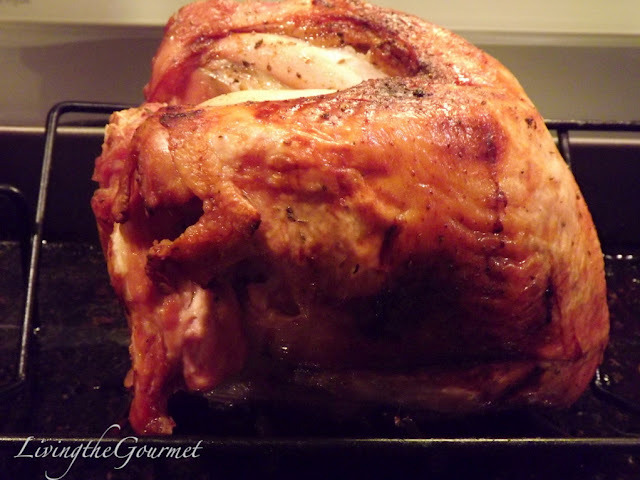
Since it’s November, today’s offering is my recipe for the perfect turkey breast. (Although, these tips work just as well for a whole turkey.)
We love white meat, so I rarely make an entire turkey for our get togethers. However, as is our custom, I will make the entire turkey dinner 2 days in a row because we seldom have many leftovers and I love the way the turkey dinner makes the house smell. I begin with about a 7 or 8 pound turkey breast. Butterball was always my first choice, but one year out of necessity I had to purchase a different brand—Honeysuckle White—and it was just as delicious!
Clean the breast and pat dry. Rub the entire breast with unsalted butter and season. I use salt, coarse ground black pepper and onion powder. The breasts available here are “restaurant style” turkey breasts which means they have the rib portion and stand upright in the roasting pan. This makes them easier to carve in my opinion.
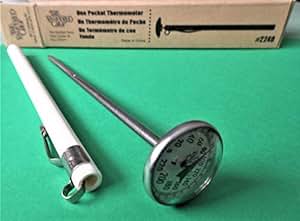
Place in a roasting pan—I do not use a rack since hubby prefers gravy like his mom made—from a jar—so I do not need to collect the juices. I roast my turkey breast uncovered in a 350* oven until the internal temperature reaches 160*. I will check the turkey roughly an hour after putting it in the oven. If the skin is sufficiently brown and crisp, I will remove the pan from the oven and cover the turkey with reynold’s wrap to finish the roasting. My turkey breasts usually roast to 160* in an hour and a half to 2 hours. But a meat thermometer is invaluable! I got mine from Pampered Chef ages ago.
It’s important to remove the bird when it hits 160* because the turkey should stand—COVERED—for at least 15 minutes before you attempt to carve it—allowing the bird’s juices to settle. During this time, the internal temperature will continue to rise to the desired 170*. My turkey breasts are always moist and tender. Can’t wait till Thanksgiving! Bon Appetit!
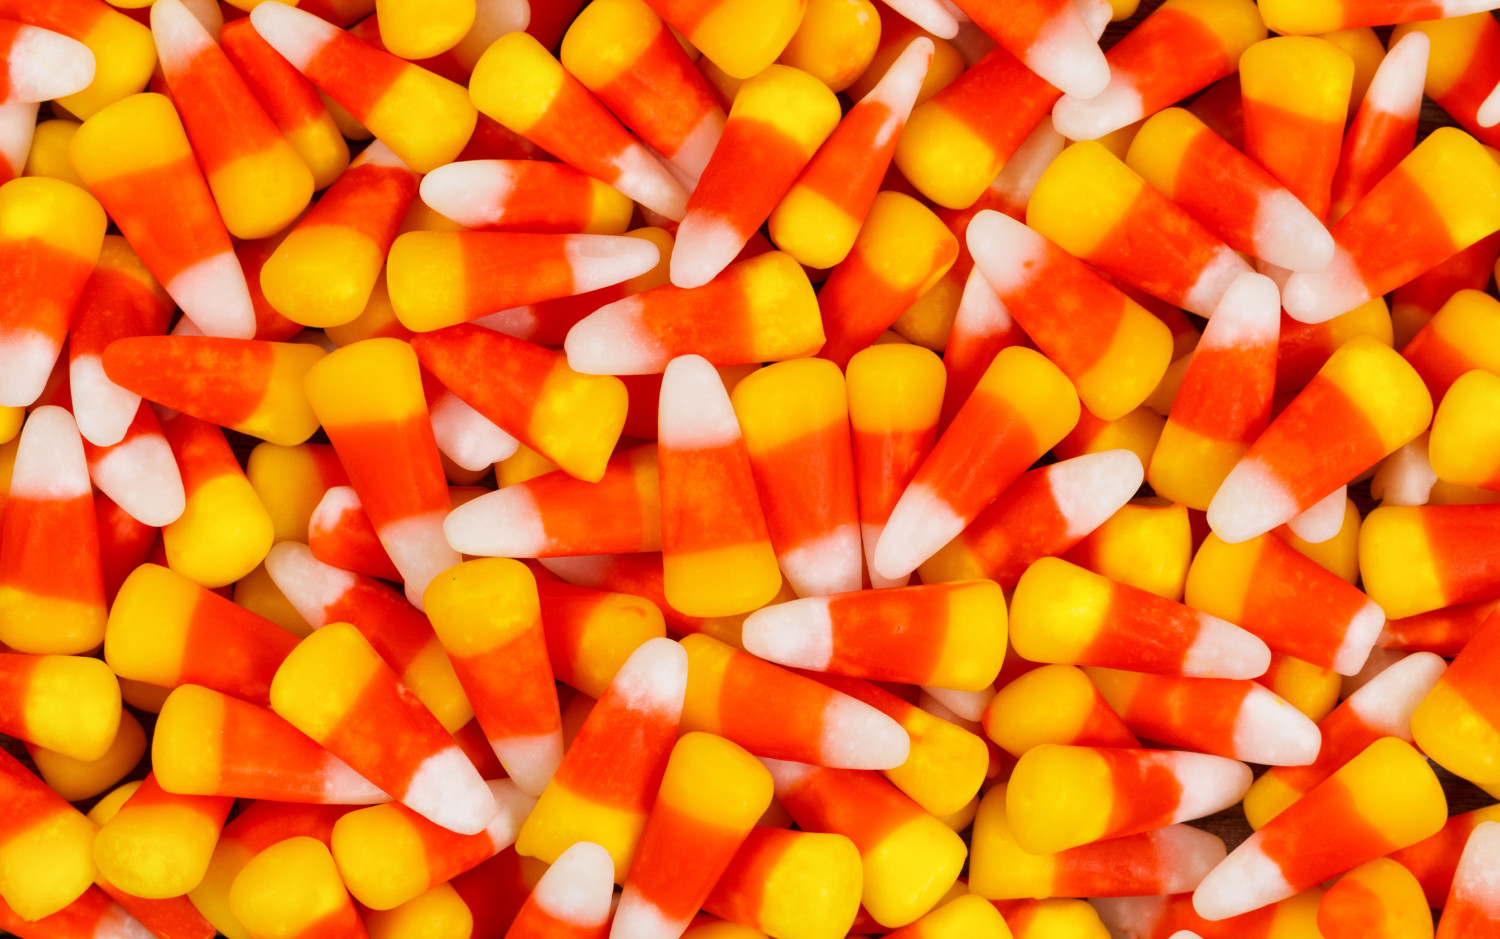
Candy corn is still one of my favorite treats around Halloween. I found an article on Better Homes & Gardens about the love it or hate it treat.
Candy corn might be the most controversial Halloween candy. In our experience, people either love it or hate it—and we’re firmly in the “love it” category. We’re not the only ones eating candy corn by the handful: The National Retail Federation estimated that in 2019, 95% of holiday shoppers stocked up on the tri-color treat. Not to mention, it’s consistently the most popular Halloween candy in multiple states.
The little yellow, orange, and white treat is an icon among holiday candies and has a legacy that goes back more than a century. Get the background on how candy corn came to be, discover fun facts, and learn all about how candy corn is made. Try our candy corn recipes and some sweet Halloween decorating ideas that feature the striped treat.
Where Was Candy Corn Invented?
According to oral tradition, George Renninger, a candymaker at the Wunderlee Candy Company in Philadelphia, invented the revolutionary tricolor candy in the 1880s. The Goelitz Confectionery Company brought candy corn to the masses at the turn of the 20th century. The company, now called Jelly Belly Candy Co., has the longest history of making candy corn—although the method has changed, it still uses the original recipe. In honor of its Goelitz roots, Jelly Belly developed a candy corn-flavor jelly bean.
How is Candy Corn Made?
Candy corn is a mixture of sugar, fondant, corn syrup, vanilla flavor, and marshmallow creme. The ingredients are melted into a liquid candy—called slurry—colored, and run through a cornstarch molding process to create each kernel. Wooden trays filled with cornstarch are imprinted with rows of candy corn molds, where the layers are individually deposited from bottom to top.
The mixture cools in the tray, which seals the three layers together. The kernels of candy corn are sifted from the trays and polished in large drum pans with edible wax and glaze to create their irresistible shine. It’s also worth noting that, strictly speaking, candy corn isn’t vegan- or vegetarian-friendly. Most formulations contain gelatin or other animal-based ingredients.
What Other Types of Candy Corn are There?
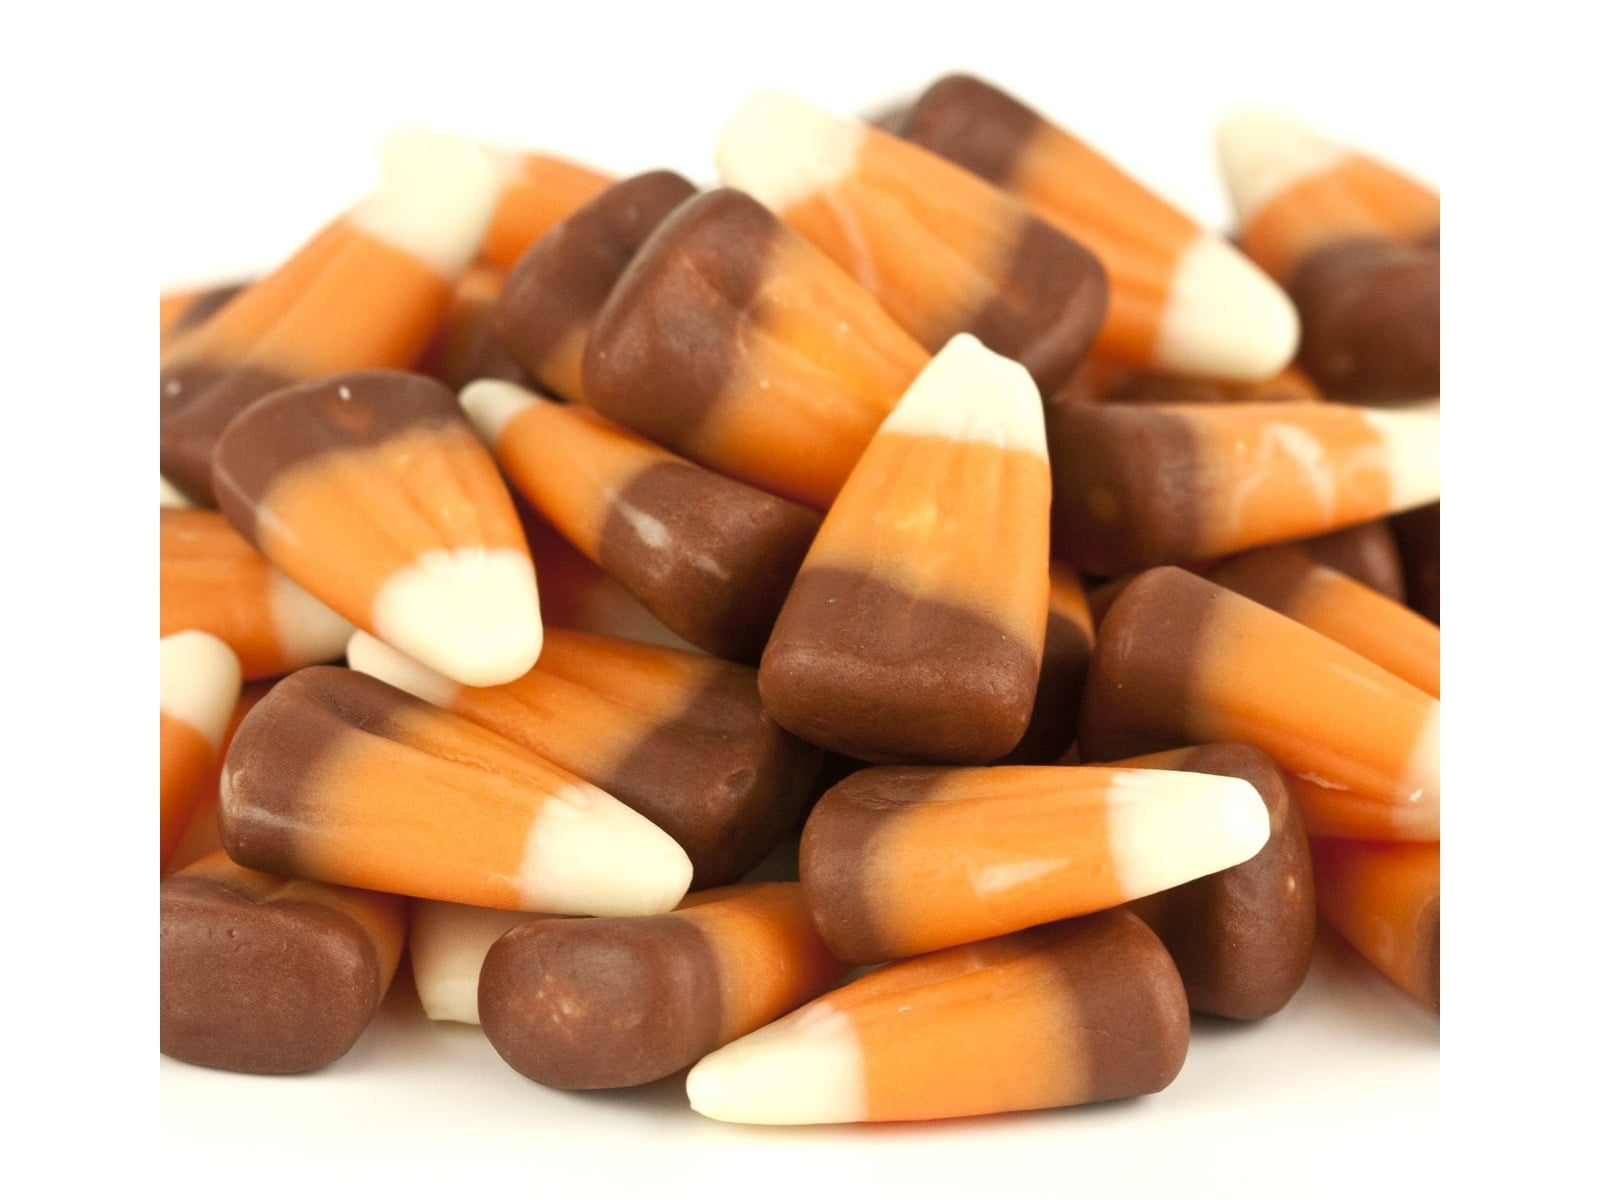
Candy corn is such a popular choice that the mellow creme candies are now available year-round in a variety of colors for other seasonal holidays. Most have the same smooth vanilla flavor as the original, but there are some flavor variations.
For Thanksgiving, serve fall corn, which is brown, orange, and white (the brown section is chocolate-flavored).
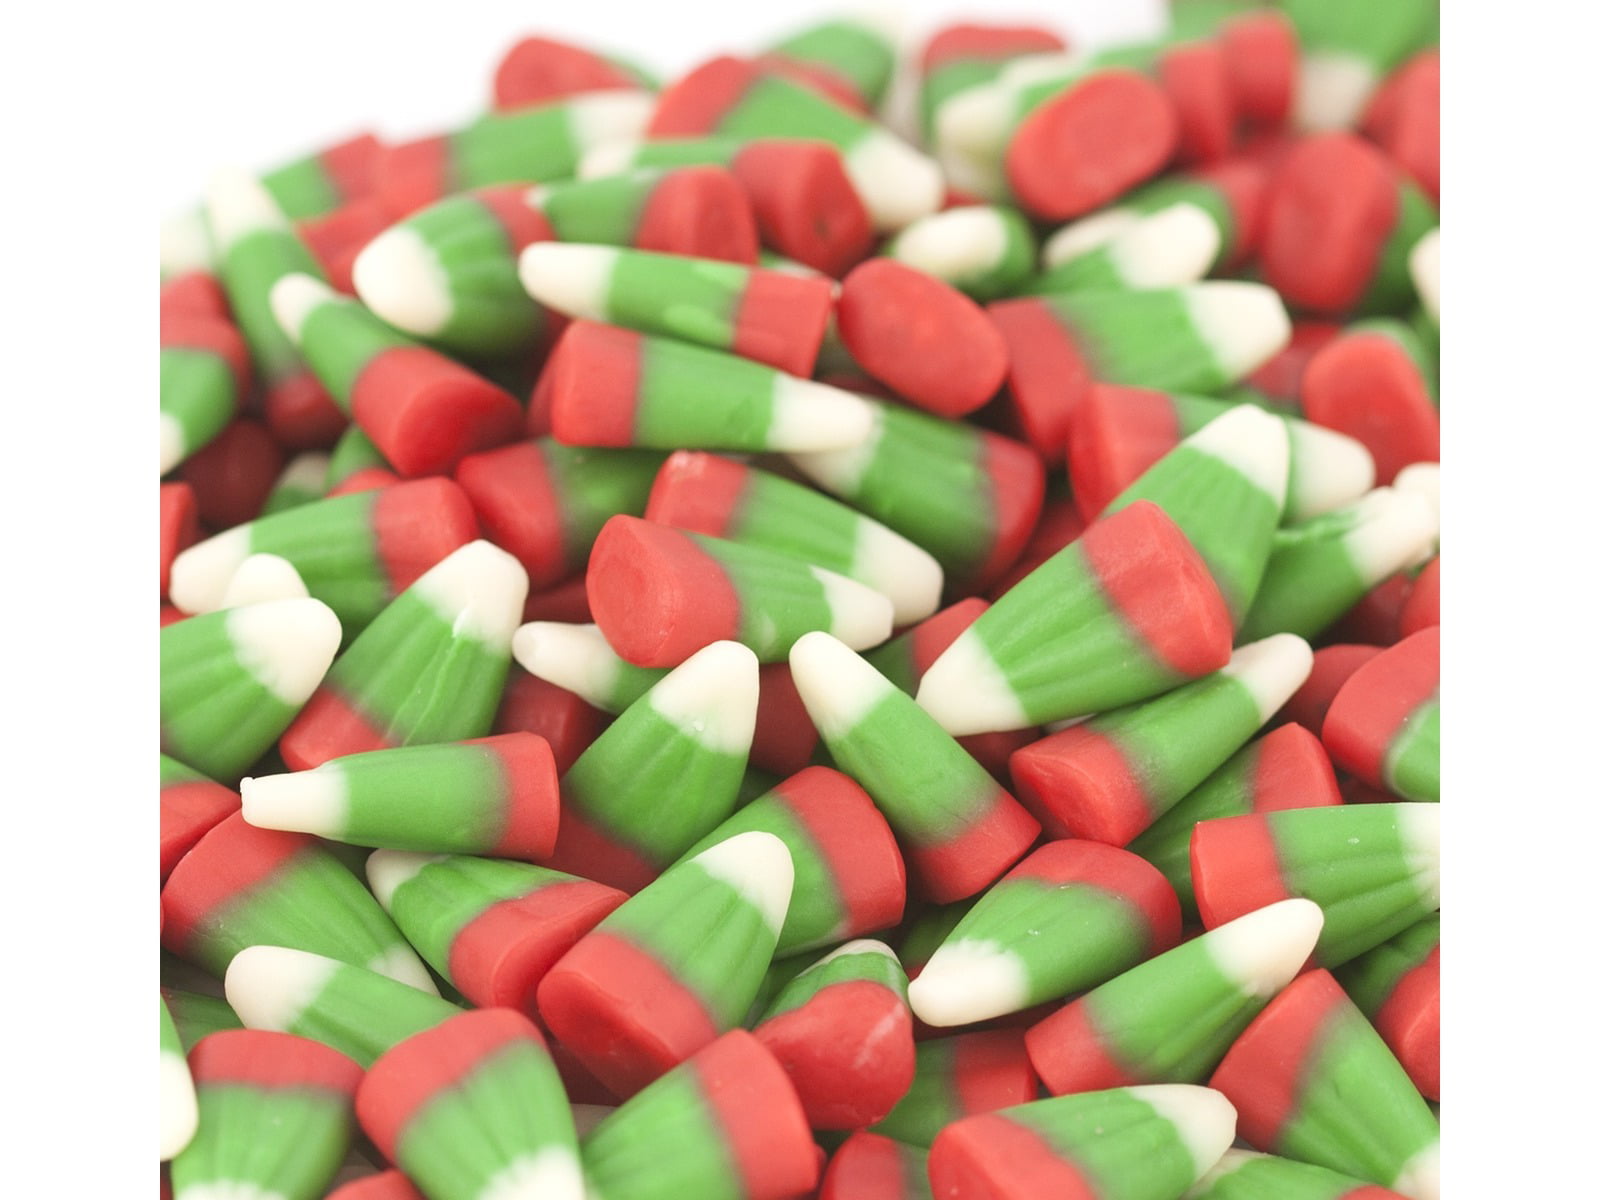
Christmas-inspired reindeer corn has the classic vanilla flavor of traditional candy corn but comes in a green, white, and red colorway.
Celebrate Valentine’s Day with cupid corn in pink, red, and white.
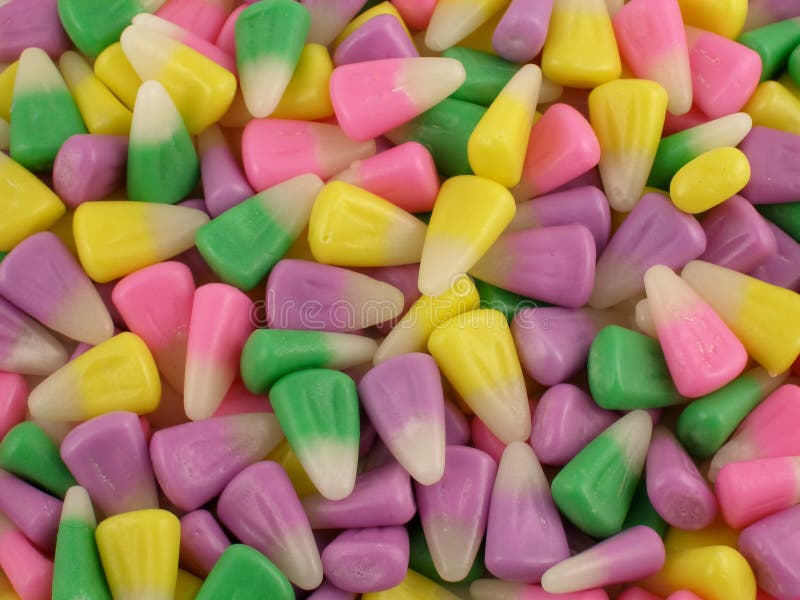
For Easter, load up on bunny corn in various pastel colors.
You can also find seasonal candy corn varieties in apple, pumpkin spice, and cinnamon flavors.
Fun Candy Corn Facts
We’re all familiar with the classic orange, yellow, and white treats—but some of the facts about candy corn might surprise you!
Candy corn isn’t the treat’s original name
What was candy corn originally called? Fun fact: When the Goelitz Confectionery Company first produced candy corn, it was called “Chicken Feed.” The boxes were illustrated with a colorful rooster logo and a tagline: “Something worth crowing for.”
Candy corn has its own national day
You don’t have to wait for Halloween to indulge in the mellow creme candies. Celebrate National Candy Corn Day on October 30.
More than 17,000 tons of candy corn are produced each year
According to the National Confectioners Association, more than 35 million pounds (or 9 billion pieces) of candy corn are produced yearly.
Candy corn is one of the better-for-you Halloween candies
It contains roughly 28 grams of sugar and only 140 calories per heaping handful—and it’s fat-free!
It has a long shelf life
Once the package is opened, store candy corn covered and away from heat and light at room temperature; it should last three to six months. If unopened, packaged candy corn will last about nine months.
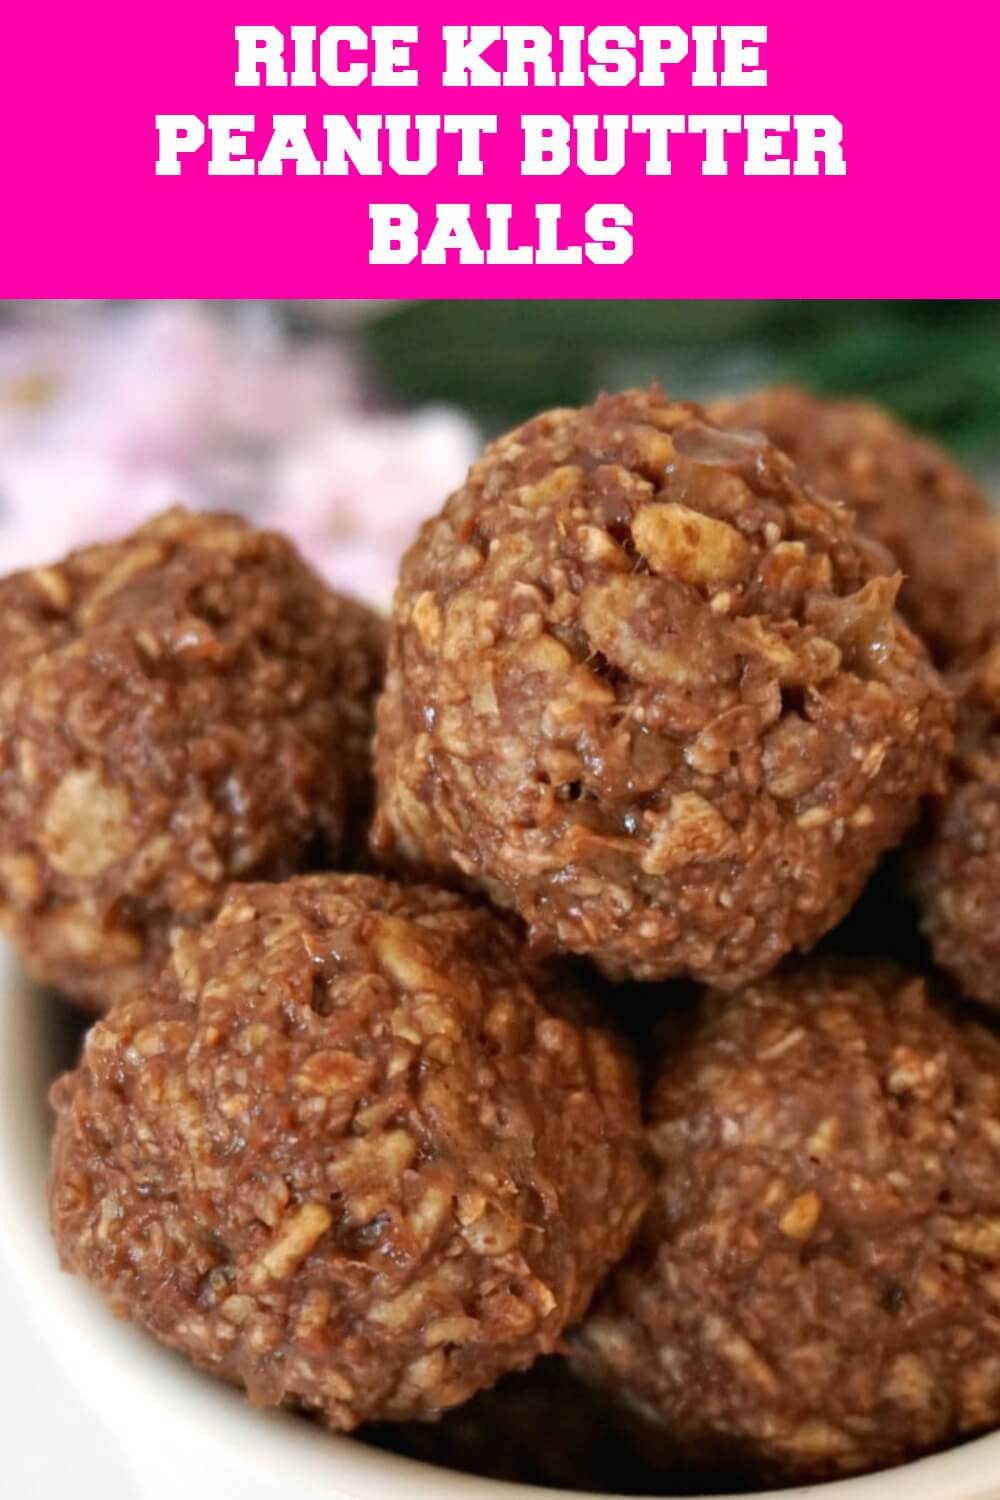
Peanut Butter Balls! This recipe comes from my namesake, so these are a no-bake treat. I’ve seen different variations on these, including melting the peanut butter first—too fussy for Aunt Pat. Or, melting an entire bag of chocolate chips and dipping the balls instead of drizzling the chocolate—oh hell no, she’d say! TOO MESSY! But the options are always yours.
Aunt Pat’s Peanut Butter Balls
Ingredients
4 cups powdered sugar
½ cup butter, softened
2 cups peanut butter, regular or chunky
3 cups Rice Krispies
2 cups chocolate chips: your choice, semi-sweet, milk or dark
Cream the powdered sugar and softened butter. Add the Rice Krispies, mixing by hand. Shape the mixture into 1-inch balls and place on a wax paper lined cookie sheet. (If you choose to dip the balls into the melted chocolate instead of drizzling the melted chocolate over the balls, refrigerate so they are firmer before you dip.) Melt the chocolate chips in a plastic bag in the microwave for easier clean-up (a MUST for Aunt Pat’s recipes). Snip off the tip of the bag and drizzle the melted chocolate over the balls.
Another variation is to put the melted chocolate right into the balls instead of drizzling it on or coating the balls
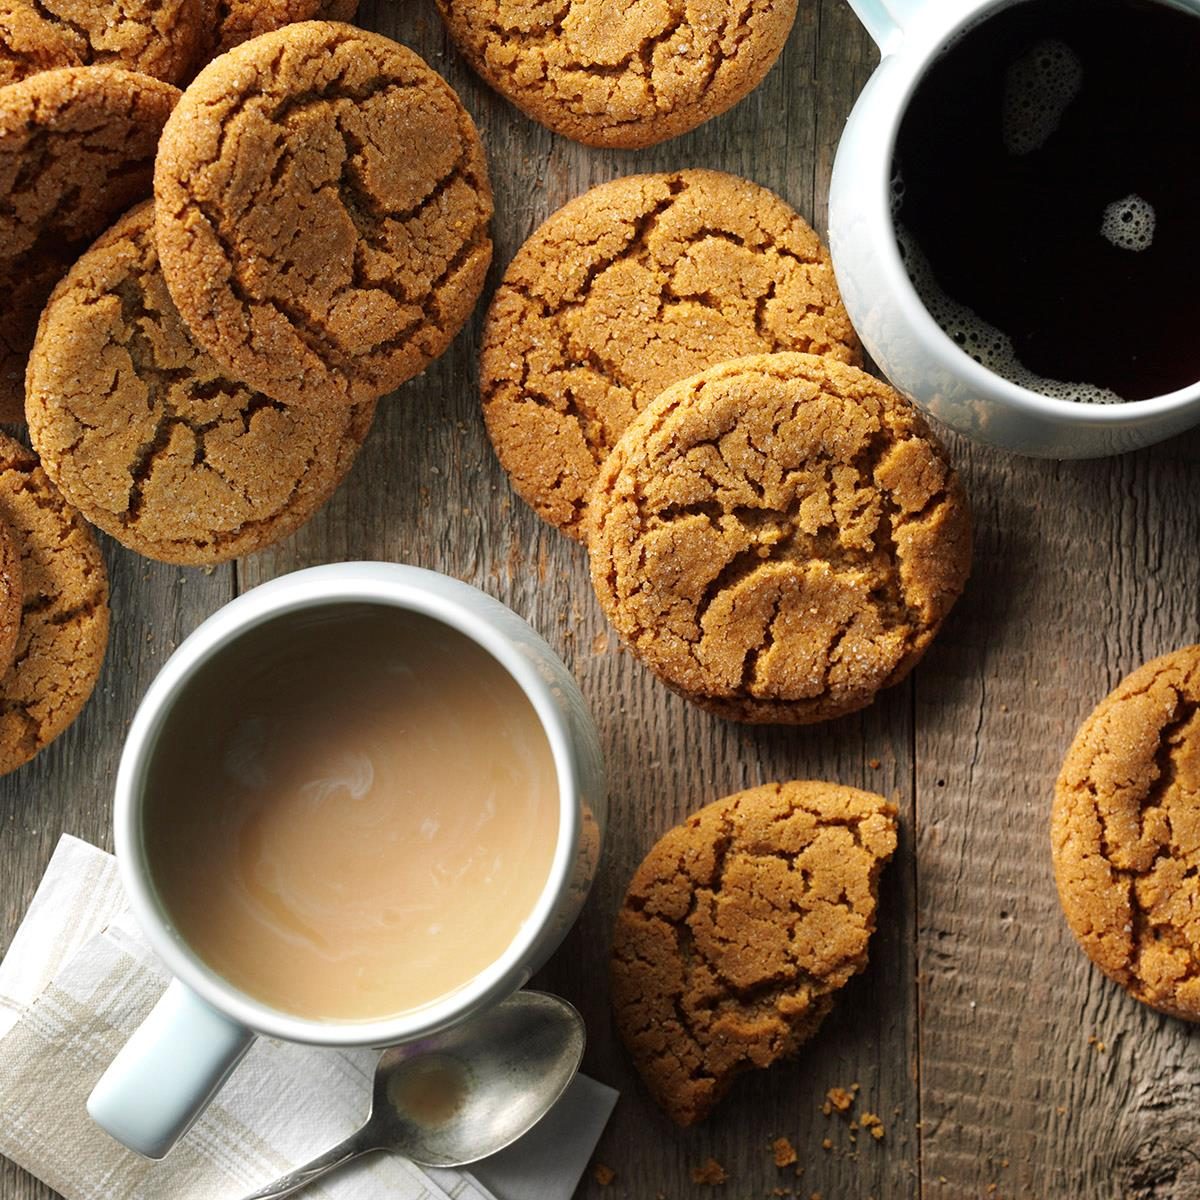
October is the perfect time for ginger cookies. I like the big, soft cookies!
Ginger Cookies
Ingredients
3/4 cup butter, softened
1 cup sugar
1 large egg, room temperature
1/4 cup molasses
2-1/4 cups all-purpose flour
2 teaspoons ground ginger
1 teaspoon baking soda
3/4 teaspoon ground cinnamon
1/2 teaspoon ground cloves
1/4 teaspoon salt
Additional sugar
Directions
In a large bowl, cream butter and sugar until light and fluffy, 5-7 minutes. Beat in egg and molasses. Combine the flour, ginger, baking soda, cinnamon, cloves and salt; gradually add to the creamed mixture and mix well.
Roll into 1-1/2-in. balls, then roll in sugar. Place 2 in. apart on ungreased baking sheets. Bake at 350° until puffy and lightly browned, 10-12 minutes. Remove to wire racks to cool.
ENJOY!
Tips from The Taste of Home website:
Soft Ginger Cookie Tips
What kind of molasses do you use for ginger cookies?
Dark molasses is commonly used when making ginger cookies because it gives them their dark golden-brown color, chewiness and rich flavor. If you don’t have dark molasses, use light molasses instead!
How can I make these cookies crisp?
To make ginger cookies crisp, leave out the baking soda. The main difference between soft and crispy ginger cookies has to do with this leavening agent. (For less mess while measuring baking soda, coat your measuring cups in cooking spray before portioning it out.)
How can I keep these cookies chewy?
To keep the cookies soft and chewy, store them on the counter in an airtight container with a slice of bread.
Why are my ginger cookies flat?
There are plenty of reasons why cookies turn out flat. To avoid flat cookies, make sure to cream your butter and sugar until it is light yellow and fluffy. This usually takes 5 minutes on medium speed. Doing so adds air and structure to the dough. If your cookies are still turning out flat while baking, refrigerate the unbaked dough balls for 10-15 minutes before baking to prevent excessive spreading.
Today’s offering combines chocolatey goodness with caramel and pecans—Turtle Bars! This recipe is quick and easy!
Ingredients
1 box German chocolate cake mix (any chocolate cake mix will do)
½ cup butter melted
¼ cup milk
1 cup chocolate chips (semi sweet, milk or dark, your choice)
1 cup chopped pecans divided
1 12 oz jar caramel ice cream topping
Instructions
Preheat oven to 350°. Spray 9X13 with non-stick cooking spray.
Combine cake mix, butter and milk in large bowl and stir until well blended. Spread half of mixture in prepared pan.
Bake 7-8 minutes. Sprinkle chocolate chips and half of pecans on the baked crust. Drizzle with caramel topping. Drop spoonfuls of remaining batter over caramel, sprinkle with remaining pecans. Bake 18-20 minutes. Cool completely in pan. Refrigerate before slicing.
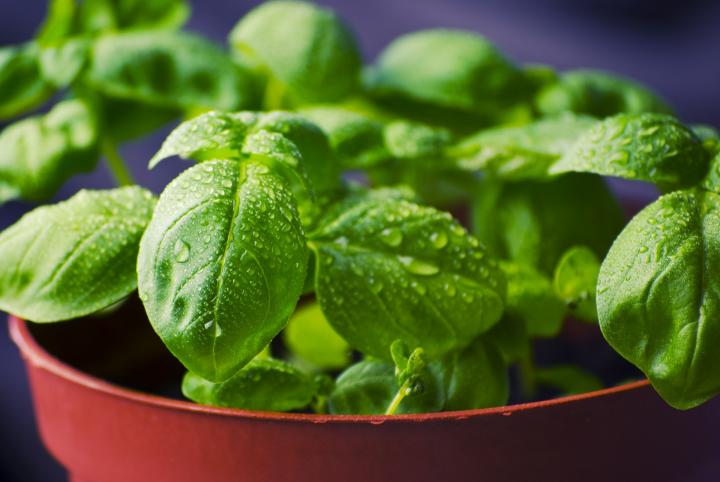
Basil is easy to grow, but it only grows outdoors in the summer once the soil has warmed up nicely—and it’s a great companion to tomatoes! Here’s what to know about planting, growing, and harvesting basil.
About Basil
A member of the mint family (Lamiaceae), basil is one of the most popular culinary herbs. It’s a warm-weather annual herb you can plant outdoors once temperatures are consistently above 50°F.
Basil is not usually seeded directly into the soil; typically, gardeners transplant small starter plants purchased at a nursery. Or, they may start the seeds themselves indoors under grow lights.
Common or sweet basil, Ocimum basilicum, is the most common basil; other types include purple basil (less sweet than common basil), lemon basil (lemon flavor), and Thai basil (licorice flavor)
If you’re planning on making pesto, grow several plants. For other uses, one or two basil plants yield plenty.
Planting
Basil will grow best in a location that gets 6 to 8 hours of full sun daily, though it can perform well in partial sun, too.
Soil should be moderately fertile and moist but well-draining. Basil works great in containers or raised beds, as these allow for better drainage. The pH of the soil should ideally be in the range of 6.0 to 7.5 (slightly acidic to neutral).
If you plan on cooking with these plants, plant in clean soil, don’t use insecticides, and grow them away from driveways and busy streets so exhaust won’t settle on the plants.
When to Plant Basil
To get a jump on the season, start the seeds indoors 6 to 8 weeks before transplanting outside.
To plant outside, wait until the soil has warmed to at least 50°F—preferably around 70ºF for best growth. Nighttime temperatures shouldn’t drop below 50°F.
Don’t rush basil. Without heat, the plant won’t grow well!
How to Plant Basil
If you are sowing seeds directly into the ground sow no more than 1/4-inch deep. Seeds should germinate within 5 to 7 days. Once they have developed 2 to 3 pairs of true leaves, transplant.
If you are planting the germinated seedlings or starter plants in the ground, space 10 to 12 inches apart. Basil should grow to about 12 to 24 inches in height.
A 2- to 3-inch mulch of compost or ground-up leaves retains soil moisture and minimizes weeds around the plants.
Tomatoes make great neighbors for basil plants in the garden—and on the plate—so many gardeners will plant the two warm-weather friends around the same time.
Growing
How to Grow Basil
Make sure that the soil is moist. Basil plants like moisture.
If you live in a hot area, use mulch around the plants (the mulch will help hold in moisture and suppress weeds).
During the dry periods in summer, water the plants freely.
After the seedlings have produced their first six leaves, prune above the second set. This encourages the plants to start branching, resulting in more leaves for harvest.
Every time a branch has six to eight leaves, repeat pruning the branches back to their first set of leaves.
Fertilize sparingly throughout the season with a 5-10-5 fertilizer.
After about 6 weeks, pinch off the center shoot to prevent early flowering. If flowers do grow, just cut them off.
If the weather is going to be cold or if a sudden frost is imminent, be sure to harvest your basil beforehand, as the cold temperatures will destroy your plants.
Recommended Varieties
Cinnamon basil, to add a hint of cinnamon to a dish
Purple basil, to add some nice color to your garden (when steeped in white vinegar, it creates a beautiful color)
Thai basil, to add a sweet licorice flavor to a dish.
Harvesting
How to Harvest Basil
Start picking the leaves of basil as soon as the plants are 6 to 8 inches tall.
Once temperatures hit 80°F, basil will really start leafing out.
Harvest in the early morning, when leaves are at their juiciest.
Make sure to pick the leaves regularly to encourage growth throughout the summer.
Even if you don’t need the leaves, pick them to keep the plant going. Store them for later use!
If you pick regularly, twelve basil plants can produce 4 to 6 cups of leaves per week.
How to Store Basil
The best method for storing basil is freezing. Freezing will prevent the plant from losing a good portion of its flavor. To quick-freeze basil, package whole or chopped leaves in airtight, resealable plastic bags, then place in the freezer.
Another storage method is drying the basil (although some flavor will be lost). Pinch off the leaves at the stem and place them in a well-ventilated and shady area. After 3 to 4 days, if the plants are not completely dry, place them in the oven on the lowest heat setting with the door slightly open. Remember to turn the leaves (for equal drying) and check them frequently.
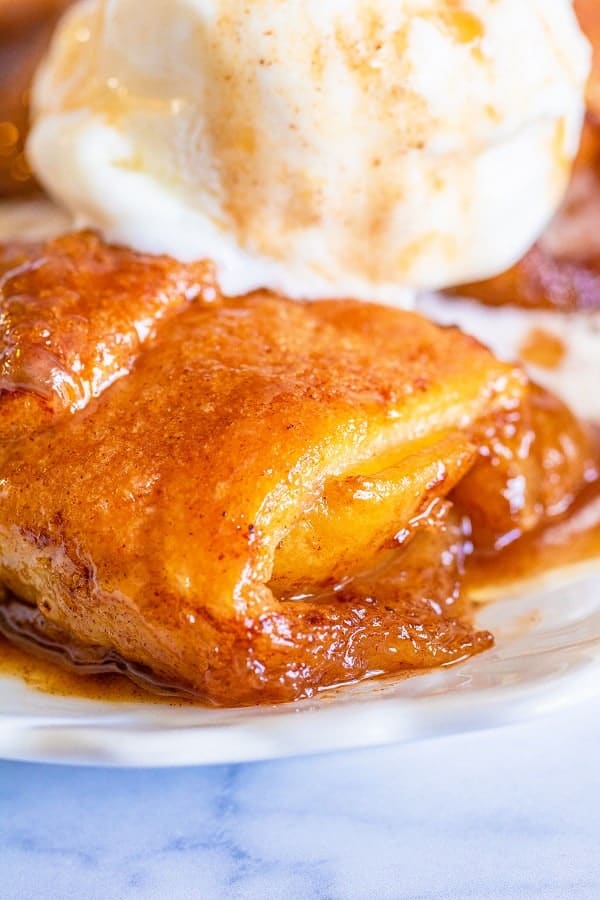
Today is National Apple Dumpling Day and I found a twist on the classic recipe—one that doesn’t use homemade pie crust which can be time consuming. This Pillsbury recipe uses crescent rolls!
2/3 cup Sprite™ lemon-lime soft drink (from 20-oz bottle)
Steps
Heat oven to 350°F. Spray 13×9-inch pan with cooking spray.
Peel and core apples; cut into 16 slices.
Unroll dough; separate into 16 triangles. Place 1 apple slice on shortest side of each dough triangle. Starting with shortest side of triangle, roll to opposite point, wrapping dough around apple slice; arrange in pan.
In medium bowl, stir together melted butter, brown sugar and cinnamon. Pour mixture evenly over dumplings.
Pour soft drink in center and along edges of pan. (Do not pour on top of dumplings.)
Bake 33 to 36 minutes or until golden brown. Let stand 15 minutes.
Tips from the Pillsbury Kitchens
Don’t have Granny Smith apples? Try Honeycrisp or Braeburn apples instead. These apples, like Granny Smith, are crisp and will hold their shape after baking.
Add more complex flavors to your apple dumplings by adding 1/4 teaspoon of ground nutmeg or cardamom to the cinnamon.
In place of Sprite™, you can also use sodas like ginger ale, 7-Up™ or Mountain Dew™.
Top apples with a few chocolate chips before rolling up for an extra sweet dessert!
Serve dumplings with vanilla ice cream and caramel sauce!
NOTE TO FILLY: You can easily substitute PEACHES for the apples in this recipe!
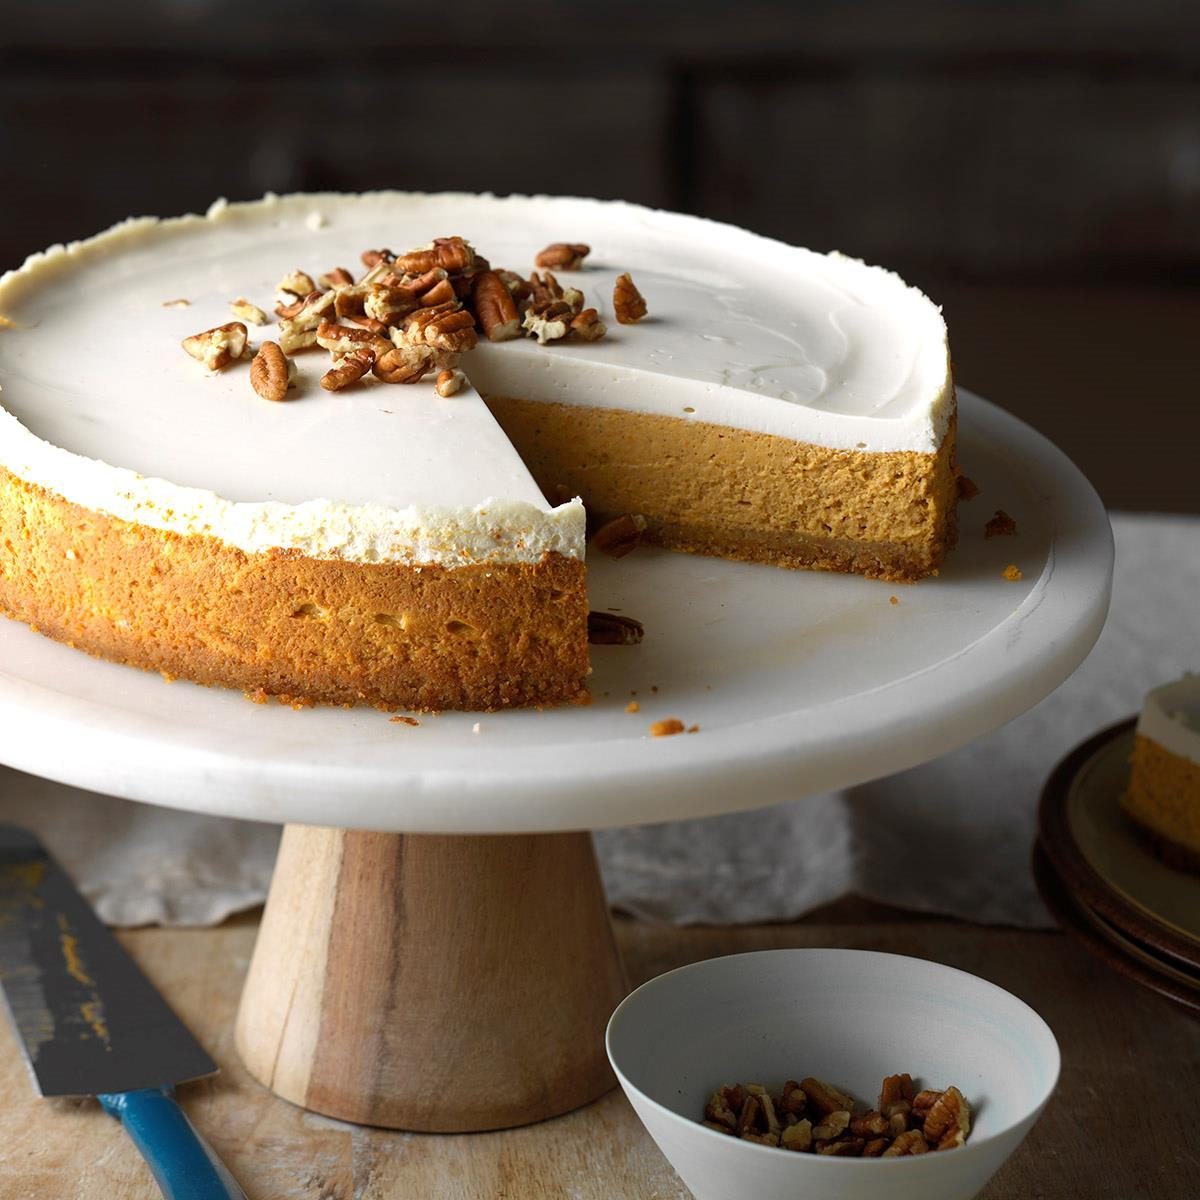
September rings in Fall and Fall makes me think of…pumpkins! Today’s recipe is Pumpkin Cheesecake!
Ingredients
CRUST:
1 cup graham cracker crumbs
1 tablespoon sugar
1/4 cup butter, melted
FILLING:
2 packages (8 ounces each) cream cheese, softened
3/4 cup sugar
2 large eggs, room temperature, lightly beaten
1 can (15 ounces) pumpkin
1-1/4 teaspoons ground cinnamon
1/2 teaspoon ground ginger
1/2 teaspoon ground nutmeg
1/4 teaspoon salt
TOPPING:
2 cups sour cream
2 tablespoons sugar
1 teaspoon vanilla extract
12 to 16 pecan halves, chopped
Directions
In a small bowl, combine the graham cracker crumbs and sugar; stir in butter. Press into the bottom of a 9-in. springform pan; chill.
For filling, in a large bowl, beat cream cheese and sugar until smooth. Add eggs; beat on low speed just until blended. Stir in the pumpkin, spices and salt.
Pour into crust. Place pan on a baking sheet. Bake at 350° for 50 minutes.
Meanwhile, for topping, combine the sour cream, sugar and vanilla until smooth. Spread over filling; return to the oven for 5 minutes. Cool on rack for 10 minutes. Carefully run a knife around the edge of pan to loosen; cool 1 hour longer.
Refrigerate overnight. Remove ring from pan. Top with chopped pecans. Refrigerate leftovers.