Weird Vegetables: Fiddleheads

Foraged from the ostrich fern, fiddleheads are the plant’s young shoots that look like tiny scrolls popping out of the dirt. Only available for a short window of time during the spring, they are a delicious delicacy with many devoted fans who can hardly wait for fiddlehead season. Fiddleheads are foraged from the wild in certain parts of the U.S. and Canada where they’re also most often consumed. Some foragers sell them to markets, making them available to more people. Best when simply prepared by sautéing or steaming right after harvest, fiddleheads offer a charming taste of spring for simple dishes.

What Are Fiddleheads?

Fiddleheads are the tightly coiled tips of ferns that are eaten cooked. These delicate delights are available only in early spring when ferns grow their new shoots. The young fern fronds are mainly available by foraging or at farmers markets.

The fiddleheads eaten in North America are from the ostrich fern (Matteuccia struthiopteris). Other ferns can be toxic, so never forage without an experienced guide. It’s also important to harvest just a few fiddleheads in a cluster or the fern could die. Lucky for fiddlehead fans, ostrich ferns are fairly common, especially in temperate woodland areas and near streams. They grow in dense clumps, from the northern plains states to the east coast of the United States and throughout most of Canada.

It’s not necessary to forage them yourself because fiddleheads may be found at markets that specialize in wild foods. They are not widely available, however, and are expensive due to their short season. Fiddleheads require little preparation beyond a thorough rinse. They are best lightly cooked, whether sautéed, steamed, or boiled, and can be served as a light side or on top of a dish.

How to Cook with Fiddleheads

To prepare fiddleheads, start by removing any of the papery brown skin and trim away any brown stem ends. Wash them thoroughly to remove any dirt from the fronds. A good way to wash them is to fill a sink with cold water and submerge the fiddleheads, swishing them around to loosen any dirt. Depending on how dirty they are, you might have to fill the sink again and repeat the process.
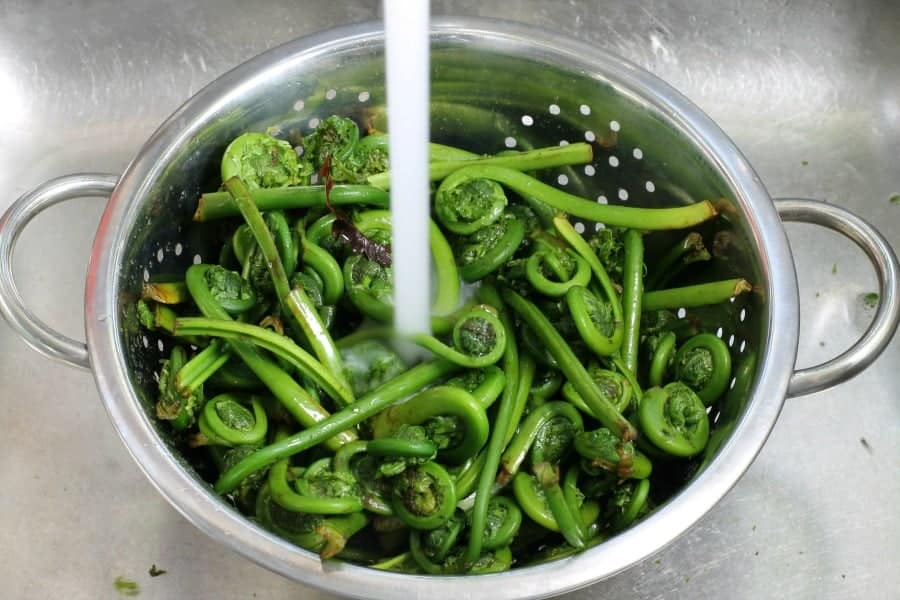
The next step is to boil the fiddleheads. This stage of cooking is for the purpose of deactivating the toxin, so even if you plan to roast or sauté the fiddleheads, don’t skip this step. Bring a large pot of water to a boil, add the fiddleheads, and simmer for 10 to 15 minutes. Then drain the fiddleheads and plunge them into a bowl of ice water to stop the cooking. Let them cool until they’re no longer warm to the touch, then drain again and dry them thoroughly with paper towels. Fiddleheads cooked this way will be tender but will retain their crisp, snappy bite.

Instead of boiling, you can steam them in a steamer basket for 10 to 12 minutes, then chill in the ice bath and drain as described. When steamed, fiddleheads have a slightly more bitter flavor than when they’re boiled, similar to broccoli rabe. Steamed or boiled fiddleheads can be served as-is or sautéed.

SOURCE: The Spruce Eats.com

What Shall We Bake Today?

Georgia and I were discussing muffins a little while ago and I thought I’d post this recipe for Good Morning Sunshine Muffins!

Good Morning Sunshine Muffins

Ingredients

1 cup all-purpose flour

1 cup whole-wheat flour (or substitute another cup of all-purpose flour)

1 cup rolled oats

2 teaspoons baking powder

½ teaspoon baking soda

½ teaspoon salt

1/2 teaspoon ground cinnamon

1/4 teaspoon ground ginger

1 cup whole milk (can sub unsweetened almond milk or soy milk)

3/4 cup applesauce

3/4 cup packed brown sugar (use 1/2 cup if you prefer a less-sweet muffin)

1/3 cup vegetable oil (can sub melted coconut oil)

1 egg

2 teaspoons pure vanilla extract

1 1/2 cups carrot (grated (about 3 medium carrots))

1/2 cup + 2 tablespoons sweetened flaked coconut

1 cup fresh pineapple (cut into 1/4-inch dice or “tidbit” size -or- use canned pineapple tidbits, drained -or- 1 cup frozen pineapple tidbits)

Instructions

Preheat oven to 375 degrees Fahrenheit. Grease or place cupcake wrappers in a standard-size, 12-cup muffin pan.

In a large bowl, whisk together the flours, oats, baking powder, baking soda, salt, cinnamon, and ginger.

In a medium bowl, whisk together the milk, applesauce, brown sugar, vegetable oil, egg, and vanilla extract.

Pour the wet ingredients over the dry and whisk just until all ingredients are incorporated. Gently stir in the carrots, 1/2 cup coconut, and pineapple.

Use a cookie scoop to divide the mixture between the muffin cups. Cups should be filled to the top.

Sprinkle tops evenly with remaining 2 tablespoons coconut.

Bake for 20 – 25 minutes or until muffin tops spring back when poked and a toothpick inserted into the center comes out clean.

Allow to cool for 5 – 10 minutes before removing from the muffin tin. Serve plain or with butter, if desired.

Store in an airtight container at room temperature for 2 – 3 days, or freeze.

ENJOY!

What Shall We Make Today?

Today’s entry is a snack recipe I never heard of before!  Butterfinger Puppy Chow!

Ingredients

4 cups Rice or Corn Chex Cereal

4 oz baking chocolate, semi-sweet or milk chocolate,

1/2 cup peanut butter

6 BUTTERFINGER® Fun-Size Bars

1 cup BUTTERFINGER® Peanut Butter Cup Minis

1 cup powdered sugar

Instructions

Over a double broiler or in the microwave (in 20-second increments), melt chocolate on low heat, stirring frequently to avoid the chocolate burning or seizing. Once melted, pull off of heat.

In a separate bowl, melt peanut butter in the microwave for 20-30 seconds, or until liquid-y.

Chop the six candy bars into small pieces, set aside.

Mix 2 cups of cereal with chocolate, stirring the cereal gently in order to coat all pieces evenly. Add half of the chopped candy bars to the mix, stirring gently.

Mix 2 cups of cereal with the peanut butter, stirring gently in order to coat all pieces evenly. Add the last of the chopped candy bars, stirring gently.

In 1 large gallon ziplock bag, mix 1/2 cup of powdered sugar and chocolate cereal together. Zip the bag up (with air inside) and shake the cereal until all pieces are coated with powdered sugar (some will be more coated than others, which is fine).

In a second large gallon ziplock bag, mix 1/2 cup of powdered sugar and peanut butter cereal together. Zip the bag up (with air inside) and shake the cereal until all pieces are coated with powdered sugar (some will be more coated than others, which is fine).

Once coated, mix both cereals in a large bowl, adding in the Butterfinger Peanut Butter Cup Minis.

Enjoy!

Dragon Fruit

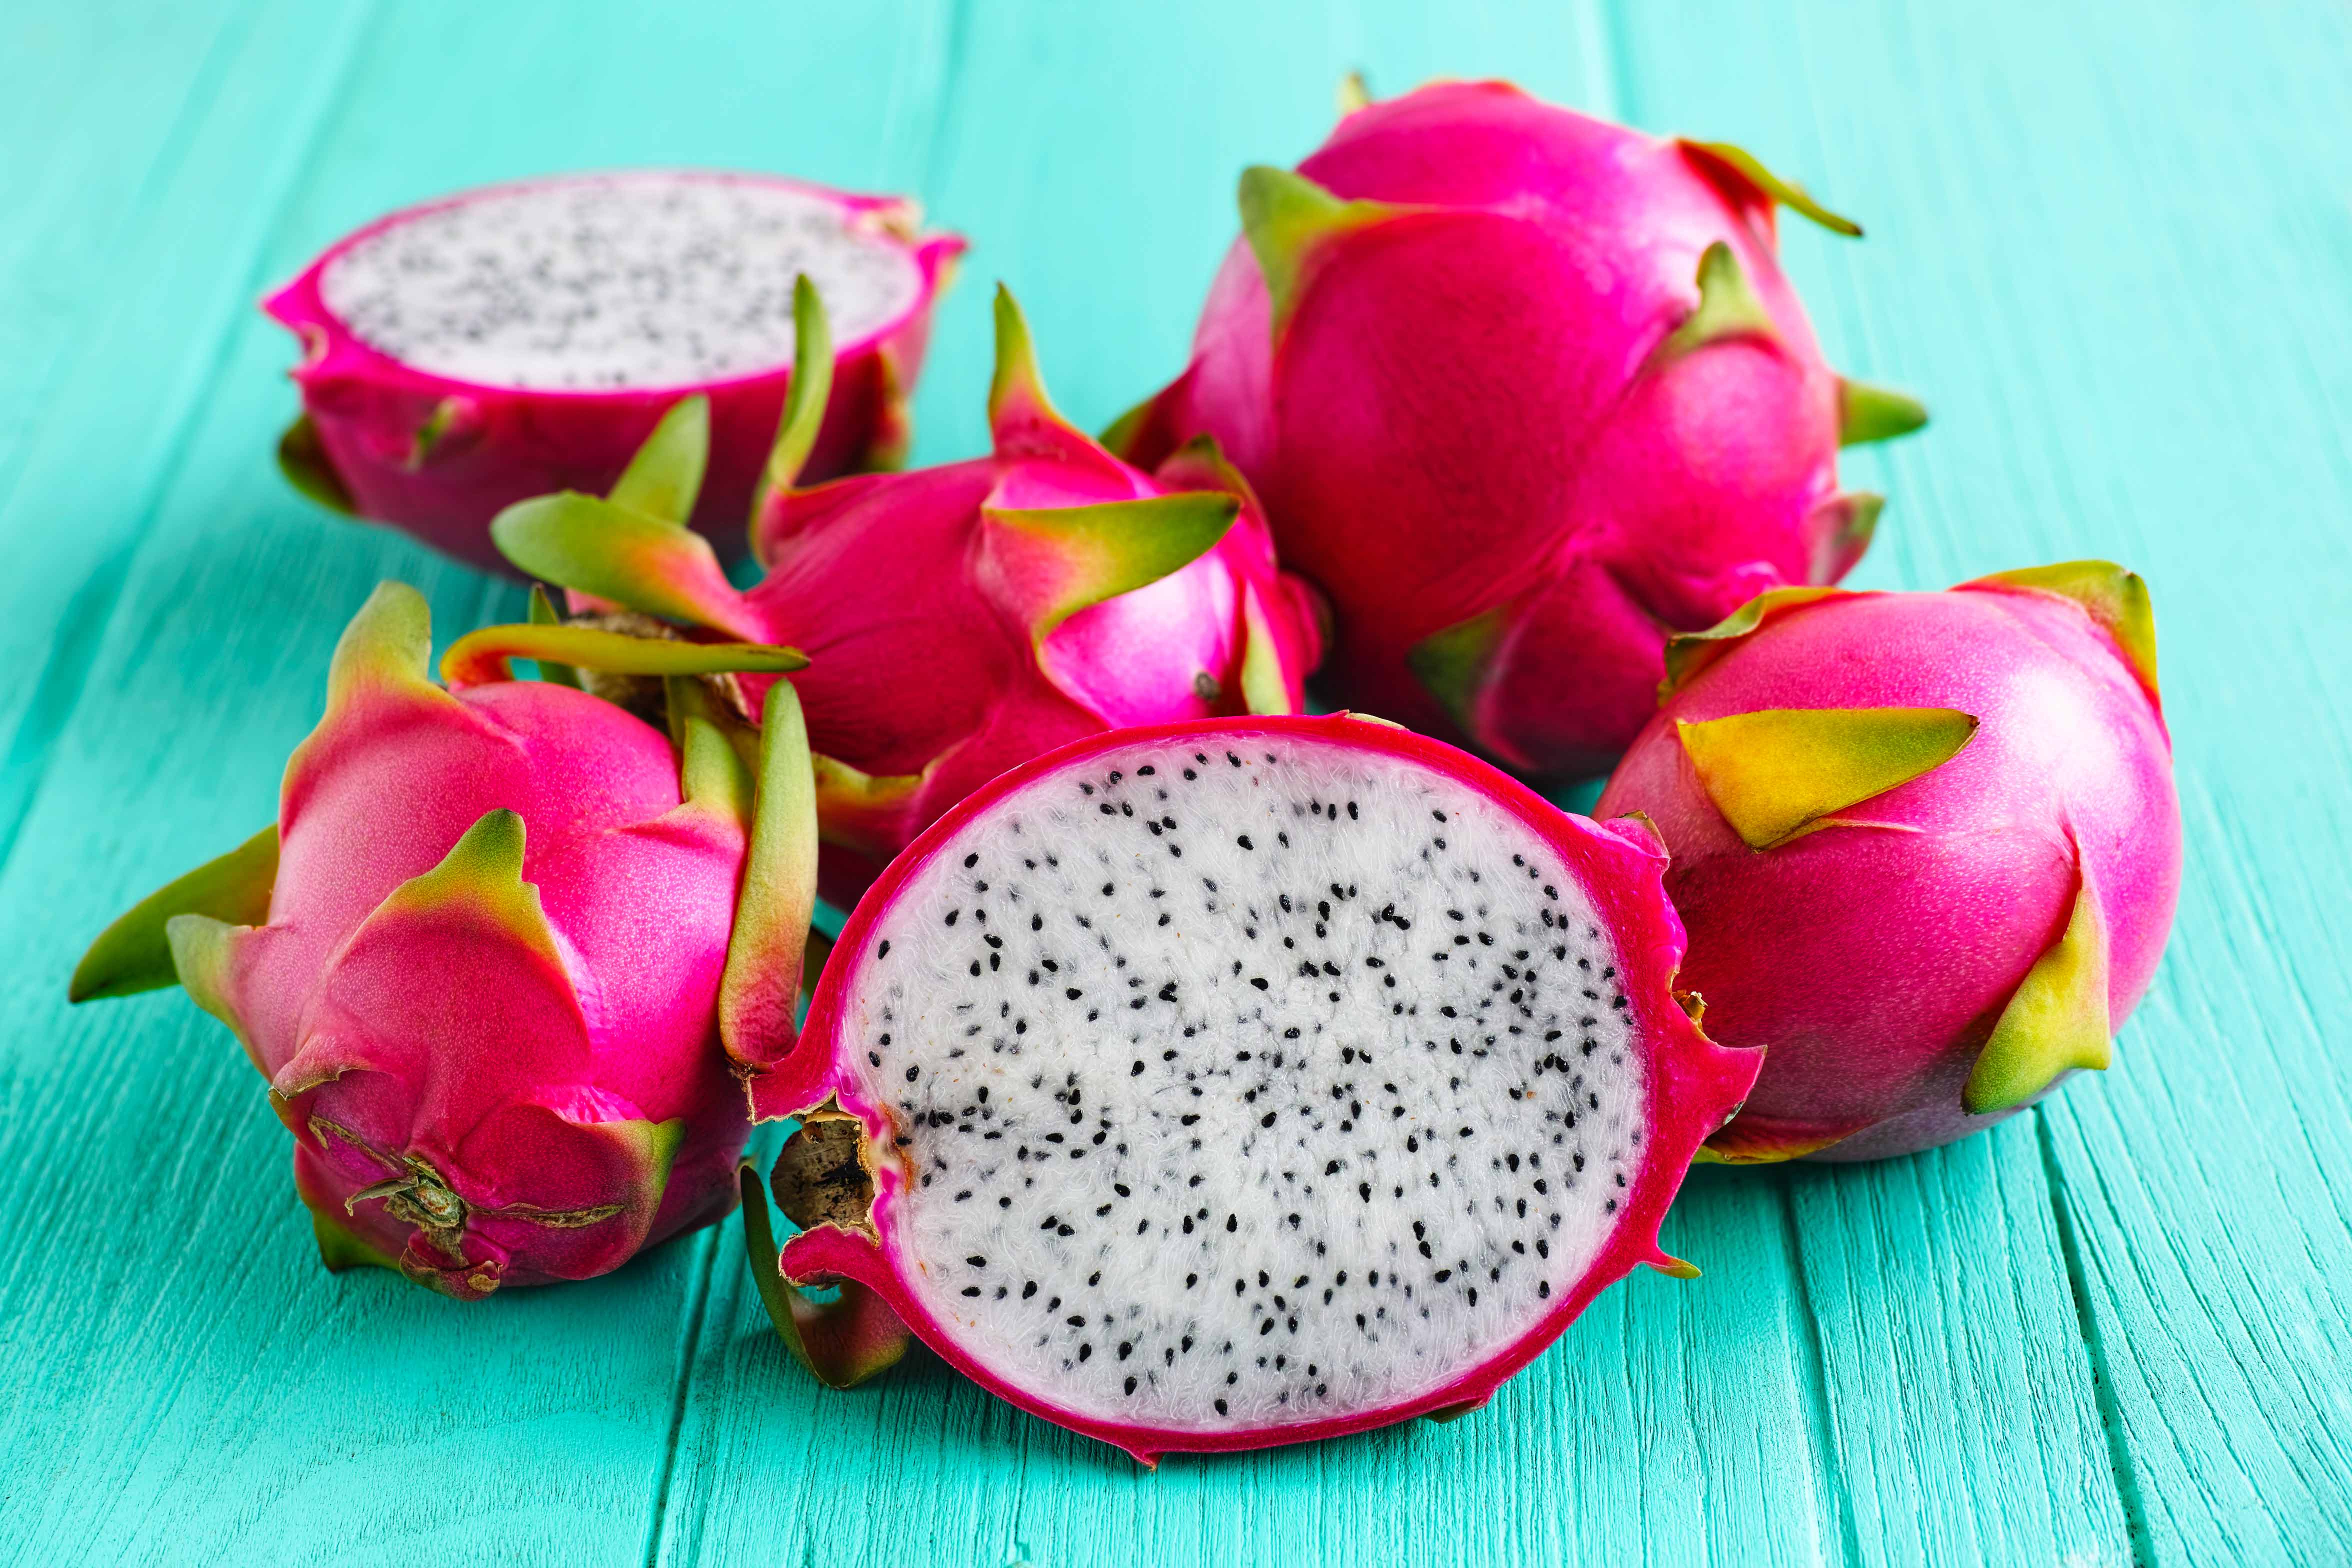
Dragon fruit is a tropical fruit that’s low in calories and high in fiber and antioxidants. Some people say it tastes like a cross between a pear and a kiwi. You can slice and eat the fruit as-is, try it with yogurt, or add it to a smoothie or salad.

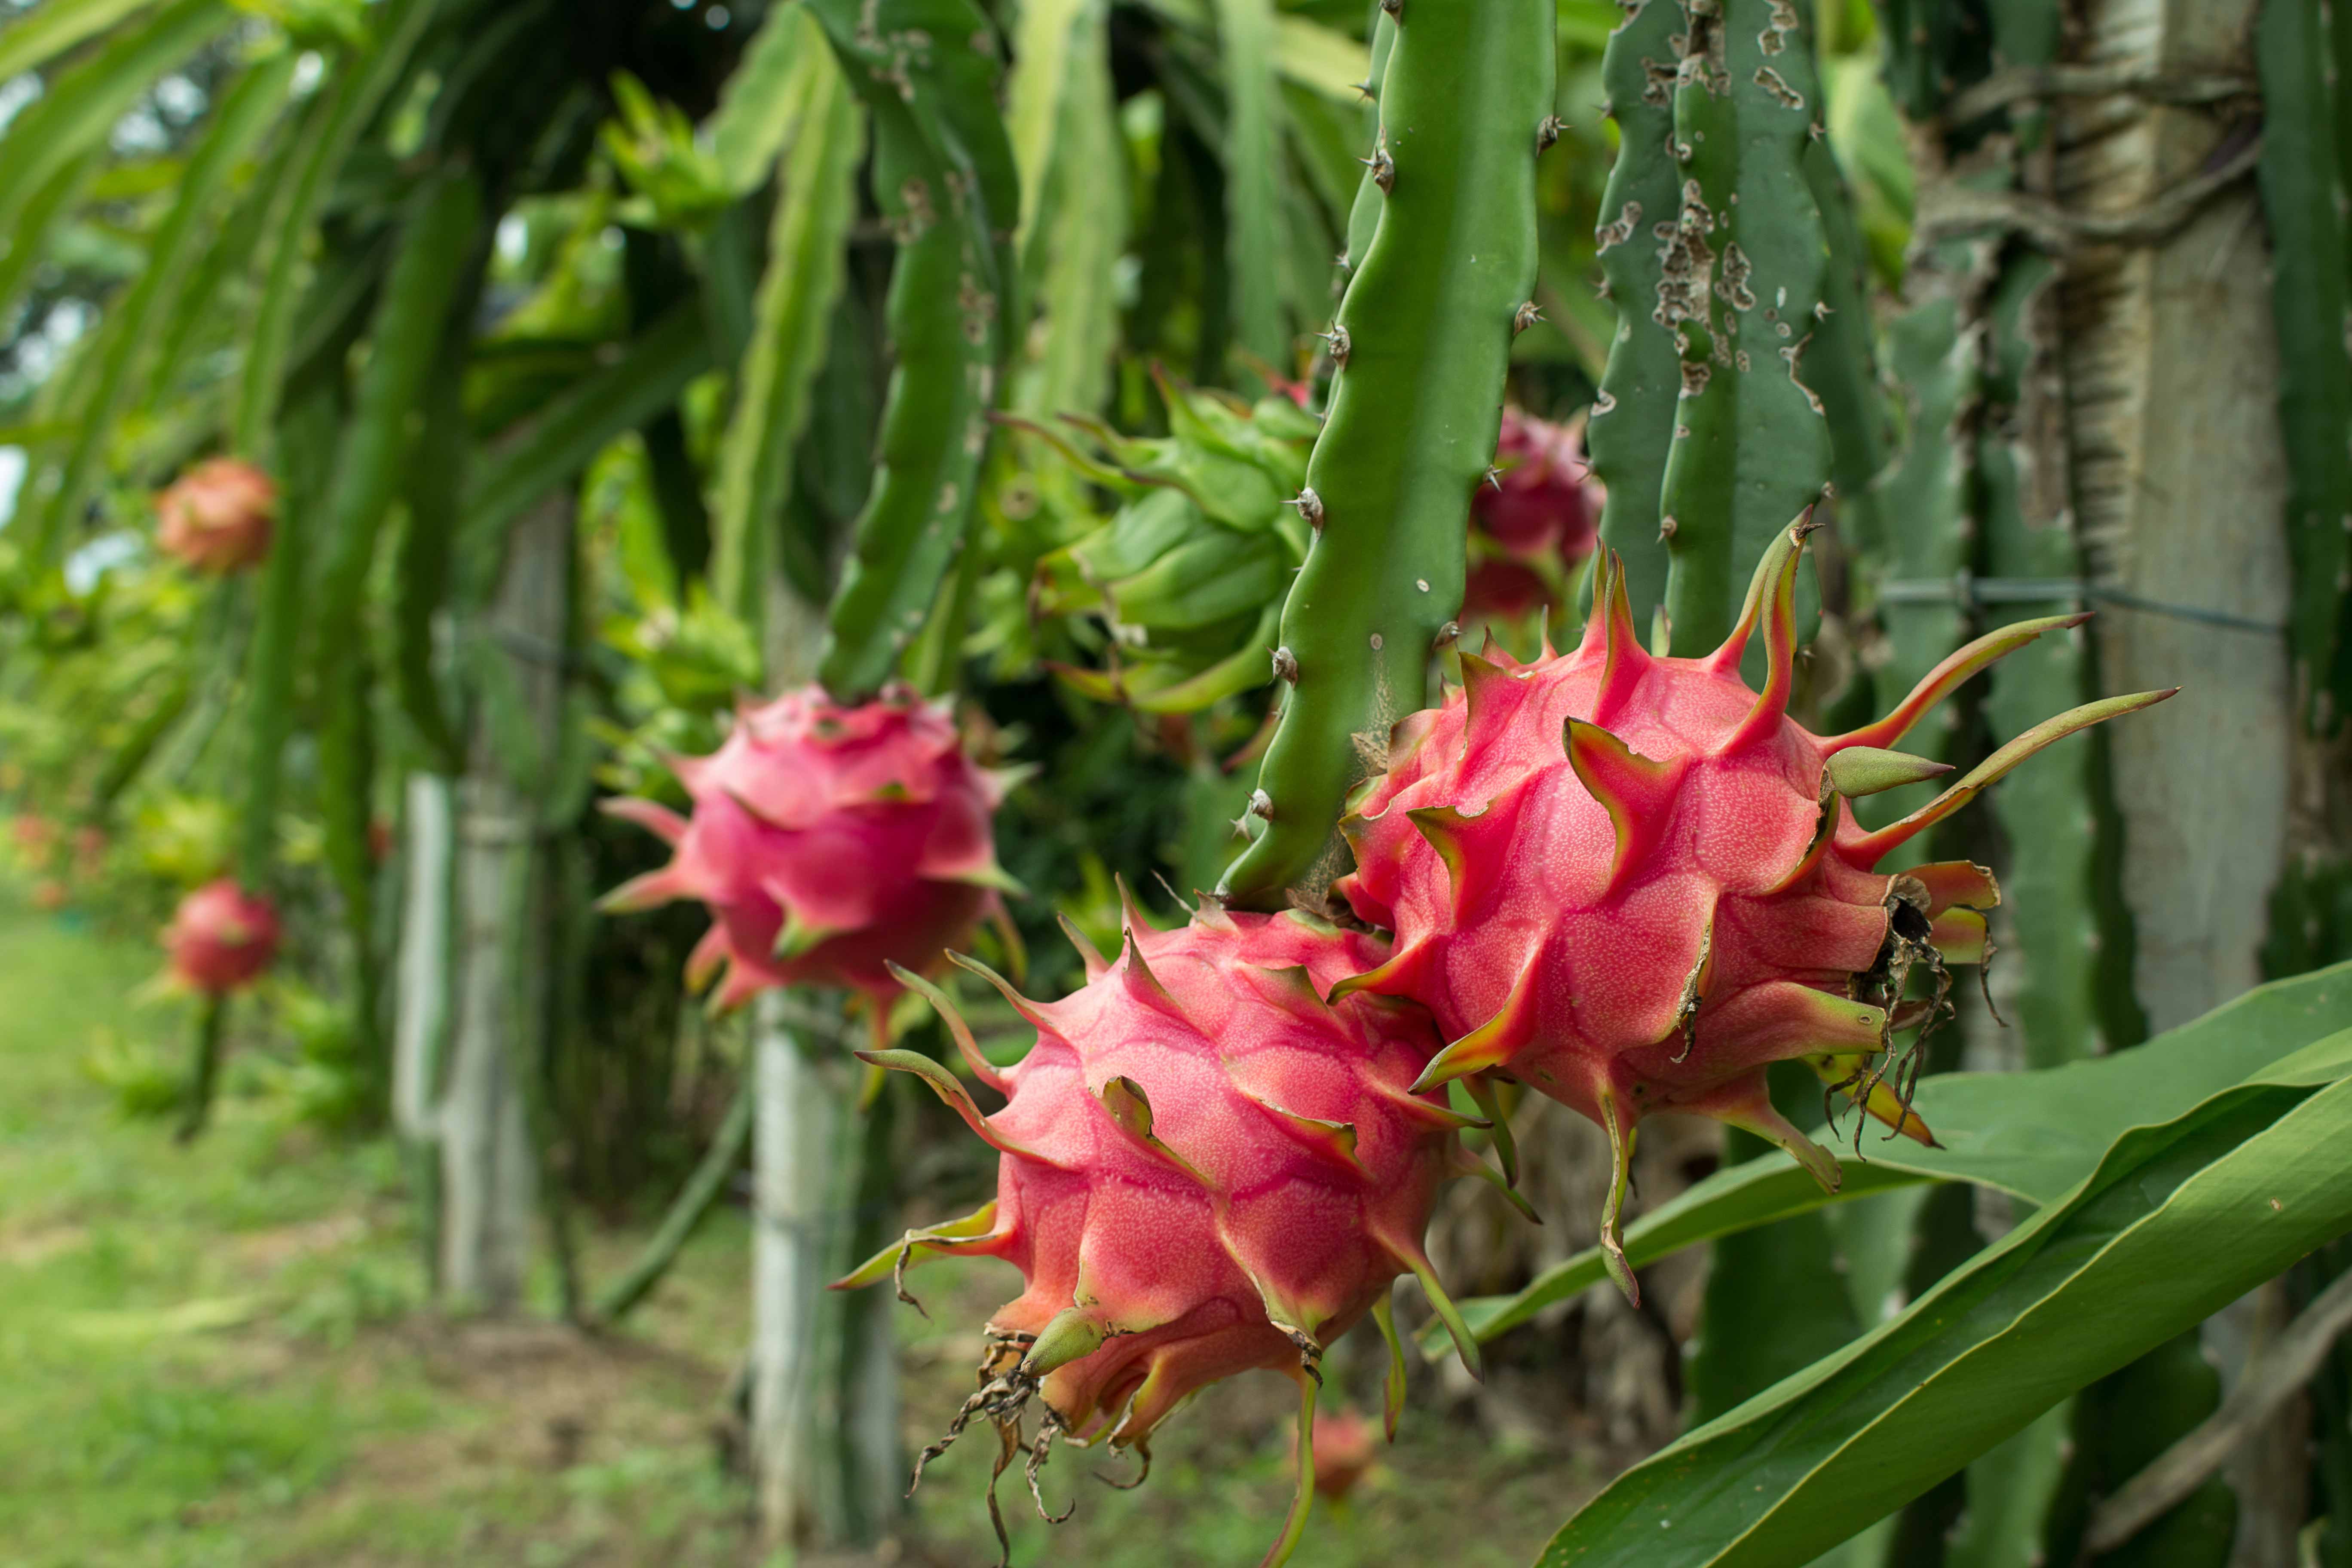
Dragon fruit is a tropical fruit that has become increasingly popular in recent years. Though people primarily enjoy it for its unique look and taste, evidence suggests it may provide health benefits as well. Dragon fruit grows on the Hylocereus cactus, also known as the Honolulu queen, whose flowers only open at night. The plant is native to southern Mexico and Central America. Today, it is grown all over the world.

It goes by many names, including pitaya, pitahaya, and strawberry pear. The two most common types have bright red skin with green scales that resemble a dragon — hence the name. The most widely available variety has white pulp with black seeds, though a less common type with red pulp and black seeds exists as well. Another variety — referred to as yellow dragon fruit — has yellow skin and white pulp with black seeds.

Dragon fruit may look exotic, but its flavors are similar to other fruits. Its taste has been described as a slightly sweet cross between a kiwi and a pear. Animal studies suggest that dragon fruit may provide various health benefits. Many of these are likely due to its fiber and antioxidant content.

Both red and white varieties of dragon fruit have been shown to reduce insulin resistance and fatty liver in obese mice. In one study, mice on a high-fat diet who received an extract of the fruit gained less weight and had reductions in liver fat, insulin resistance, and inflammation, which were attributed in part to beneficial changes in gut bacteria.

Dragon fruit contains prebiotic fiber that promotes the growth of beneficial bacteria in your gut — potentially improving metabolic health.  Although this fruit may improve certain features of metabolic syndrome — a condition associated with type 2 diabetes — not all effects may be favorable.

In a 2014 study in mice on a high-fat, high-carb diet, the group that received dragon fruit juice had better blood sugar responses and reductions in some liver enzyme markers, while another liver enzyme marker significantly increased. In another older study, rats with diabetes treated with an extract from the fruit had a 35% reduction in malondialdehyde, a marker of free-radical damage. They also had less arterial stiffness, compared to the control group.

Study results on the effects of dragon fruit on type 2 diabetes in people are inconsistent, and more research is needed to confirm these beneficial effects.

Though it may look intimidating, dragon fruit is very easy to eat.

Here’s how to eat dragon fruit:

Select a ripe fruit with bright red, evenly colored skin that gives slightly when squeezed.

Use a sharp knife and cut straight through the fruit, slicing it in half.

You can use a spoon to eat the fruit out of the skin or peel the skin off and slice the pulp into small pieces.

Ideas for serving dragon fruit:

Simply slice it up and eat it as is.

Chop it into small pieces and top with Greek yogurt and chopped nuts.

Include it in a salad.

SOURCE: HEALTHLINE

What Shall We Make Today?

This month’s popcorn recipe is Sweet & Salty Popcorn!

Ingredients 

3 tablespoons coconut oil, (or olive oil or vegetable oil)

1/2 cup fresh popcorn kernels

1/4 cup sugar

1/2 teaspoon kosher salt

Instructions

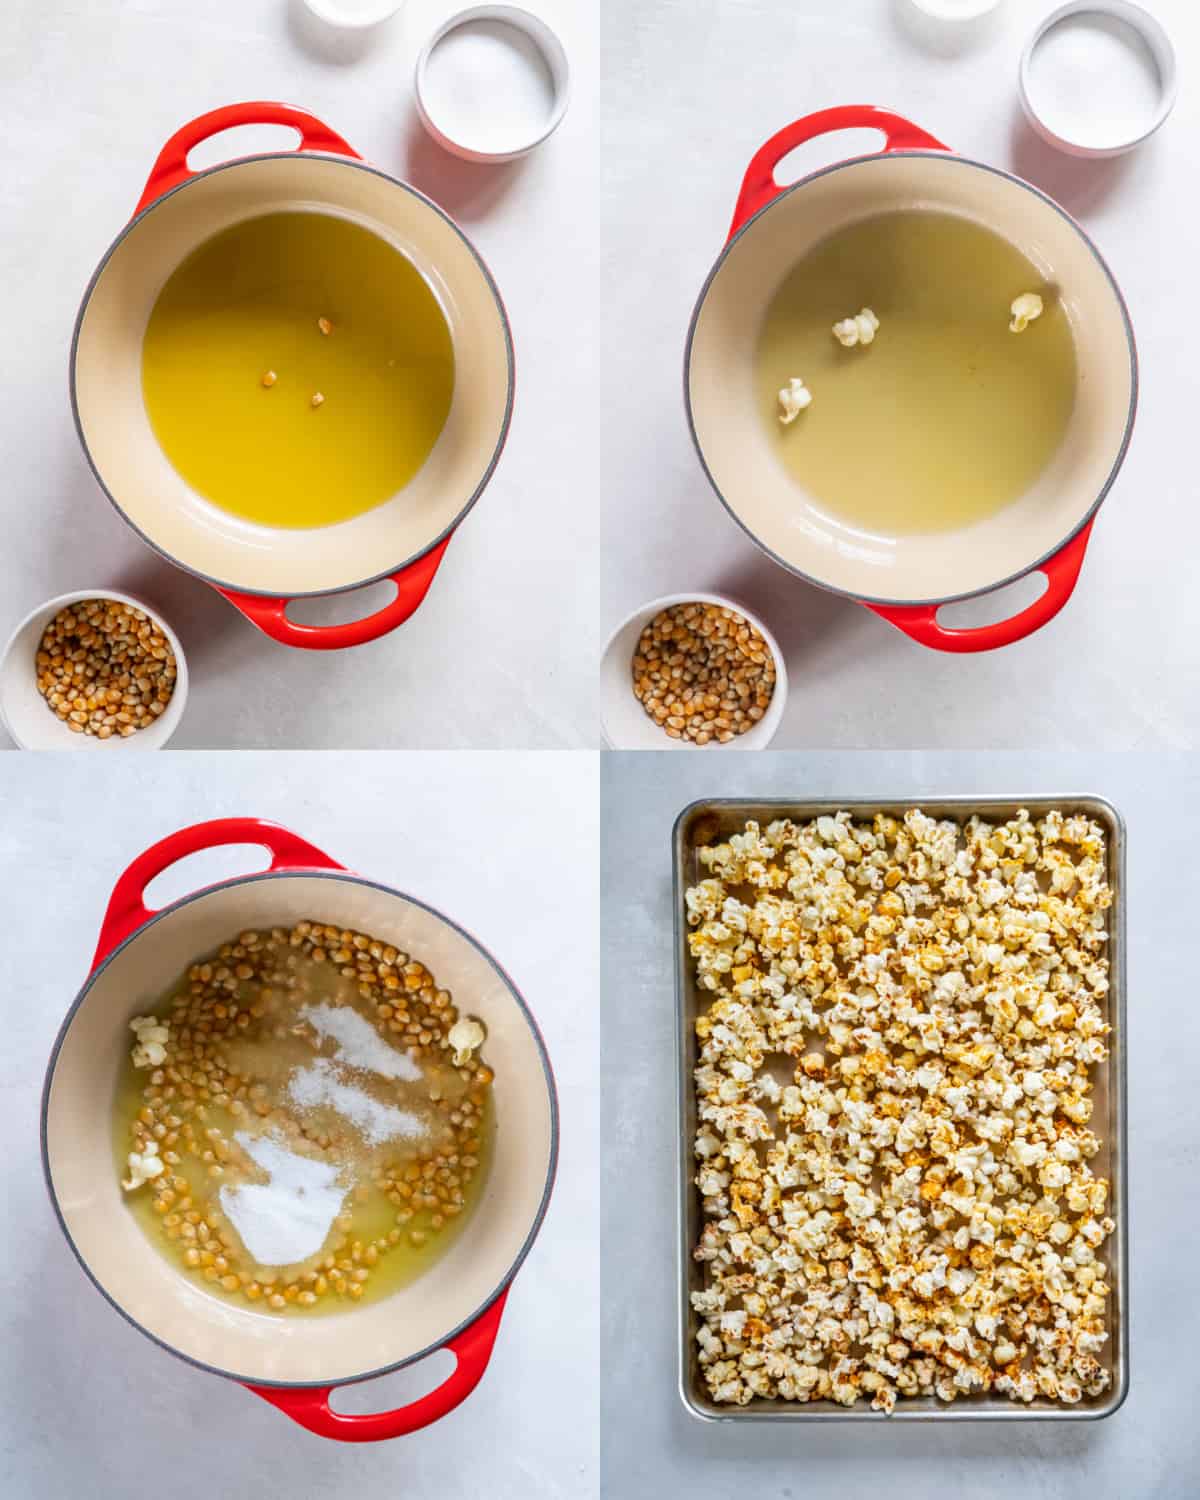
Place the oil and 3 popcorn kernels in a large, deep Dutch oven or pot with a good fitting lid and set it over medium high heat.

Once all 3 kernels pop, remove them and add the rest of the popcorn kernels as well as the sugar and salt, stirring well to coat. Cover the pot with the lid and allow the kernels to pop, vigorously shaking the pop every 5 to 10 seconds to keep the popcorn evenly distributed and from burning.

When the popping slows, after about 3 minutes, remove the pop from the heat but continue shaking until popping ceases. Immediately pour the popped corn onto a large baking sheet and spread it into an even layer, breaking up clumps as needed. Taste and add salt if desired.

Recipe Tips

Use a pot that is at least 3 quarts. A large stock pot or Dutch oven works great. However, you will be lifting the pot from the stove to shake the kernels, so don’t use a pot with too much weight.

Start with only three kernels. You will know the pot is hot enough to pop the remaining popcorn kernels as soon as the first three pop.

Shake, shake, shake: When the popping slows to 1 to 2 seconds between each pop, lift the pot off of the heat and continue shaking, continuously rotating the kernels as they finish popping.

Allow the popcorn to cool: Quickly spread the sticky popcorn out on sheet pan to cool. Otherwise, the pieces will cool in large clumps.

ENJOY!

What Shall We Bake Today?

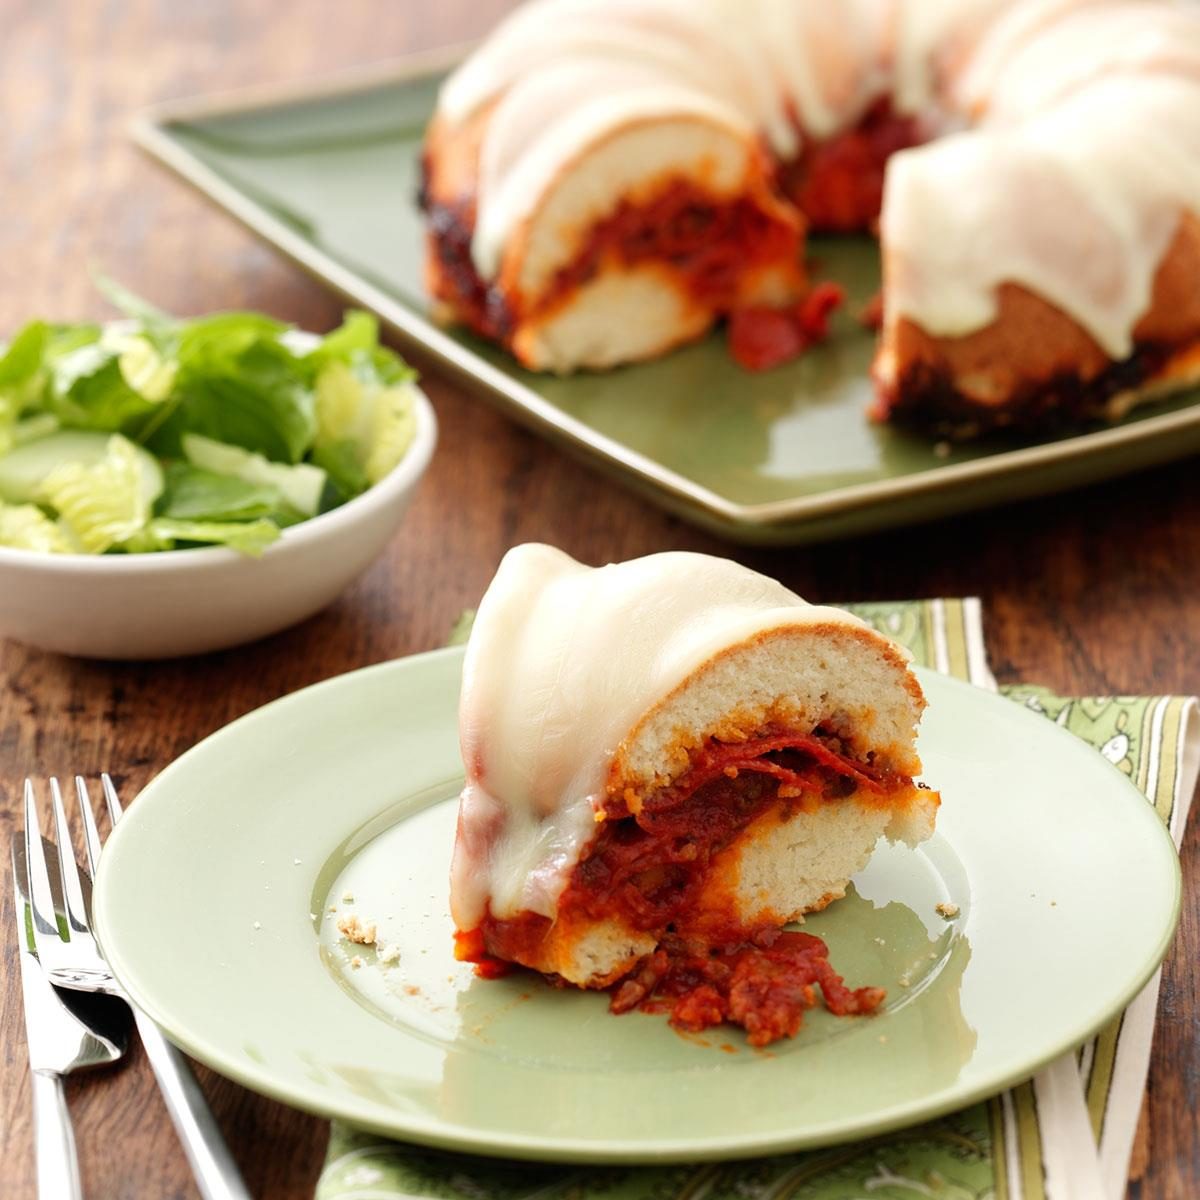
In honor of the day, I present an April Fool’s Cake.  (I didn’t even know this existed…lol)

Ingredients

1 jar (14 ounces) pizza sauce

1/2 pound bulk Italian sausage, cooked and crumbled

1 package (8 ounces) sliced pepperoni

3 cups biscuit/baking mix

3/4 cup whole milk

2 large eggs

2 tablespoons butter, melted

1 teaspoon garlic salt

5 to 6 slices mozzarella cheese

Directions

Preheat oven to 375°. In a bowl, combine the pizza sauce, sausage and pepperoni; set aside. In another bowl, combine the biscuit mix, milk, eggs, butter and garlic salt. Spread half of the batter on the bottom and up the sides of a greased 10-in. fluted tube pan. Spoon meat mixture over batter; cover with remaining batter.

Bake for 35-40 minutes or until browned and a toothpick comes out clean. Invert onto a baking sheet. Arrange cheese over cake. Return to the oven for 5 minutes or until cheese is melted. Using two large metal spatulas, transfer cake to a serving platter; serve immediately.

And, of course, the man of the hour…America’s Fool

What Shall We Bake Today?

Since Easter is at the end of the month, I thought I’d post a carrot cake recipe!  It uses grated carrots instead of baby food carrots so I like this texture better.  It takes a bit more prep time, but it’s better in my opinion.

Ingredients

Ingredients For Cake Layers:
2 cups Carrots, grated
4 large Eggs
2 cups Granulated Sugar
1 cup Canola Oil
2 cups All-Purpose Flour, sifted
2 teaspoons Ground Cinnamon
3/4 teaspoon Baking Soda
1/2 teaspoon Baking Powder
1/4 teaspoon Salt
1/4 teaspoon Ground Nutmeg

Ingredients for Cream Cheese Frosting:
1/2 cup Butter
1 8 oz package of Cream Cheese
1 teaspoon Vanilla Flavoring
3–3/4 cup Confectioners Sugar
2 to 3 Tablespoons Milk as needed
1 cup chopped Walnuts, optional


Instructions

Make the layers:
Grate the carrots, set aside.
Place eggs in a large mixing bowl. Add the sugar and the canola oil. Mix on low-medium speed with mixer.
In another large bowl, place the level cups of sifted flour. Add the cinnamon, baking soda, baking powder, salt and nutmeg. Whisk all the dry ingredients together until combined.


Gradually add the dry ingredients into the egg mixture, beating just until combined.
Fold carrots into batter with a spatula or large spoon.
Prepare your two 8-inch cake pans with cooking spray.
Divide batter between the two pans.
Bake at 350F degrees for 30-40 minutes or until done.
Remove from oven. Place on wire rack and cool for 10 minutes.
Turn the cakes out of the pans, place layers on wire racks. Let cool completely.

Prepare the frosting:
Place butter and cream cheese in mixing bowl. Cream together until smooth and fluffy. About 4-5 minutes. Add vanilla flavoring. Mix lightly. Gradually add the confectioner’s sugar. Add enough milk to reach desired spreading consistency. (Add chopped walnuts if desired.)
Spread frosting over layers and decorate as desired.
Store any leftover cake in the refrigerator
Enjoy!

Purple Sweet Potatoes

I found this article on The SpruceEats website about purple sweet potatoes:

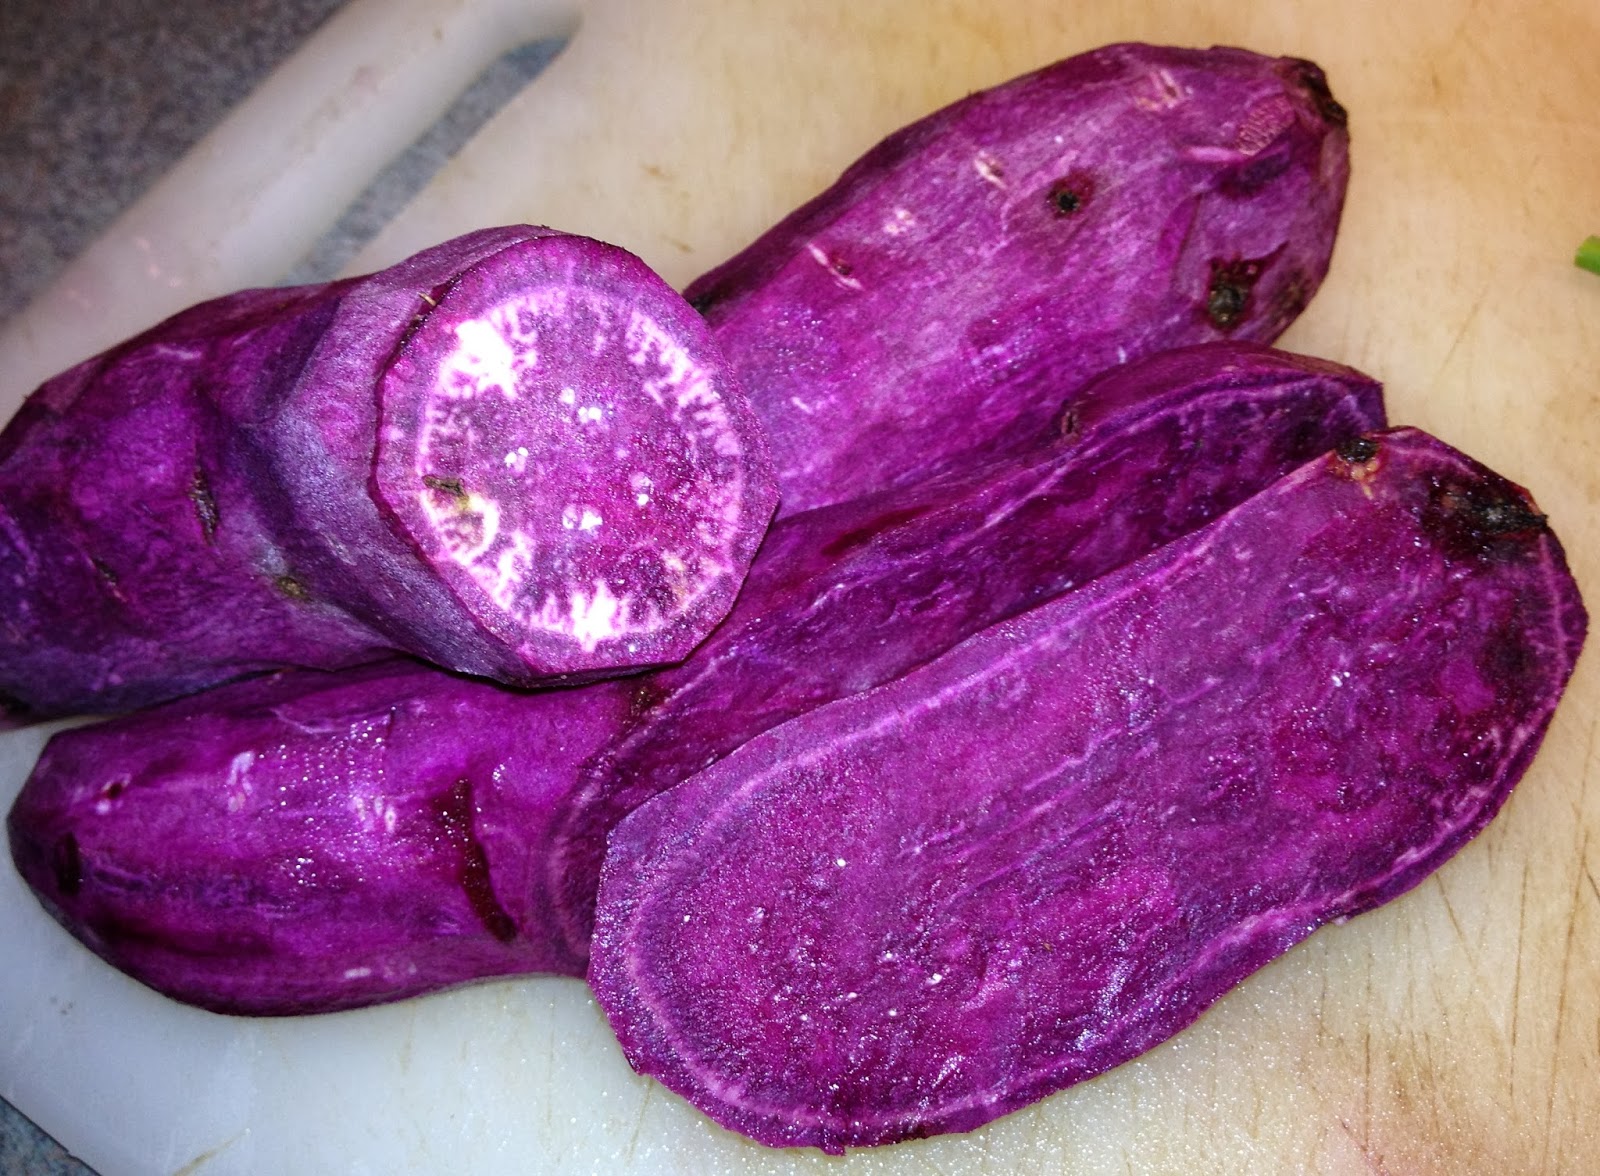
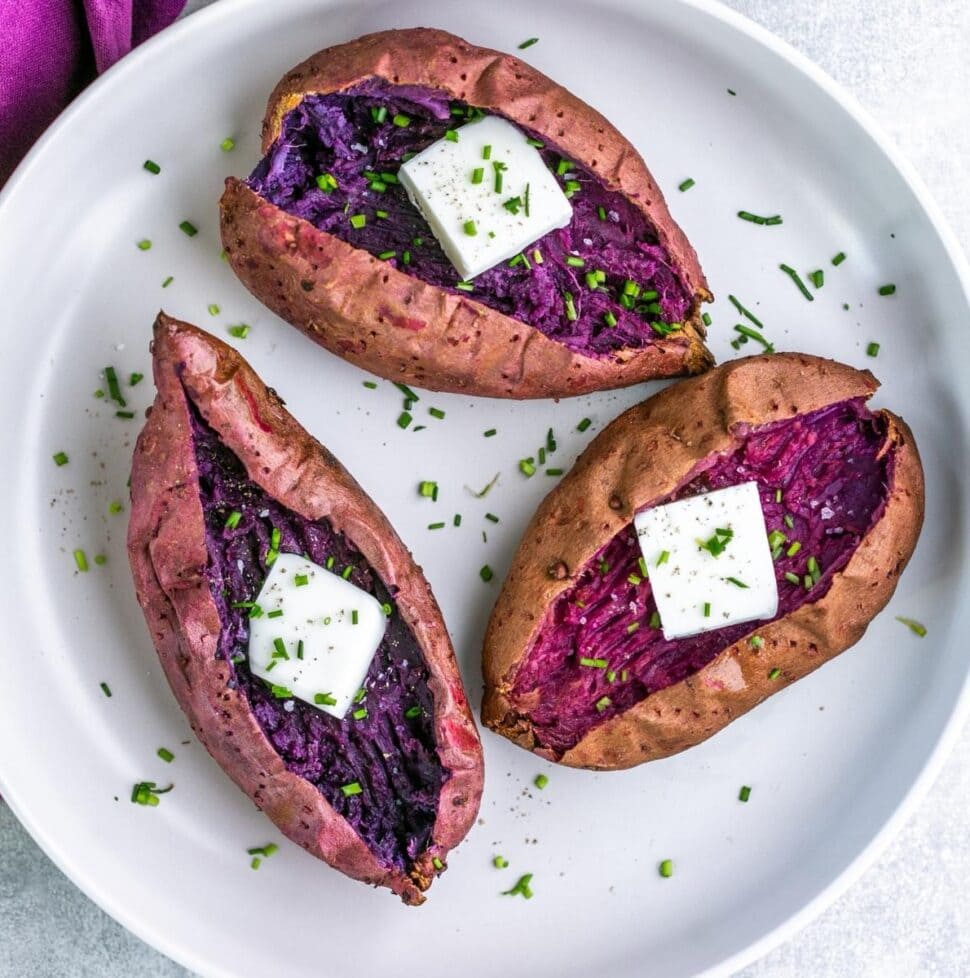
Purple sweet potatoes (sometimes mistakenly called purple yams) are fun to cook with and can be used in many of the same ways as the more familiar orange or white sweet potatoes. Though some varieties have white skin, cutting one open will reveal their violet-colored surprise. Popular in some Asian and Latin cuisines (but not to be confused with Japanese sweet potatoes), they add a brilliant pop of color to food and require just a few adaptations to cook.

What Are Purple Sweet Potatoes?

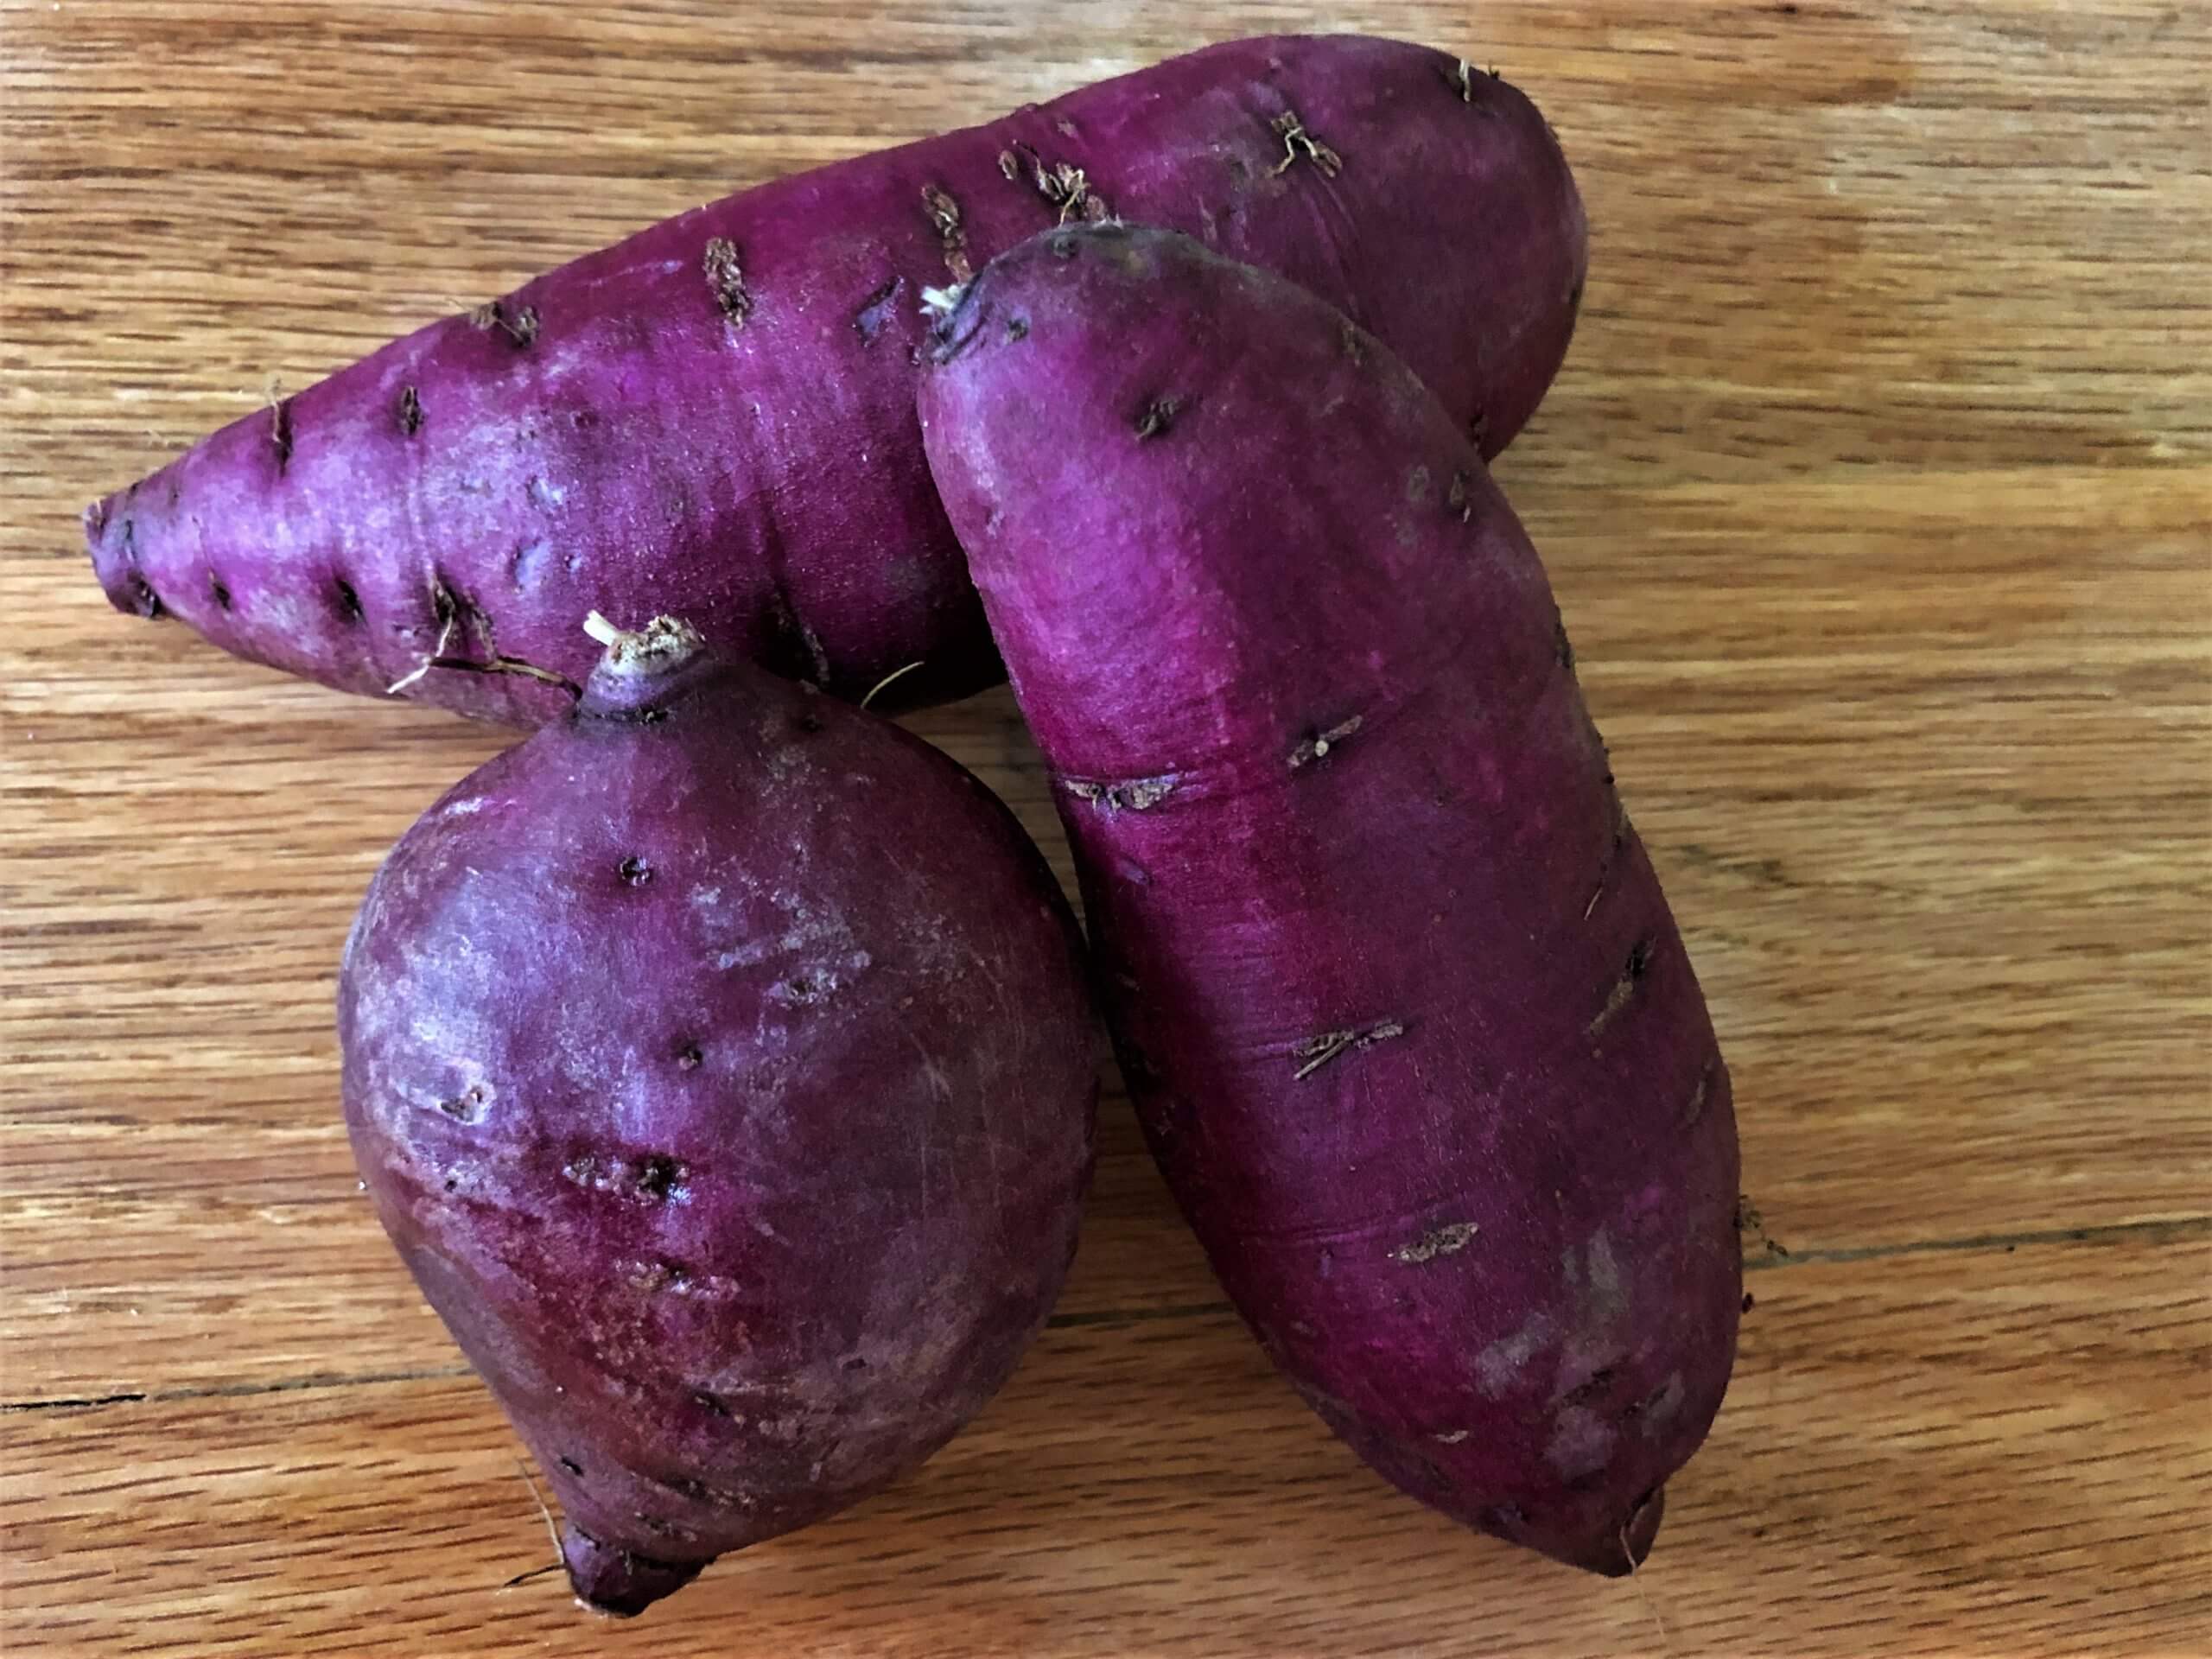
Purple sweet potatoes are root vegetables. The tubers taper to points on both ends and are members of the Ipomoea genus, just like other sweet potatoes (yams are of the genus Dioscorea). There are two main varieties—Okinawa (white skin) and Stokes (purple skin)—though they share the characteristic of having a deep purple flesh. The color comes from anthocyanins, the same pigment that gives cherries, strawberries, purple carrots, and other vegetables their color. These sweet potatoes are easy to prepare and cook. They’re not as easy to find as regular sweet potatoes and are more of a specialty item, so they will cost a little more.

Sweet potatoes that have brown, red-orange, or white skin with orange or white flesh are native to Colombia and southern Central America. After Columbus’ discoveries, they were brought to Asia, and varieties with white skin and speckled pale purple flesh were developed on the Japanese island of Okinawa. Today, they are widely grown in Hawaii and exported to the United States mainland where they are popular with Asian and Latinx communities.

How to Cook with Purple Sweet Potatoes

Purple sweet potato skins are edible, though some recipes recommend peeling them first. When cooking, purple sweet potatoes will take longer than regular sweet potatoes. You will need to bake them anywhere from 90 minutes to 2 hours at 350 F to make them pleasingly moist.

Purple sweet potatoes are wonderful boiled, steamed, or baked alongside regular sweet potatoes. They can be used in many of the same ways you’d use an orange or white potato, and the colorful result puts a fun spin on mashed potatoes, fries, and soups.

If you’re going to use this sweet potato in baked goods, you do need to be cautious about recipes that include baking soda. Combining the two ingredients may turn the potato’s flesh green.

What Does It Taste Like?

Purple sweet potatoes have a rich, almost winey flavor with a creamy texture. They are denser and drier than regular sweet potatoes, which is why moist cooking methods and longer times are recommended.

Purple Sweet Potato Recipes

While you may be hard-pressed to find recipes that specifically call for purple sweet potatoes, they can work in nearly any recipe that uses regular sweet potatoes. Just keep in mind the extended cooking time when using them as a substitute.

Where to Buy Purple Sweet Potatoes

Okinawan sweet potatoes enjoy a year-round season while the Stokes Purple variety is typically available from September through June. Like other sweet potatoes, the peak season for the purple varieties is during the fall and winter months. They may not be available in every grocery store, depending on where you live. You’ll have the best luck at specialty markets, including those that cater to Asian foods. Like other potatoes, they are sold by the pound, either loose or weighed out in bags (3 pounds is common). You can also buy them in larger bulk quantities at some stores or online. You can grow purple sweet potatoes at home, though the availability of the slips or shoots for planting is limited and not always easy to find. The Okinawan variety needs a similar climate to Okinawa, such as Hawaii, while Stokes Purple is a better choice for home gardens on the U.S. mainland.

Look for purple sweet potatoes that are firm. Avoid any with soft or brown spots, sprouts, or wrinkled skin.

Storage

Sweet potatoes, in general, do not store as well as regular potatoes. Avoid bruising these potatoes as the slightest damage can cause the entire sweet potato to go bad. You can keep them at room temperature for about a week. For longer storage, keep them in a dry, dark, and cool place with good ventilation and use within a few weeks. Storing any sweet potato in the refrigerator can throw off the flavor and lead to a very hard center.

Cooked sweet potatoes can be stored in an airtight container for a week. Like other sweet potatoes, you can also freeze them after cooking, whether whole and baked or as a casserole.

SOURCE: TheSpruceEats    Darlene Schmidt

What Shall We Make Today?

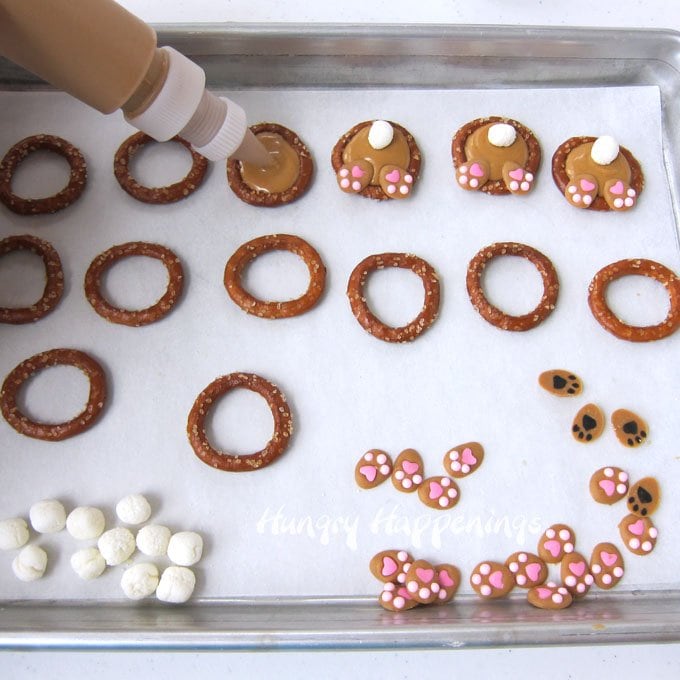
I found this recipe for Bunny Tail Candies on the Hungry Happenings website that looks adorable!  It takes a little bit of prep work but basically, they are easy to make and look so dang cute! 

As you can see from the above photo, you can make these using vanilla chips or peanut butter chips (and I suspect chocolate would also work just as easily.)

Ingredients

12 ounces peanut butter candy melts (or vanilla or chocolate)

100 pink heart sprinkles

300 pink sugar pearls

50 miniature marshmallows

50 pretzel rings or mini pretzel twists

Instructions

Pour candy melts into a microwave safe bowl.

Heat on high power for 15-30 second increments, stirring after each, until melted.

Line a baking sheet with parchment paper.

Paint a ⅜-1/2 inch oval onto the paper and immediately press one pink heart into the center and three pink sugar pearls around the heart for the toes.

Repeat creating 100 bunny paws.

Pop the candy into the freezer for a few minutes until the candy hardens.

Roll the marshmallows in the palm of your hand until they are round.

Set the pretzel rings on a parchment paper lined baking sheet.

Re-heat the peanut butter candy melts for 15 seconds, then pour it into a squeeze bottle.

Pipe peanut butter candy into the center of a pretzel ring.

Immediately attach a marshmallow tail and two candy bunny feet.

Repeat.

Freeze for 5-10 minutes until the candy is hardened.

Peel off the parchment paper and they are ready to serve.

SOURCE: Hungry Happenings

What Shall We Make Today?

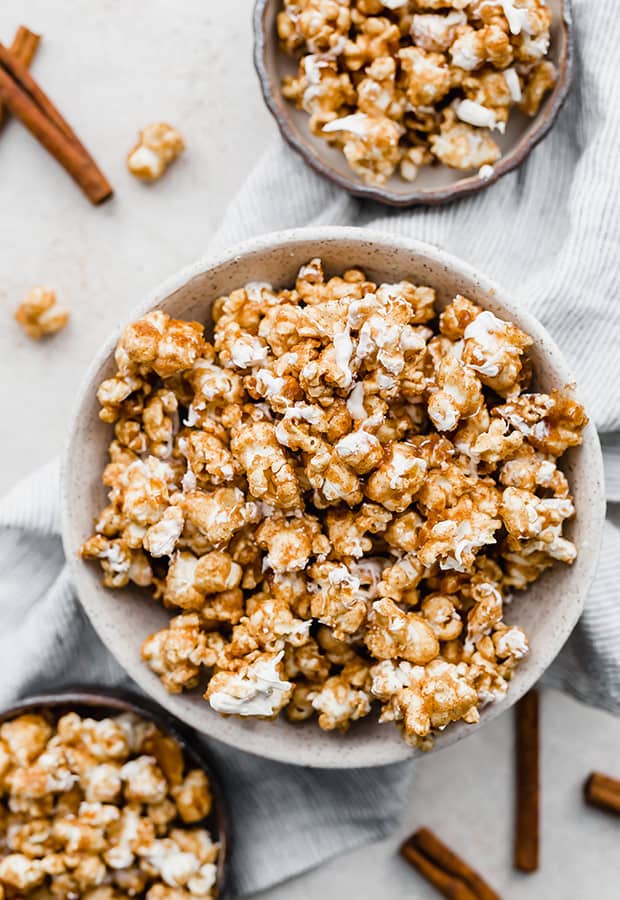
This month’s popcorn recipe is Cinnamon Bun Popcorn!

Ingredients

10 cups popcorn kernels – popped. A little less than 1/2 cup of popcorn kernels will yield about 10 cups.

1 cup brown sugar – packed

1/2 cup butter

1/4 cup light corn syrup

1/2 teaspoon kosher salt

1 tablespoon ground cinnamon

3 teaspoons vanilla extract

1/2 teaspoon baking powder

3 oz white chocolate or almond bark – melted (optional)

Instructions

Preheat oven to 325°F, lightly grease a baking sheet or line with parchment paper for easy clean up.

Place the popped popcorn in a large bowl. 

In a medium saucepan add the brown sugar, butter, corn syrup, and salt. Place over medium heat and bring the mixture to a rolling boil, stirring frequently. Remove from heat and stir the mixture for 1 minute to cool it slightly. 

Add the cinnamon, vanilla, and baking powder to the sugar/butter mixture. Stir to combine.

Pour the sugar/butter mixture over the popcorn and toss to coat. Spread the popcorn mixture in a single layer on the baking sheet. Bake for 10-12 minutes or until the sugar coating is set. (don’t overbake otherwise it will be HARD).

Allow the popcorn to cool slightly. 

Drizzle the melted white chocolate or almond bark over the popcorn, let set and then serve!