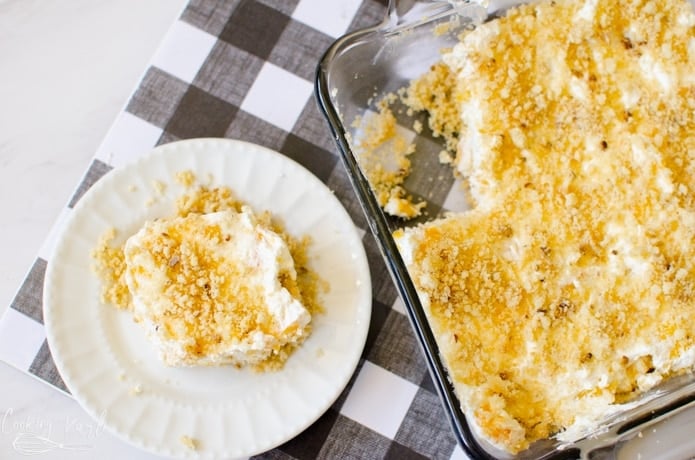
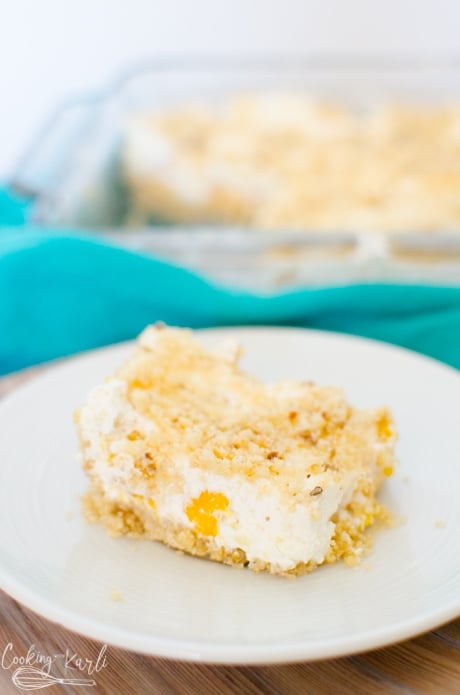
Today’s offering is a great light summer dessert recipe: No Bake Peaches & Cream Dessert!
No Bake Peaches ‘n Cream Dessert is packed full of fresh peaches, a peach infused creamy filling with a sweet Pecan Cookie Crust.
Ingredients
2 1/2 cups peaches peeled, diced
1/2 tbsp lemon juice
1/4 cup sugar
1 1/2 cups crushed pecan sandies cookies approx 15 cookies
3 tbsp butter melted
1 tbsp corn starch
1 tsp vanilla
1 8 oz tub cool whip
Instructions
Combine the diced peaches, lemon juice and sugar. Let sit for 1 hour.
Combine the crushed cookies and melted butter. Press into the bottom of a 9×9 inch pan. Refrigerate until needed again.
Once the hour is up, you should have at least 1/2 cup of ‘syrup’. It’s okay if you have more. If you don’t have 1/2 cup, let it sit a little longer until you have 1/2 cup.
Whisk the cornstarch into the peach syrup. Microwave for 1 minute. The syrup will thicken. Cool to room temperature.
Fold the thickened syrup into the cool whip. Add the vanilla and diced peaches. Stir until complexly mixed.
Spread onto the crust and garnish with more cookie crumbs if desired.
Philadelphia has a well-earned reputation as a great sandwich city. How many other cities, after all, can lay claim, as Philadelphia does, to the invention of three iconic sandwiches? According to Visit Philadelphia, the city’s sandwich trinity is comprised of the hoagie, the roast pork sandwich, and the Philly cheesesteak, with their respective creations most likely occurring in that order. The roast pork sandwich, for instance, had its genesis in Italy, but the Philadelphia version was created by Domenico Bucci in 1930 in a South Philly eatery that’s now named for his son: John’s Roast Pork.
The hoagie is the only one of the three iconic sandwiches without a verifiable origin story. One theory, related by Visit Philadelphia, credits its birth around the turn of the 20th century to Italian-American dock workers at the Hog Island shipyard who reportedly referred to their oversized sandwiches as “hoggies”; a name that evolved into hoagies. If this is true, then members of Philadelphia’s thriving Italian-American community were responsible for inventing all three of the city’s iconic sandwiches. Italian migration to the city spiked during the latter half of the 19th century, notes The Encyclopedia of Greater Philadelphia, with many newcomers settling in South Philadelphia where at least two of the three sandwiches were born.
As for the Philly cheesesteak, its origin elicits almost no arguments. Just about everybody in Philadelphia — outside rival cheesesteak restaurants — agrees about who invented this comfort food masterpiece and when.
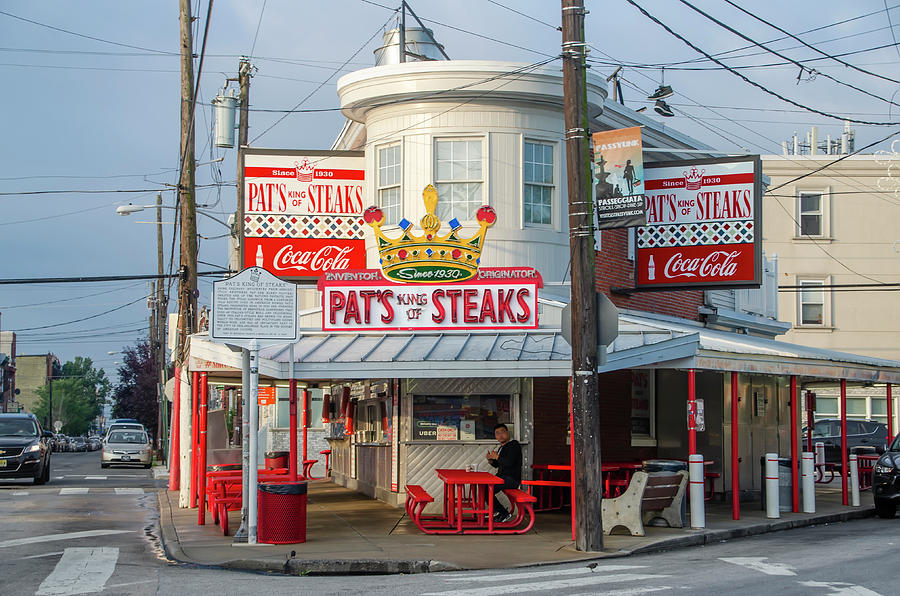
It all started in 1930, when Pat Olivieri began operating a hot dog cart near the Italian Market in South Philadelphia, Philadelphia Magazine relays its oral history of the city’s most famous sandwich. As the story goes, one lunchtime that same year, Olivieri was in the mood for something else to eat and sent his brother to a local butcher shop for meat. Olivieri cooked the chopped beef on his cart’s grill, scooping it into an Italian roll with onions, according to Pat’s King of Steaks website (the namesake restaurant that Olivieri subsequently established across from the old hot dog stand). A passing cab driver was intrigued and asked for the same thing. Per the restaurant’s site, the cab driver reportedly said, “Hey … forget ’bout those hot dogs, you should sell these,” after scarfing the sandwich down.
From this propitious incident, a legend was born … or was it? The origin story for the Philly cheesesteak is noticeably absent of one crucial ingredient: Cheese. As Philadelphia Magazine explains, the Philly steak sandwich didn’t include cheese until the 1940s when a boozy restaurant manager at Pat’s King of Steaks named “Cocky Joe” Lorenza decided to add some provolone. That’s when the authentic Philly cheesesteak was born.
Nowadays, observes Visit Philadelphia, there are several acceptable Philly cheesesteak cheese options, including Cheeze Whiz and American cheese. Each has its share of diehard partisans, but given the history, provolone remains the most traditional option.
By Chris Sands/Aug. 26, 2022
Pat’s note: Hubby prefers a chicken cheesesteak and I prefer a regular one minus the cheese, sauce and onions…LOL. Plain Jane out.
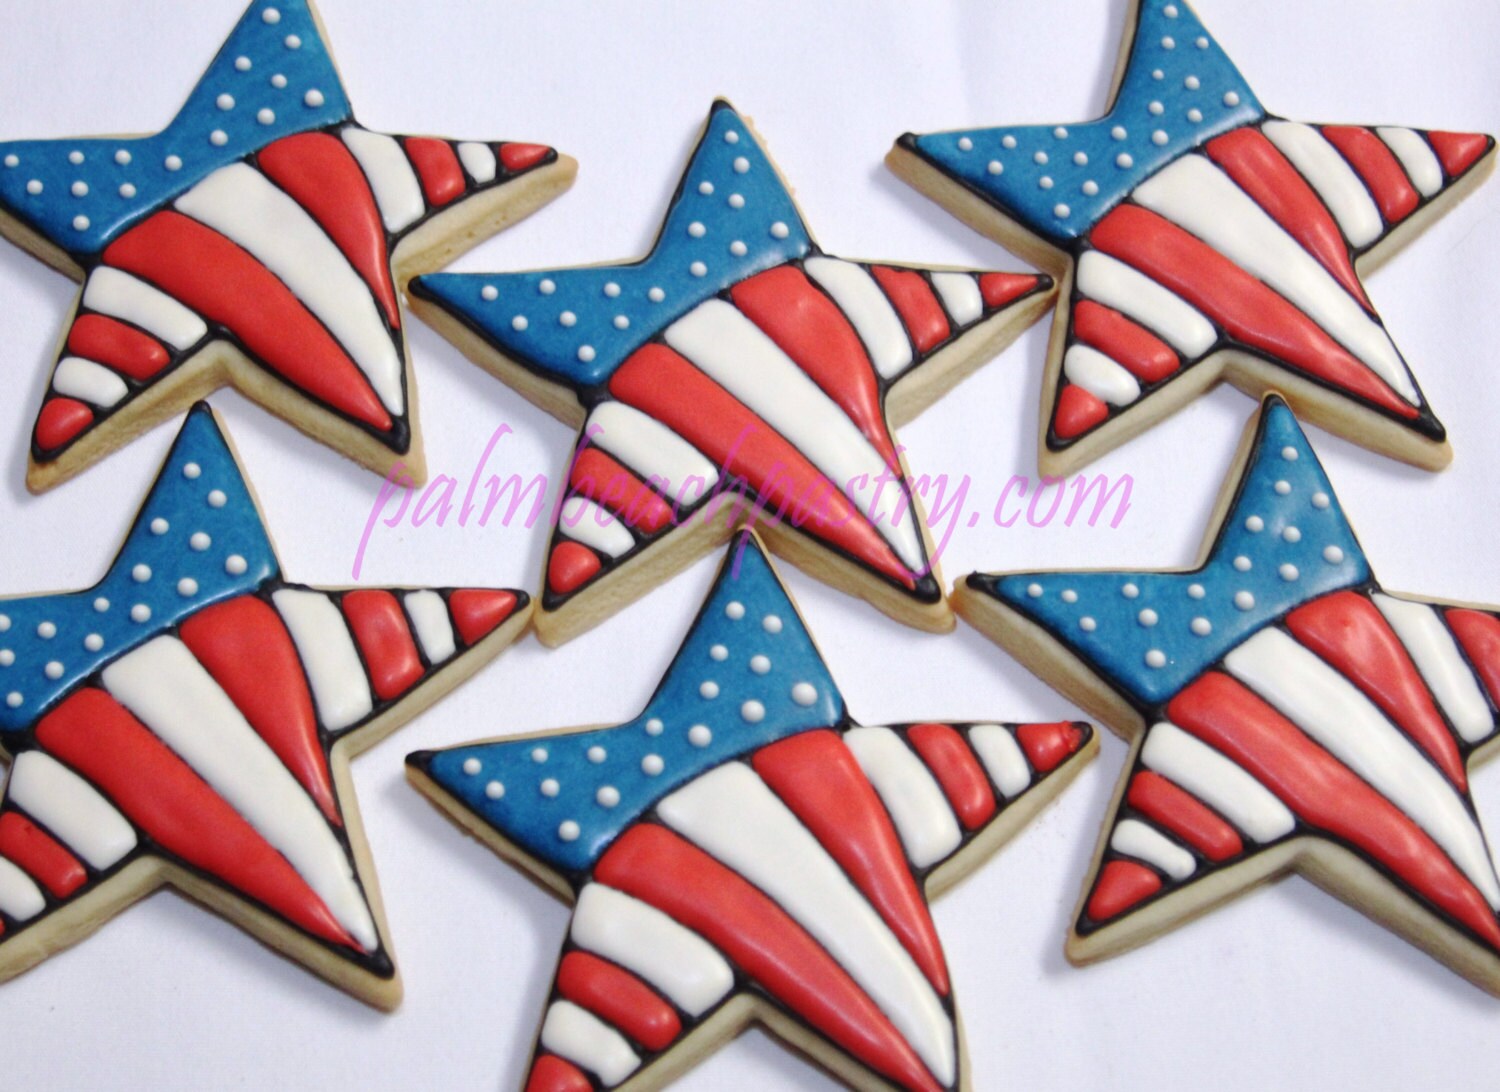
Today is National Sugar Cookie Day, so I brought my favorite sugar cookie recipe!
FULL DISCLAIMER: I never frost my cookies; i use colored sugars. But this cookie has a nice firm and crunchy texture that would definitely lend itself to icing if desired.
I have over a hundred cookie cutters in shapes for every holiday and some for every day. I make these cookies several times a year. The recipe makes a huge can of cookies and you’ll want to store them in a can to keep their crispness.
Ultimate Sugar Cookies
1 ¼ cups sugar
1 crisco stick
2 eggs
¼ cup light corn syrup
1 Tablespoon clear vanilla
1 Tablespoon butter flavoring
3 cups flour
¾ teaspoon baking powder
½ teaspoon baking soda
½ teaspoon salt
Colored decorative sugars
Combine the sugar and butter in a large bowl. (A mixer can be used, I use my hands.) Add eggs, syrup and flavorings. In a separate bowl, combine the flour, baking powder, baking soda and salt. Gradually add the flour mixture to the creamed mixture.
Gather the dough and shape into a log and wrap in waxed paper. I usually chill the dough overnight but it should be chilled for at least an hour.
Cut dough in to hunks and roll out dough on a floured surface. Cut into shapes and sprinkle colored sugars onto cookies before baking. Bake at 350* for 5 to 9 minutes depending on the thickness of the rolled dough shapes.
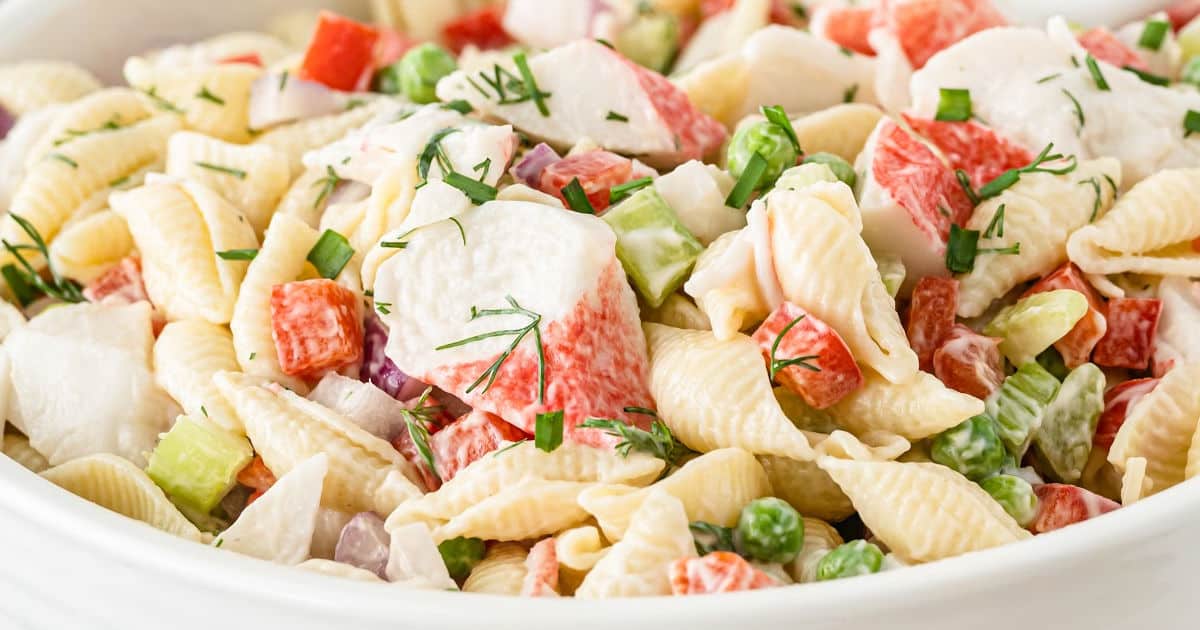
As promised, today’s offering is my mom’s Crab Pasta Salad. She didn’t include a picture of hers, and when I went searching, I couldn’t find one with all the same ingredients.
Crab Pasta Salad
Ingredients
8 ounces cooked and drained pasta (any type: spirals, shells, macaroni)
8 ounces imitation crab meat
1 cup frozen peas thawed
1 cup fresh broccoli
½ cup chopped green pepper
1/3 cup chopped red pepper
¼ cup sliced green onion
2 stalks celery chopped small
¾ cup mayonnaise
1/3 cup Italian salad dressing
3 Tbsp grated Parmesan cheese
Directions
In a large bowl, combine the pasta, crab meat, peas, broccoli, green and red peppers and onion. In another bowl, combine the mayonnaise, salad dressing, and Parmesan cheese. Pour over pasta mixture and toss to coat. Cover and refrigerate for 2 hours or until chilled. Enjoy!
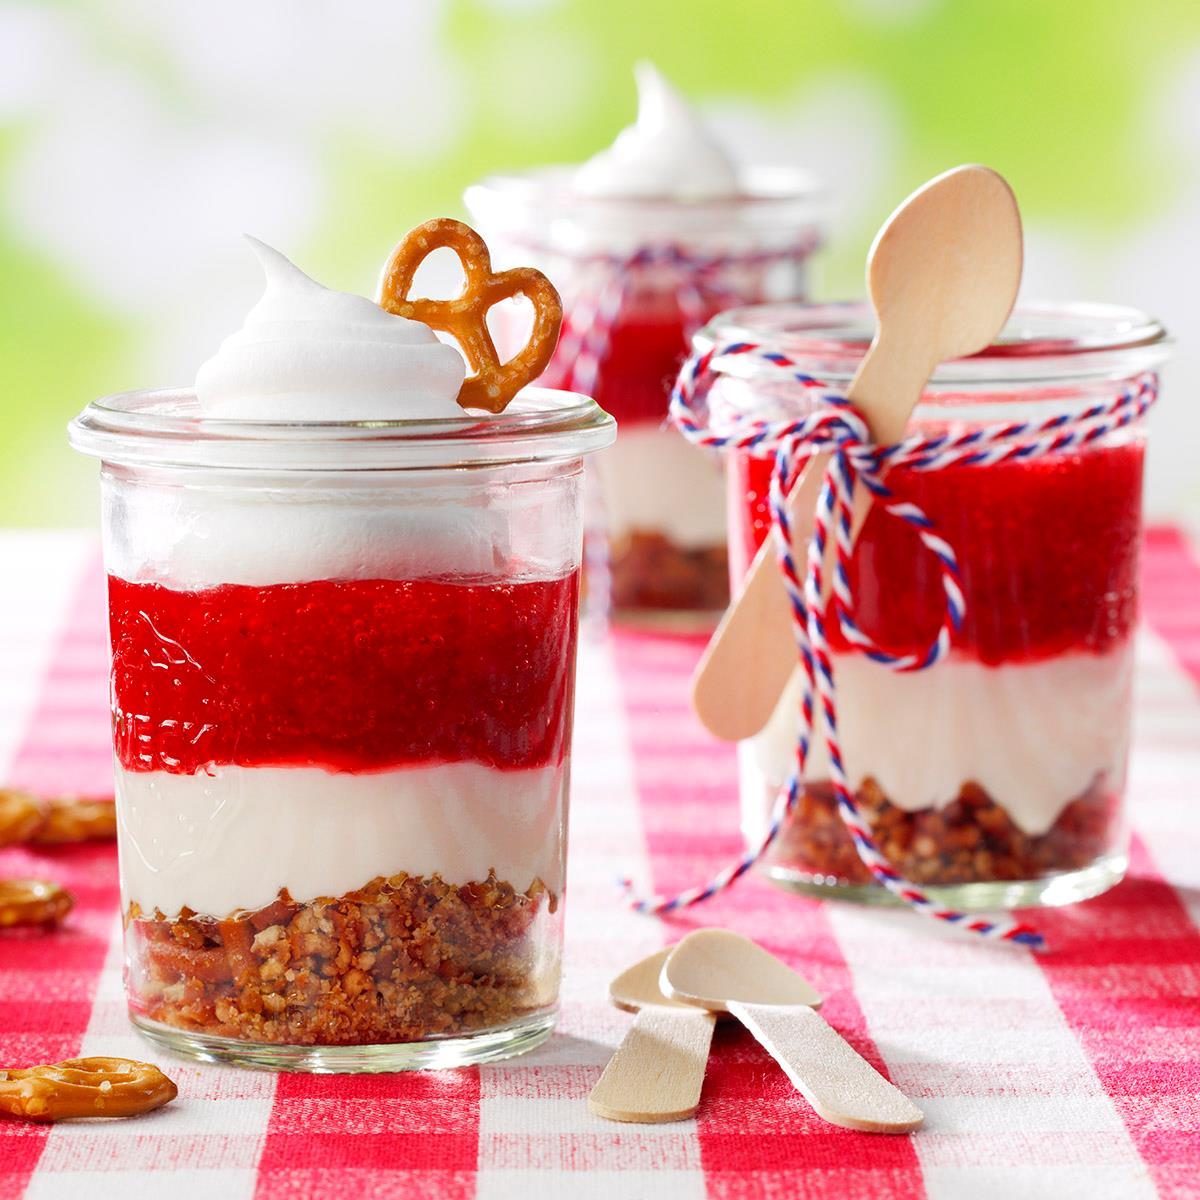
Preheat oven to 350°. In a small bowl, combine pretzels, butter and sugar; spread onto a baking sheet. Bake until crisp and lightly browned, 12-15 minutes. Cool completely on a wire rack; break into small pieces.
For filling, in a small bowl, beat whipped topping, cream cheese and sugar until smooth. Refrigerate until chilled.
For topping, in a large bowl, dissolve gelatin in boiling water. Stir in sweetened strawberries; chill until partially set, about 1 hour. Carefully layer pretzel mixture, filling and topping into 4-oz. glass jars. Chill until firm, at least 2 hours. If desired, serve with additional whipped topping and pretzels.
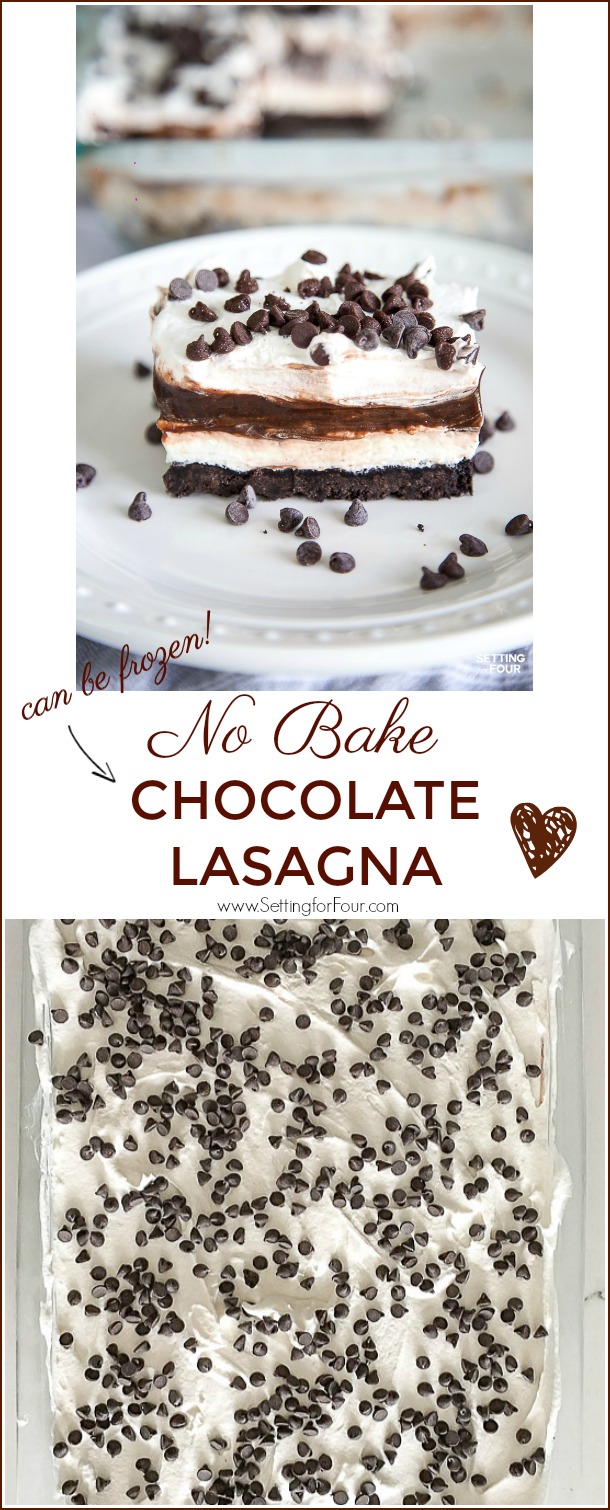
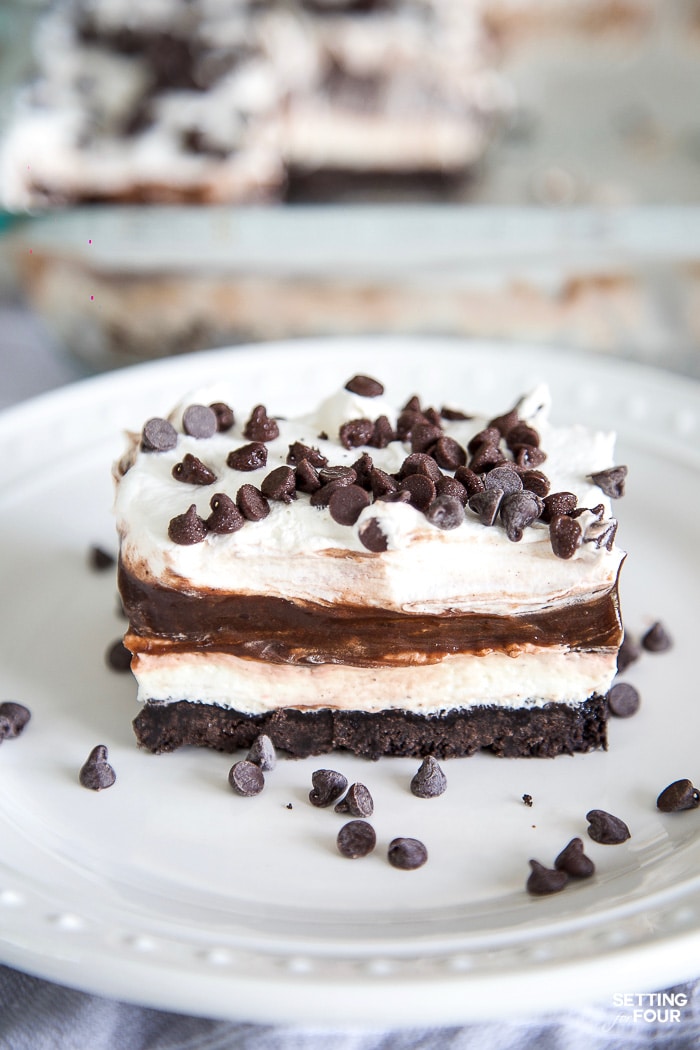
Picnic season is starting, so let’s make an easy, no bake dessert! Chocolate Lasagna!
Recipe Ingredients:
1 package regular Oreo cookies (not the Double Stuff kind) – about 36 cookies
5 Tablespoon butter, melted
8-ounce package cream cheese, softened
1/4 cup granulated sugar
2 Tablespoons cold milk
Optional – 4 tbsp chocolate liqueur such as Godiva Chocolate Liqueur or Bailey’s.( If you don’t want to use this, just leave it out! No substitution of another liquid is required.)
12-ounce tub Cool Whip, divided
2 of 3.9-ounce packages Chocolate Instant Pudding
3 1/4 cups cold milk
1 1/2 cups mini chocolate chips
Instructions:
Crush 36 Oreo cookies. You can use a food processor, but you could also place them in a large ziploc bag and crush them with a rolling pin or meat tenderizer mallet. Crush until the Oreos have turned into fine crumbs.
Add the Oreo crumbs to a large bowl. Stir in melted butter. Use a fork to mix the butter into the cookie crumbs. Transfer the mixture into a 9 x 13 inch baking dish, pressing the crumbs into the bottom of the dish. Place the baking dish into the refrigerator and work on the additional layers.
In a large bowl mix the cream cheese with a mixer until light and fluffy. Add 2 Tablespoons of milk and sugar. Mix well. Add the chocolate liquor if desired. Stir in 1 1/2 cups Cool Whip and completely mix. Spread this mixture over the Oreo crust.
In a bowl, add 3 and 1/4 cups cold milk to the chocolate instant pudding. Whisk for several minutes until the pudding starts to thicken. Use a spatula to spread the pudding mixture over the cream cheese layer. Allow the dessert to firm up on the countertop for 5 minutes.
Spread the remaining Cool Whip on top. Next sprinkle mini chocolate chips over the top. Place in the freezer for 1 hour, or the refrigerator for 4 hours then serve.
Today’s offering is called Wacky Cake! The instructions are a little different from what I’m used to. See what you think!
Wacky Cake
Ingredients
1 ½ cups all-purpose flour
¾ cup granulated sugar
⅓ cup unsweetened cocoa
1 teaspoon baking soda
½ teaspoon kosher salt
⅓ cup oil
1 tablespoon distilled white vinegar
2 teaspoons vanilla extract
1 cup water
Wacky Cake Frosting
¼ cup chopped toasted pecans
Directions
Preheat oven to 350°F. Sift flour, sugar, cocoa, baking soda, and salt into an ungreased 8- x 8-inch baking pan; spread mixture evenly in pan. Make 1 large well and 2 small wells in mixture in pan. Carefully pour oil into the large well, vinegar into 1 small well, and vanilla into remaining small well. Pour 1 cup water evenly over entire mixture in pan. Stir everything together using a fork until combined.
Bake in preheated oven until a wooden pick inserted in center comes out clean, 25 to 30 minutes. Transfer to a wire rack.
Pour Wacky Cake Frosting over warm cake. Sprinkle with chopped pecans. Cool completely, about 2 hours.
Wacky Cake Frosting
Ingredients
⅓ cup butter
¼ cup whole milk
3 tablespoons unsweetened cocoa
2 ¾ cups powdered sugar, sifted
1 teaspoon vanilla extract
Directions
Cook butter, milk, and cocoa in a small saucepan over medium-low, stirring often, until mixture comes to a simmer. Remove from heat; gradually whisk in powdered sugar and vanilla until completely smooth. Pour on your favorite cake.
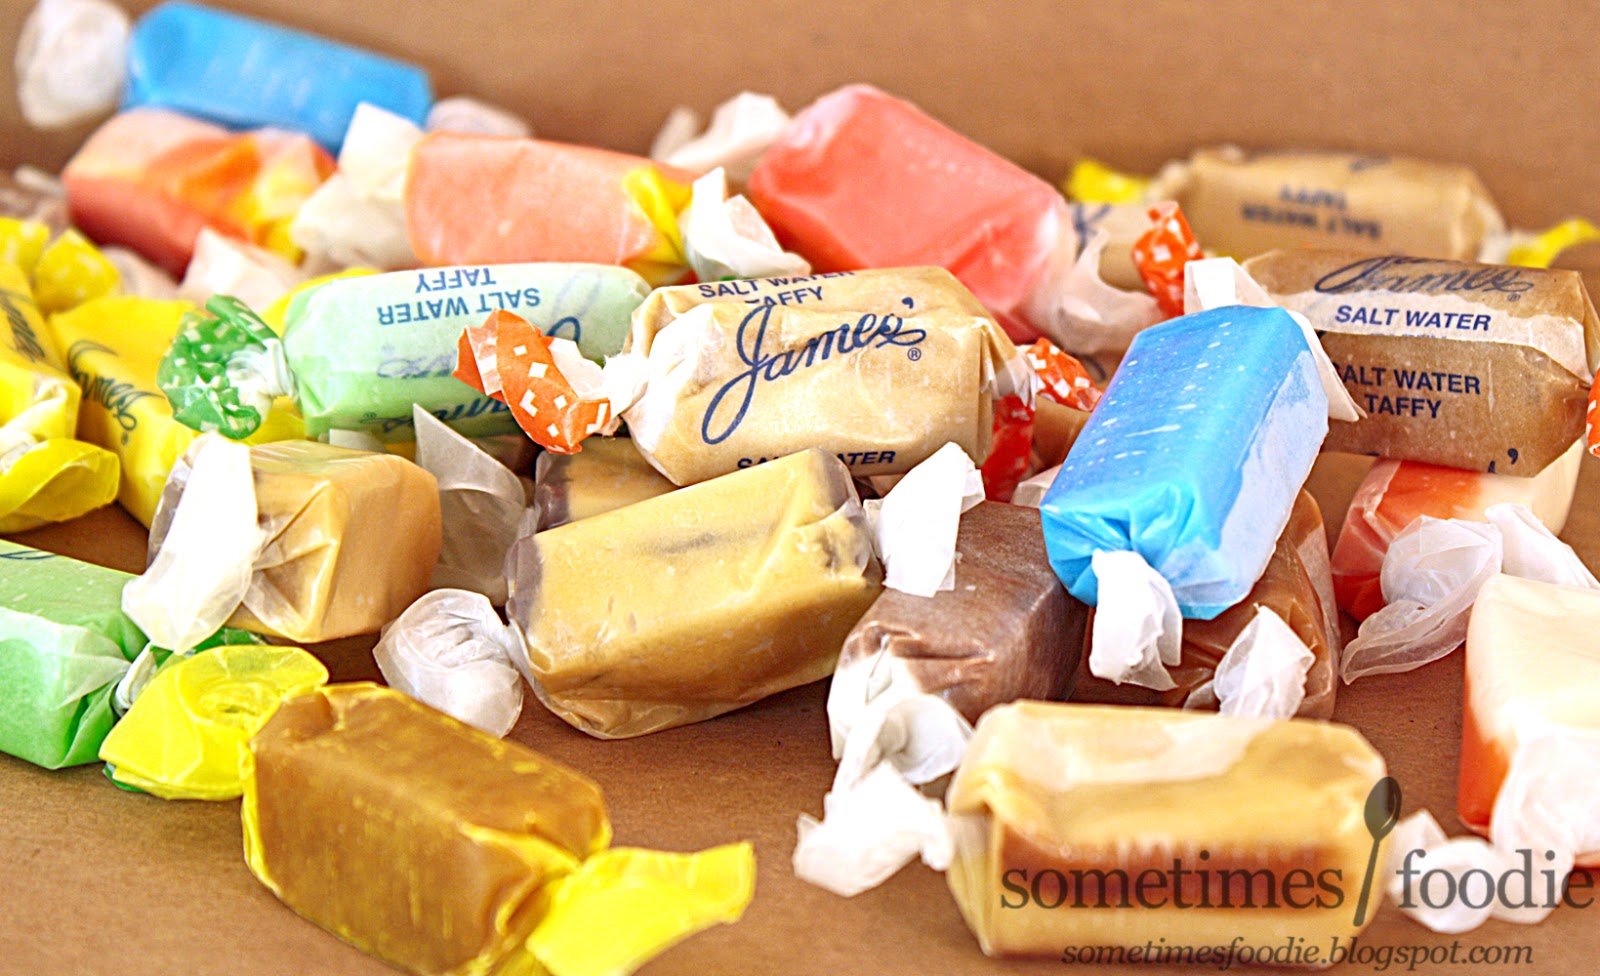
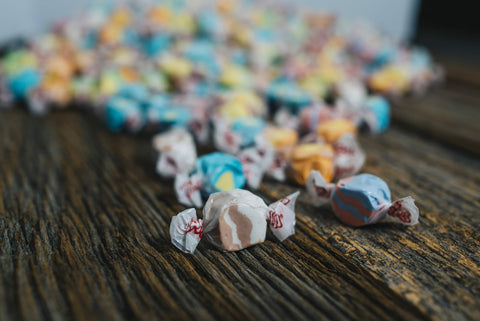
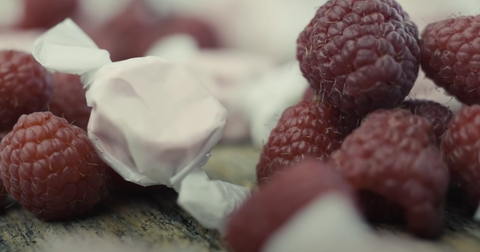
In honor of National Taffy Day, I found an article on the Taffy Town website. Enjoy!
The History of Salt Water Taffy
Do you ever wonder, “Why is it called ‘saltwater taffy’?” Perhaps you’re asking yourself, “Where did salt water taffy originate from?” Like many favorite recipes, salt water taffy’s history isn’t always clear, but one thing is certain: this American-made candy has been around for over a century and enjoyed by millions. So who invented it, and how did salt water taffy get its name? Read on to learn more about the history of salt water taffy!
Where Was Salt Water Taffy Invented?
Though there are a few popular origin stories for where the term “salt water taffy” came from, the most popular salt water taffy history story claims Atlantic City as its birthplace.
When Was Salt Water Taffy Invented?
Most food historians believe salt water taffy was invented in the early 1880s. The story begins with a gentleman named John Ross Edmiston. The owner of a small boardwalk postcard shop in Atlantic City, Edmiston hired a man named David Bradley to sell taffy alongside his wares. While Edmiston eventually fired Bradley, he kept the popular candy in his shop. One night, an ocean swell flooded his boardwalk shop. In the morning, Edmiston discovered all the taffy had been soaked in salty sea foam.
During his cleanup, a young girl came into the store asking if he still had some taffy for sale. Jokingly, Bradley said that he had some “salt water taffy.” The little girl purchased the taffy and took it back to the beach to share with her friends. Her mother heard the name and instantly loved it, and thus the name “salt water taffy” was born.
Is Salt Water Taffy Really Made With Salt Water?
While the origin of salt water taffy tells us the taffy was soaked by the sea, Since then,salt water taffy hasn’t been caught at high tide., Recipes for salt water taffy vary; none contain actual salt water (and especially not ocean water!). Often, however, both water and salt are usually added at some point during the production process, so the name still fits.
Salt Water Taffy: No Longer Just a Beachside Treat
The word “taffy” was first used in the United States in the early 1800s. While much has changed since then, Americans’ love for taffy has only grown.
Now you know where the name “salt water taffy” comes from, let’s take a closer look at where it first was sold: Atlantic City. This beach side resort destination in New Jersey was a popular getaway for Northeasterners in the late 19th century (and still today). Catering to tourists and weekenders, Atlantic City was full of fine dining restaurants, upscale hotels and gambling halls, and boardwalk games and sweets; to stand out from the competition, a candy shop needed to create demand. Once Edmiston coined the curious term “salt water taffy” the sweet treat only grew in popularity.
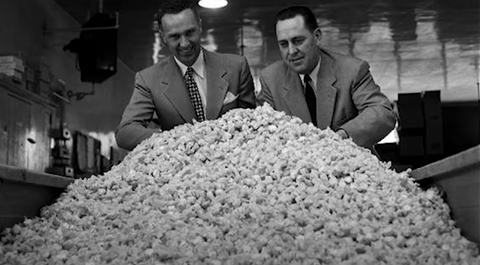
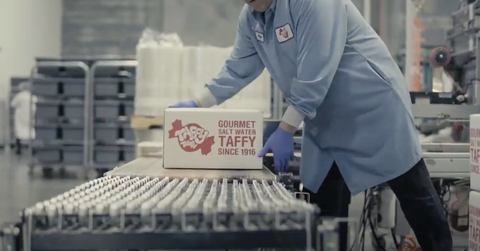
Joseph Fralinger, a confectioner in Atlantic City, is given credit for being the first successful merchandiser of the candy. Originally, salt water taffy was something only purchased from an Atlantic City boardwalk stand. However, Fralinger came up with the idea of boxing up the taffy for people to take home. This was a smashing success, and his boxes of taffy sold out quickly. Even today, simple boxes stuffed with individually wrapped taffy remain one of the most popular ways to buy this all-American candy.
Salt water taffy history may have begun on boardwalks by the oceans, but it is now commonly enjoyed as a tasty treat all over the country. Thanks to the pioneers of salt water taffy, this wrapped candy comes in tons of flavors and can be enjoyed anywhere! At Taffy Town, we’re far from any coast, yet have become one of the most popular gourmet taffy producers in the country. Taffy is no longer just a beach side treat.
Taffy Town’s Unique Taffy-making Process
We’ve covered salt water taffy history, but what about how it’s being made today? When it comes to salt water taffy, there’s regular taffy, and then there’s Taffy Town taffy. Those who have tried our candy know that we stand out from the others. But what is the difference that sets our taffy apart?
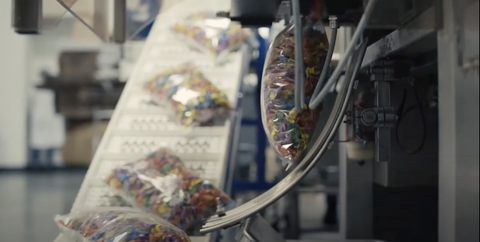
Traditional salt water taffy production starts by boiling a variety of sugars in a large copper kettle to a high temperature. Then, the sugary mass goes through an aeration process to capture tiny bubbles in the candy. This makes it softer and less tacky. Typically, a pulling machine stretches, twists, and kneads the mixture into a chewy treat. After that, the taffy is cut into pieces and packaged for consumption.
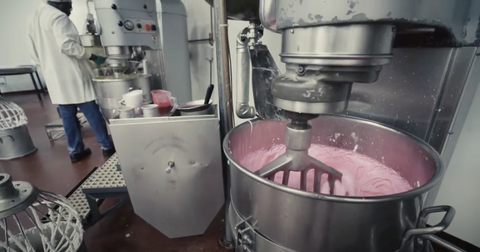
Now for the most important part: our unique taffy-making process that makes Taffy Town taffy the best around! Unlike the traditional method, our process starts with whipping a meringue to create the fluffiest structure possible. We use evaporated milk and real salt in our recipe for a creamy, rich base for our flavors. Try our taffy and you’ll quickly realize that we aren’t your average taffy shop.
Our salt water taffy production process takes three days from start to finish, and our factory is always full of fresh treats! We currently have over 90 different flavors, and we’re always on the hunt for new ones. Each year, we take suggestions from our customers and consumer trend reports to develop our flavors. Our taffy flavors are thoroughly tested for tastiness before they hit the shelves. With our wide selection to choose from, you’re sure to find at least a few favorites!
We’re Keeping the History of Salt Water Taffy Alive at Taffy Town
We’re proud to carry on the history of salt water taffy — one of America’s favorite candies. Did you know that you don’t have to be on a boardwalk to enjoy our wide selection of Taffy Town flavors? You can shop from the comfort of your own home and savor the treats that come straight to your door. Take a look at our wide variety of salt water taffy flavors. We have the perfect gourmet candy selection for every palate. Stop by our Utah candy store or place your salt water taffy order today!
Today’s offering is Pecan Browned Butter Coffee Cake! This cake takes a little bit of prep, but it is oh-so-delicious!!
Ingredients
¾ cup butter
2 cup finely chopped pecans, toasted*
2 cup packed brown sugar
2 teaspoon all-purpose flour
3 cup all-purpose flour
1 ½ teaspoon baking powder
1 ½ teaspoon baking soda
¾ teaspoon salt
3 eggs
1 teaspoon vanilla
1 ½ cup plain yogurt
Coffee Icing
5 teaspoon milk
1 teaspoon instant coffee crystals
1 cup powdered sugar
Directions
In a medium saucepan, melt butter over medium heat. Reduce heat to medium-low. Continue to cook, without stirring, for 5 to 6 minutes or until butter becomes brown and fragrant. Remove from heat; cool slightly. Transfer to a bowl. Cover and chill for 2 hours or freeze for 30 minutes or until firm.
Preheat oven to 325 degrees F. Grease and flour a 10-inch fluted tube pan; set aside.
For filling, in a bowl, combine 3/4 cup of the pecans, 1/2 cup of the brown sugar, and the 2 teaspoons flour. Add 3 tablespoons of the browned butter and work in with fingers or a fork until mixture is crumbly; set aside. In another bowl, stir together the 3 cups flour, the baking powder, baking soda, and salt; set aside.
In a mixing bowl, beat remaining browned butter with an electric mixer on medium to high speed for 30 seconds. Add remaining 1- 1/2 cups brown sugar; beat until combined, scraping bowl occasionally. Add eggs one at a time, beating after each addition until combined. Stir in vanilla. Alternately add flour mixture and yogurt to butter mixture, beating on low speed after each addition just until combined. Stir in the remaining 1-1/4 cups pecans. Spoon half of the batter into prepared pan, spreading evenly. Sprinkle evenly with filling. Spoon remaining batter over filling, spreading to cover.
Bake about 50 minutes or until a wooden toothpick inserted near the center comes out clean. Cool in pan on a wire rack for 10 minutes. Remove from pan. Cool completely on wire rack. Drizzle with Coffee Icing.
Coffee Icing:
In a bowl, stir together 4 teaspoons milk and instant coffee crystals until dissolved. Stir in powdered sugar and enough additional milk (1 to 2 teaspoons) to make a drizzling consistency.
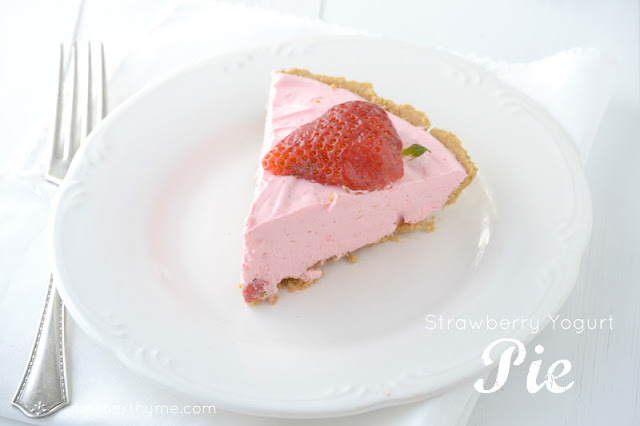
8 ounces Cool Whip, thawed (lite or fat free can also be used)
1 9-Inch Graham Cracker Crust
Preparation
In a medium bowl dissolve the Jello mix in the boiling water then set it aside to cool slightly.
Stir in yogurt until combined. Fold in the Cool Whip. Spread into the prepared pie crust. Top with sliced strawberries if desired.
Refrigerate for at least 2-3 hours until set. Enjoy!
*My mom made this and it’s delicious. She used regular everything—not sugar free or lite. She said you can also pair other Jello flavors and yogurt—like peach—if you like.









:max_bytes(150000):strip_icc():format(webp)/WackyCake-Beauty-0821_3x2-001f89cdc9024194a7342e882a3a500a.jpg)



:max_bytes(150000):strip_icc():format(webp)/R152709-8b1c5c2d12374bffa2e1a43d25e6c094.jpg)

 Sew Colorful