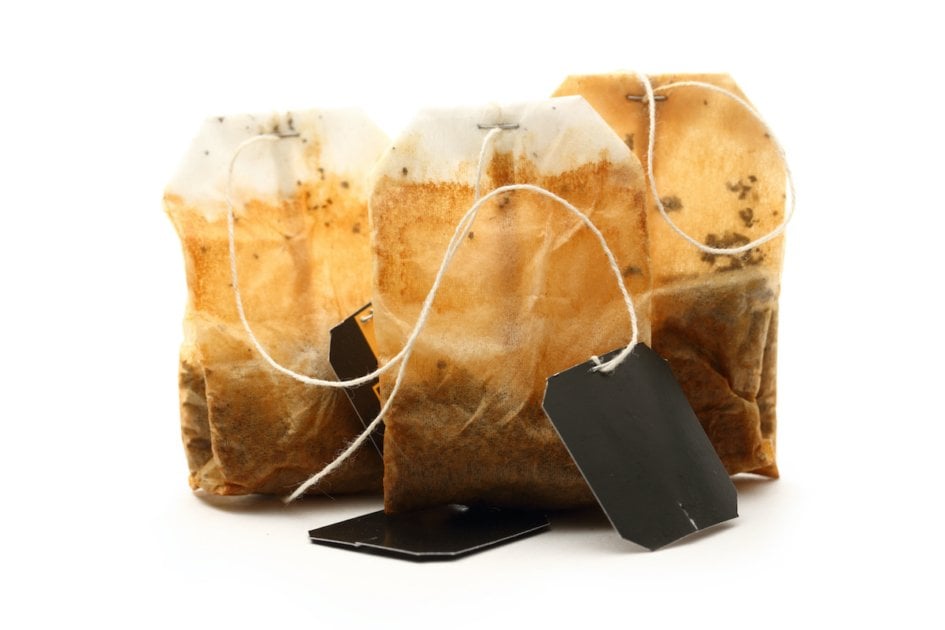
Don’t throw away those used tea bags! The How Stuff Works website has loads of uses for them!
From: HOWSTUFFWORKS.COM:
There are lots of things you can do with a used tea bag.
Key Takeaways
You can repurpose used tea bags in a variety of ways, including deodorizing carpets, rejuvenating your face, reducing puffiness around eyes, easing sunburns and adding flavor to rice. They can also enhance bath time, clean hair, act as DIY sachets, fertilize plants, deep-clean hands, deodorize smelly areas, help clean pots and pans, make glass shine, marinate meats and even patch up lawn spots. The organic matter within tea bags is rich in potential for upcycling, offering environmentally friendly solutions for common household tasks.
The next time you brew yourself a steaming cup of tea, resist the natural instinct to chuck that soggy bag in the trash. As it turns out, the organic matter within tea bags is chock full of potential for upcycling! Also, the tea bags themselves are no friend of the environment, either, so the more use you can get out of them before they hit the landfill, the better.
Check out these 15 amazing and creative ways to reuse tea bags to their fullest potential. Unless otherwise specified, these are for use with black tea.
1. Deodorize Stinky Carpets and Rugs
Feet and pets wreak havoc on carpets and rugs. Dry out tea bags after use, then rip ’em open and sprinkle the organic matter within on your carpets and rugs. Follow up with a thorough vacuuming. This is an easy, chemical-free way to deodorize floor coverings that won’t cost you a dime extra.
2. Rejuvenate Your Face
Make a DIY face scrub using the contents of used tea bags. All you have to do is put the used tea leaves into a bowl. Then, add a teaspoon (at least) of honey and mix well. Lightly work the mixture into your facial skin, using circular motions. Allow it to sit for five minutes, then rinse and enjoy a revitalized, glowing complexion!
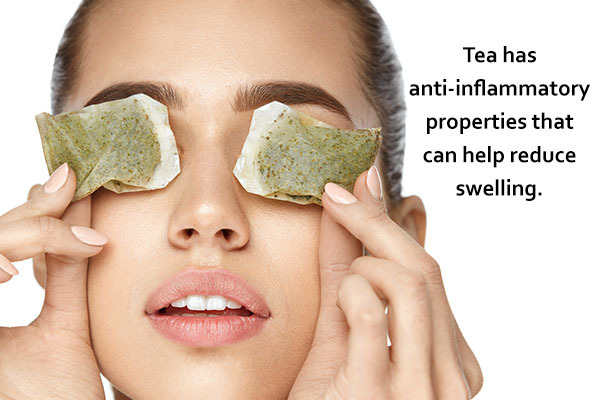
3. Make Eyes Less Puffy
Along the same lines, used tea bags are fabulous at bringing puffy eyes back to normal. Simply soak two tea bags in warm water. Next, place them in the refrigerator and let them cool down for a few minutes. Then, kick back and relax with a tea bag on each eye for about five minutes.
4. Ease Sunburns
Much like with the eye treatment, soak two tea bags in warm water, then put them in the refrigerator. Once cooled off, place the tea bags directly on the site of the sunburn and hold for a few minutes. You can also soak a cloth in the tea liquid and apply that instead. Bonus: This treatment can reduce the pain of insect bites.
5. Add Flavor to Rice
Add a little extra pep to rice (or any grain, really) thanks to a tea bag. Simply place the bag in the pot of boiling water for a minute or two to let the flavor infuse. Then, use that tea-infused water to cook the grain of your choice as normal. Use, for example, jasmine tea to infuse jasmine rice.
6. Class up Bath Time
Who needs pricy bath salts for scent when tea bags work just as well? Pop a couple in your next bath and enjoy a delightfully relaxing aroma. Chamomile, peppermint or jasmine teas would be particularly good for this.
7. Clean Your Hair
Hair products will build up over time, no matter how often you shampoo. To get hair squeaky-clean, simply soak three or four tea bags in a cup of warm water. Shampoo and condition as normal, then finish off by pouring the tea-water over your head. Do not rinse!
8. DIY Sachets
Air fresheners can get expensive. Plus, they don’t really smell all that “fresh.” Stop the endless spraying and turn used tea bags into DIY sachets. To accomplish, dry out some used tea bags. Then, add a few drops of essential oil in your favorite scent. Place them anywhere sachets are typically used, like in dresser drawers, closets or the laundry room.
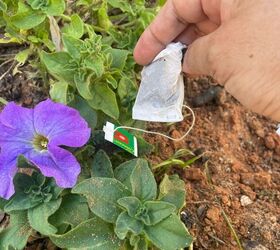
9. Fertilize the Plants
Tea leaves are nothing more than organic matter, so it only makes sense to use them for gardening! There are a couple of ways to use them for this purpose. Either tear open the used bag and mix the leaves in with the soil, or add them to your composting pile. Note: It’s best to add tea to soil around acid-loving plants, like rosebushes or ferns. That’s because the tannic acid in tea tends to make lower the soil’s pH and increases its acidity, which could pose a problem for plants that do well in neutral to alkaline soils.
Tea leaves can be added to soil as extra fertilizer. Just be sure to remove the tea bag, which is usually not biodegradable.
10. Deep-clean Hands
Some stinky scents really stick to the hands. The next time you can’t seem to scrub away the smell of onions, cigarettes, seafood, etc., turn instead to tea bags. Just use them the same way you would a bar of soap. The organic tea leaves will banish those unfortunate smells in no time!
11. Deodorize Smelly Areas
Some places, like the garbage can or the litter box, are just extra stinky. Cut their “ick” factor way down by tearing open a tea bag and spreading the dried leaves in the can and/or litter box. Another spot that often needs deodorizing is the refrigerator. To do this, put a couple of bags in a bowl in an inconspicuous area of the refrigerator, where they can effectively absorb odors. Replace the bags every few days and enjoy a much nicer-smelling appliance.
12. De-crustify Pots and Pans
If all the scrubbing in the world just isn’t cutting it, leave a used tea bag to soak in that stubborn pot or pan. Tea contains tannic acid, which can break down grease. With a little time and patience, it should make cleaning the dish much easier.
13. Ditch the Glass Cleaner
To make windows and mirrors really shine, simply dampen a used tea bag. Use it to rub the glass surface, then follow up with a paper towel. You can also pour some leftover brewed tea into an empty spray bottle and use it as a glass cleaner.
14. Marinate Meats
Easily marinate pork, chicken or turkey with the help of a couple of tea bags. Simply put a cup of water, two used tea bags and the meat into a zip-close bag. Allow to marinate overnight, then cook and enjoy a flavorful cut of meat.
15. Patch up the Lawn
To beautify those bald lawn spots, place used tea bags where needed, then add grass seed. The bag will keep the seeds in place, unlike regular old dirt. Do this only using biodegradable, non-plastic tea bags, of course. Or open the tea bags and use just the tea leaves.
Tea has been enjoyed for centuries, but the tea bag wasn’t invented until 1908-ish when a New York-based merchant named Thomas Sullivan decided to send tea samples in silk bags to his customers. They incorrectly assumed that the entire bag should be placed in the pot. Thus, the tea bag was born!
Frequently Asked Questions
How long should I dry the used tea bags before using them as DIY sachets?
To prevent mold growth, dry used tea bags completely until there’s no moisture left before adding essential oils for DIY sachets.
Are all used tea bags safe for composting or use in gardens?
Most tea bags are safe for composting or gardening, but ensure the bags are a biodegradable material and free from plastic fibers to avoid environmental harm.
SOURCE: HOWSTUFFWORKS.COM