Witch hazel is a deciduous shrub native to North America, belonging to the Hamamelidaceae family. The plant is often recognized for its distinctive yellow flowers that bloom in the fall. The leaves, bark, and twigs are harvested and distilled to create witch hazel extract, commonly referred to as witch hazel water or Hamamelis water. This extract is rich in tannins, polyphenols, and other beneficial compounds that contribute to its medicinal properties. Witch hazel has been used for centuries by Native Americans for its healing properties, particularly for skin ailments. Today, it is widely recognized for its effectiveness in treating various skin conditions due to its strong antioxidant and anti-inflammatory effects.
1. Natural Astringent for Oily Skin
If you struggle with excess oil, witch hazel might become your new best friend. Its natural astringent properties help remove excess sebum from the skin’s surface without the harshness of alcohol-based products. Many people with oily or combination skin find that a quick swipe of witch hazel helps control shine throughout the day while minimizing the appearance of pores.
Unlike many commercial astringents, witch hazel balances oil production without completely stripping the skin, helping maintain your skin’s natural moisture barrier. This makes it ideal for daily use, especially in your morning routine before applying makeup or as a refreshing midday treatment. For best results, you can apply witch hazel after cleansing with a gentle, non-drying face wash. Allow it to fully dry before applying any moisturizer or makeup.
2. Soothes Inflammatory Skin Conditions
The anti-inflammatory compounds in witch hazel make it particularly effective for calming irritated skin. If you’re dealing with eczema, psoriasis, or general redness, witch hazel can provide meaningful relief. The tannins in witch hazel help reduce inflammation, soothe itching, and accelerate healing.
For best results, apply diluted witch hazel to affected areas with a soft cotton pad, allowing it to air dry before applying any moisturizer. Many people report a noticeable reduction in redness and irritation within just a few applications. Research has shown that the gallic acid and tannins in witch hazel possess significant anti-inflammatory properties. This can inhibit the production of pro-inflammatory compounds in the skin. For those with rosacea, witch hazel can help reduce the intensity of flare-ups when used consistently.
3. Reduces Acne and Breakouts
Struggling with breakouts? Witch hazel’s antibacterial and anti-inflammatory properties make it effective against acne. It helps clear away the bacteria that contribute to pimples while reducing the redness and swelling.
For a simple acne-fighting toner, apply witch hazel after cleansing and before moisturizing. Its ability to remove excess oil and impurities from pores can help prevent future breakouts while addressing current ones. Many users find it particularly helpful for treating inflammatory acne like papules and pustules.
Plus, the proanthocyanidins and tannins in witch hazel exhibit antimicrobial activity against P. acnes, the bacteria associated with acne development. Witch hazel helps regulate sebum production, addressing one of the root causes of acne.
When combined with other natural acne-fighting ingredients like tea tree oil or salicylic acid, witch hazel can be part of a comprehensive approach to clearer skin.
For stubborn cystic acne, witch hazel can be applied as a spot treatment several times throughout the day. While it won’t completely eliminate deep cystic breakouts on its own, it can reduce their severity and healing time.
4. Alleviates Sunburn
When summer fun leaves you with painful sunburn, witch hazel offers natural relief. Its cooling, anti-inflammatory properties help soothe the burning sensation while promoting healing of damaged skin. For sunburn relief, you can soak a soft cloth in refrigerated witch hazel and gently apply it to affected areas. The cool temperature, combined with witch hazel’s healing properties, provides immediate comfort and helps prevent peeling and long-term damage.
Plus, the astringent properties of witch hazel help tighten the top layer of skin, which can reduce the feeling of heat emanating from sunburned areas. Additionally, it also helps restore the skin’s natural pH balance, which is often disrupted by sun exposure. Some evidence suggests that the antioxidants in witch hazel may help neutralize free radicals
5. Minimizes Appearance of Bruises
Accidents happen, but witch hazel can help minimize the appearance of bruises. Its astringent properties constrict blood vessels near the skin’s surface. This potentially helps reduce discoloration and swelling when applied soon after injury. For best results, you can apply witch hazel to the bruised area several times daily, especially within the first 48 hours after injury. Many people report faster healing and less noticeable bruising with consistent application.
When you apply witch hazel to a developing bruise, its astringent properties cause the blood vessels to constrict, potentially limiting the amount of blood that leaks into surrounding tissues. For enhanced bruise treatment, you can consider alternating between cold compresses and witch hazel applications during the first 24 hours. The cold helps constrict blood vessels while witch hazel reinforces this effect and adds healing benefits.
6. Soothes Itchy Scalp
An itchy, irritated scalp can be both uncomfortable and embarrassing. Witch hazel’s anti-inflammatory properties make it an excellent natural remedy for scalp issues, including dandruff and general irritation. It helps balance scalp oil production while calming inflammation that contributes to itching. To use, dilute witch hazel with equal parts water and apply directly to your scalp after shampooing. Massage gently and leave it on for several minutes before rinsing. Regular use can lead to a healthier, more comfortable scalp environment. The antifungal properties of witch hazel make it particularly beneficial for dandruff caused by fungal overgrowth, such as seborrheic dermatitis. Its ability to regulate sebum production helps address another common cause of flaking and itching.
7. Reduces Scalp Oil and Buildup
If you find your hair getting greasy quickly between washes, witch hazel can help extend the life of your style. Its natural astringent properties remove excess oil and product buildup without stripping essential moisture from your hair. For a refreshing scalp treatment, mix witch hazel with a few drops of tea tree or rosemary essential oil and apply to your roots using a spray bottle. This can be particularly helpful for those who rely on dry shampoo between washes. Over time, regular use of commercial dry shampoos can lead to significant product buildup that weighs hair down and can even clog hair follicles. Plus, A witch hazel rinse can help remove this buildup while balancing the scalp’s natural oil production. For those with fine or thinning hair, reducing excess oil at the roots can create more volume and body without the need for additional styling products.
8. Relieves Hemorrhoid Discomfort
One of witch hazel’s most well-known medicinal uses is treating hemorrhoids. Its astringent properties help shrink swollen blood vessels and reduce inflammation. This can provide significant relief from pain, itching, and discomfort associated with this common condition.
Commercial witch hazel pads are widely available specifically for this purpose, but you can also create your own by soaking cotton pads in witch hazel and applying them to affected areas. Many sufferers report almost immediate relief and reduced symptoms with regular application. For enhanced relief, you can store witch hazel pads in the refrigerator before application. The cooling sensation provides additional comfort, especially for external hemorrhoids that cause significant burning and itching.
9. Soothes Sore Throat
Lesser known but equally effective is witch hazel’s ability to ease sore throat pain. Its astringent and anti-inflammatory properties can reduce swelling in the throat and provide temporary relief from discomfort. To create a soothing gargle, mix one tablespoon of witch hazel with a cup of warm water and a teaspoon of honey. Gargle for 30 seconds and spit out (do not swallow). This natural remedy can be particularly helpful during cold and flu season. When you gargle with witch hazel, the tannins help tighten the mucous membranes in the throat, reducing swelling and the sensation of pain. The antimicrobial properties may also help fight the bacterial or viral infections that often cause sore throats. For maximum benefit, use this gargle 3-4 times daily, especially before bed and upon waking. You can enhance the formula by adding a drop of clove or thyme essential oil, both known for their antimicrobial properties.
10. Reduces Under-eye Puffiness
Late nights and early mornings often lead to puffy, tired-looking eyes. Witch hazel’s astringent properties temporarily tighten skin and reduce fluid retention. For a quick fix, soak cotton pads in refrigerated witch hazel and place them over closed eyes for 5-10 minutes. The cooling sensation, combined with witch hazel’s natural properties, helps constrict blood vessels and reduce swelling. Plus, the flavonoids in witch hazel have antioxidant properties that protect the delicate skin around the eyes from environmental damage that can contribute to puffiness and premature aging. Regular use may help strengthen the skin in this area over time, potentially reducing the tendency toward fluid accumulation and swelling.
11. Treats Minor Cuts and Scrapes
Before modern antiseptics, witch hazel was a go-to remedy for treating minor wounds. Its natural antimicrobial properties help cleanse wounds and prevent infection. For minor cuts and scrapes, clean the area thoroughly with water, then apply witch hazel with a clean cotton pad. The slight stinging sensation is normal and temporary. Many find that wounds treated with witch hazel heal more quickly and with less inflammation. Additionally, its anti-inflammatory effects help reduce the redness and swelling that often accompany minor injuries. Research suggests that witch hazel may also support the skin’s natural healing processes by promoting the production of fibronectin, a protein that helps with wound closure.
12. Soothes Razor Burn and Ingrown Hairs
Shaving can leave skin irritated, red, and bumpy. Witch hazel’s anti-inflammatory properties make it an excellent post-shave treatment for both men and women. It soothes irritated skin, reduces redness, and helps prevent ingrown hairs. You can apply witch hazel to freshly shaved areas using a cotton pad, paying special attention to areas prone to irritation. The astringent properties of witch hazel temporarily close pores after shaving. This can help prevent bacteria from entering and causing folliculitis (inflammation of the hair follicles). Additionally, it helps remove any residual shaving cream or soap that might clog pores and contribute to ingrown hairs. For enhanced results, especially in areas prone to ingrown hairs, you can consider mixing witch hazel with a small amount of salicylic acid solution. Apply this mixture to the prone areas 24 hours after shaving. This helps keep pores clear and prevents hair from becoming trapped beneath the skin’s surface.
13. Natural Air Freshener
Are you looking for a chemical-free way to freshen your home? Witch hazel makes an excellent base for natural air fresheners. Its subtle scent quickly dissipates, allowing essential oils to shine through without competing with fragrances. To create a custom air freshener, combine witch hazel with distilled water and your favorite essential oils in a spray bottle. This natural alternative eliminates odors rather than masking them and is safe to use around children and pets. Unlike commercial air fresheners that often contain phthalates, synthetic fragrances, and other potentially harmful chemicals, a witch hazel-based air freshener relies on the natural deodorizing properties of both witch hazel and essential oils. The alcohol in witch hazel helps the essential oils disperse evenly throughout the solution. It can also act as a natural preservative, extending the shelf life of your homemade spray.
14. Gentle Glass and Mirror Cleaner
The alcohol content in witch hazel makes it effective for cleaning glass surfaces without harsh chemicals. It cuts through grease and grime while drying quickly without leaving streaks or residue. For a simple glass cleaner, you can combine equal parts witch hazel and water in a spray bottle. Use with a microfiber cloth for streak-free shine on mirrors, windows, and glass tabletops. This natural alternative works just as effectively as commercial cleaners without the harsh smell or chemical exposure. For especially dirty or greasy glass surfaces, you can add a tablespoon of white vinegar to the witch hazel mixture. This addition helps cut through stubborn residue without introducing harsh chemicals.
15. Plant Care Solution
Houseplant enthusiasts might be surprised to learn that witch hazel can benefit their green friends, too. Its mild antifungal properties make it useful for treating and preventing common plant diseases like powdery mildew. For plant care, dilute witch hazel with water (one part witch hazel to four parts water) and spray on affected leaves. This gentle solution helps keep plants healthy without the harsh chemicals found in commercial fungicides. The tannins and other compounds in witch hazel exhibit antifungal activity against various plant pathogens, including those responsible for powdery mildew, black spot, and leaf rust. For enhanced plant protection, you can consider adding a few drops of neem oil to your witch hazel solution. This combination creates a powerful yet gentle treatment for various plant diseases and pests.
16. Jewelry Cleaner
The mild astringent properties of witch hazel make it effective for cleaning jewelry, particularly pieces with gemstones. It helps remove oils, residue, and light tarnish without damaging delicate settings. For a simple jewelry cleaning solution, soak pieces in witch hazel for several minutes, then gently scrub with a soft toothbrush. Rinse thoroughly and pat dry. Many find this method particularly effective for everyday jewelry that needs regular cleaning. The natural compounds in witch hazel help dissolve the oils from skin contact that often dull gemstones and attract dirt. Unlike harsh chemical cleaners, witch hazel is gentle enough for most gemstones. Additionally, the mild antibacterial properties help sanitize pieces that come in close contact with skin, such as earrings and rings.
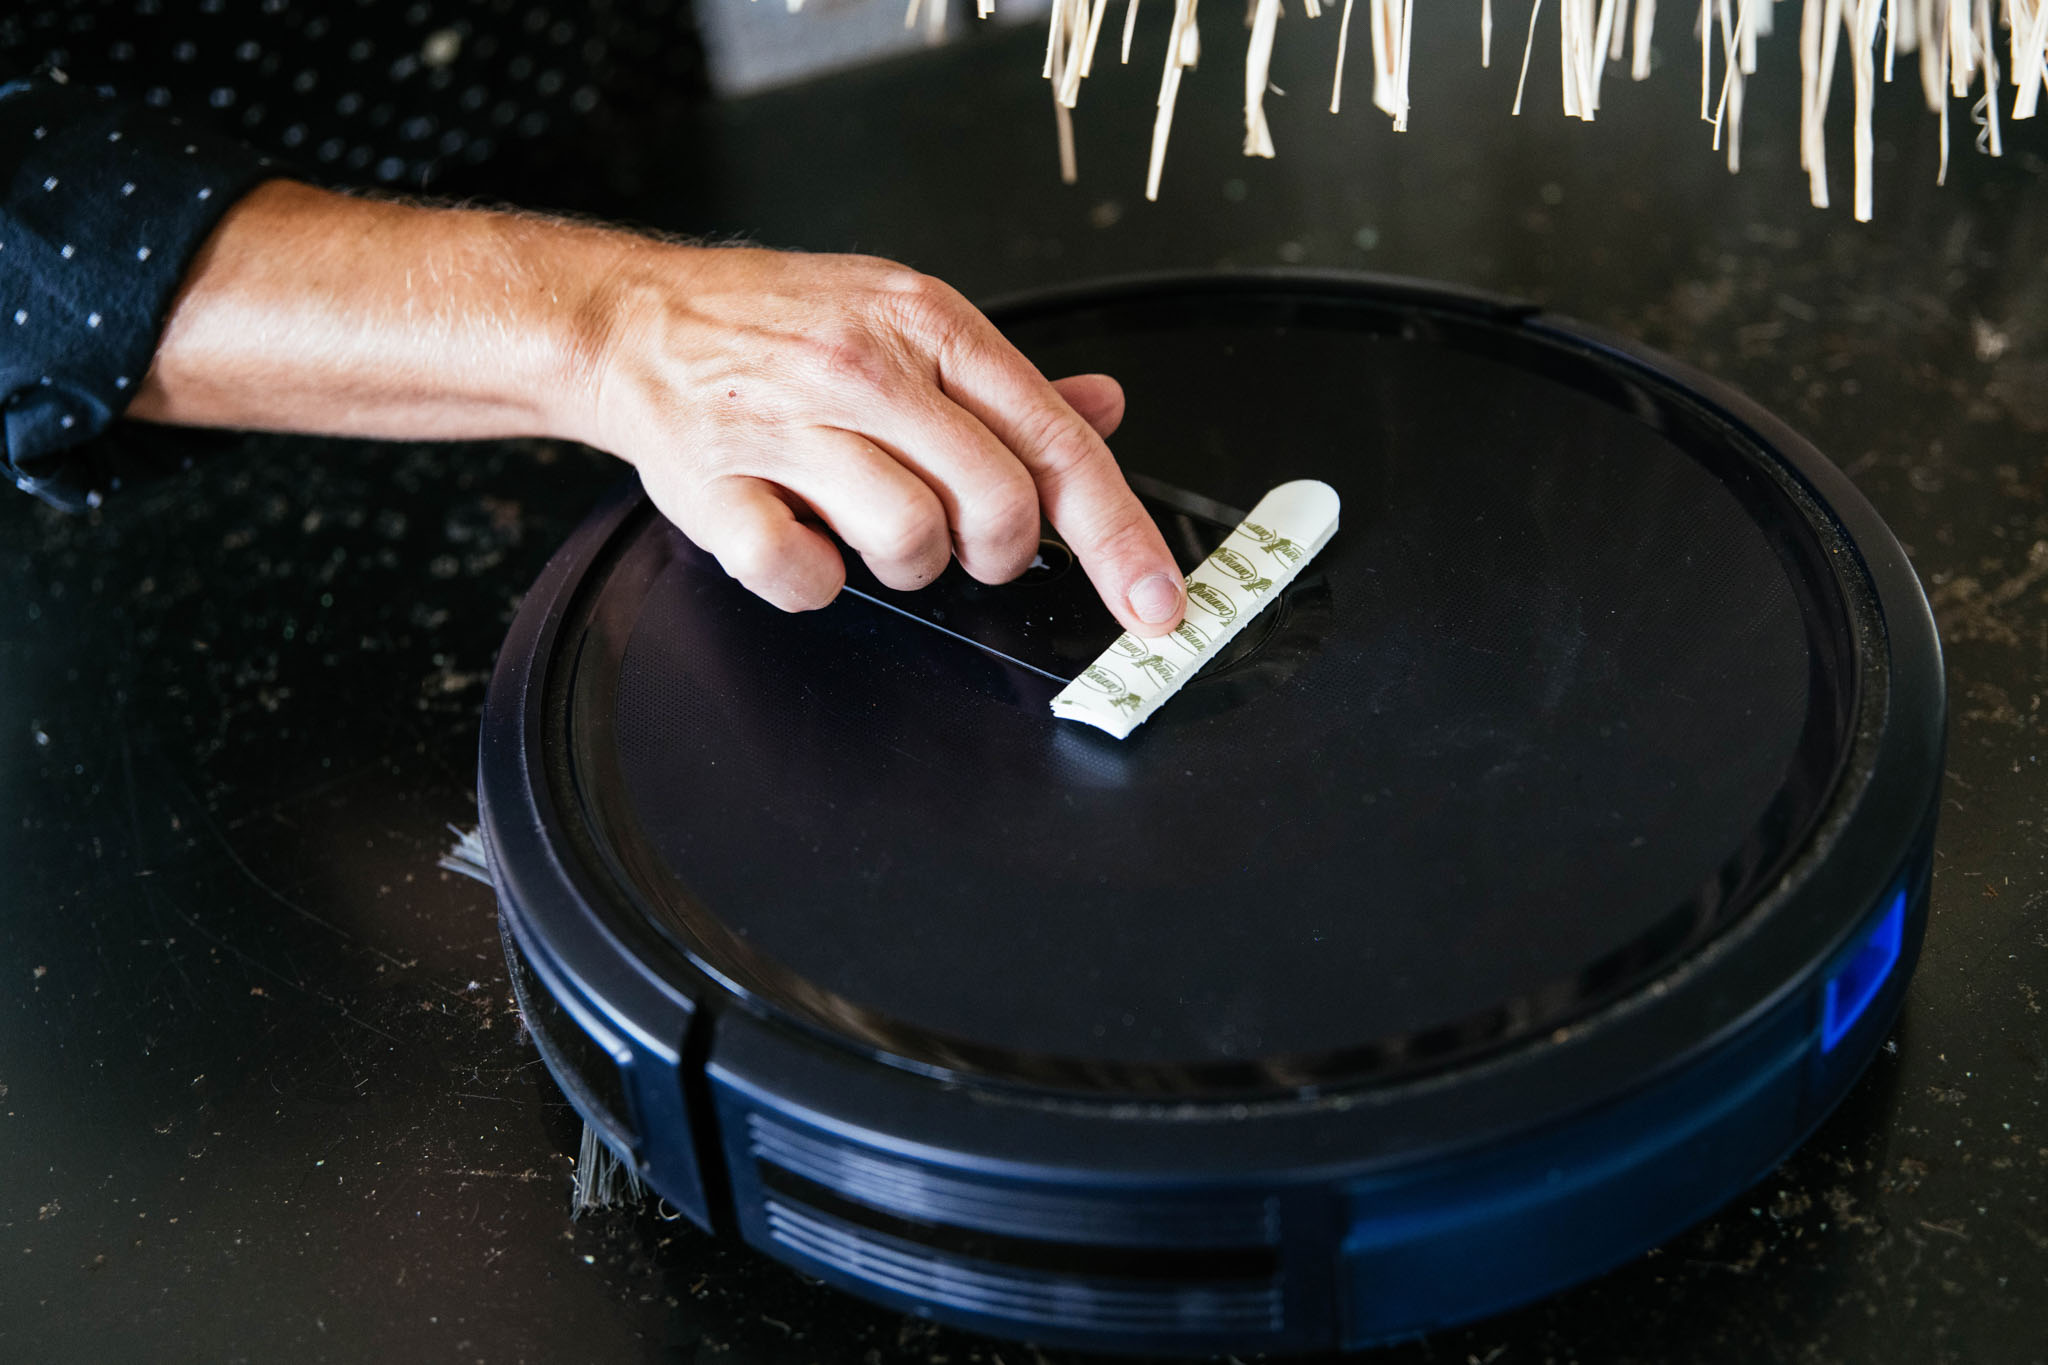
17. Removes Sticky Residue
Struggling with sticky label residue or tape marks? Witch hazel can help break down adhesives without damaging most surfaces. Its alcohol content dissolves sticky substances while being gentle enough for most materials. You can apply witch hazel directly to the sticky area, allow it to sit for a few minutes, then wipe away with a clean cloth. For stubborn residue, repeat the process or gently scrub with a soft brush. This works particularly well on glass, plastic, and finished wood surfaces. The alcohol in witch hazel works by breaking down the polymers in adhesives. This makes it particularly valuable for removing sticky residue from children’s toys, kitchen containers, or other items where chemical exposure is a concern.
18. Natural Insect Repellent
The natural compounds in witch hazel make it mildly repellent to certain insects, including mosquitoes. When combined with essential oils known for their insect-repelling properties, witch hazel creates an effective natural alternative to chemical repellents. Research suggests that certain compounds in witch hazel may interfere with insects’ ability to detect human scent. When combined with essential oils, the resulting spray can provide significant protection from various biting insects. To create a natural bug spray, you can combine witch hazel with distilled water and essential oils like lemongrass, citronella, or eucalyptus in a spray bottle. While it may need more frequent application than chemical options, many prefer this natural solution, especially for children and those with sensitive skin.
SOURCE: NATURALREMEDYIDEAS.COM