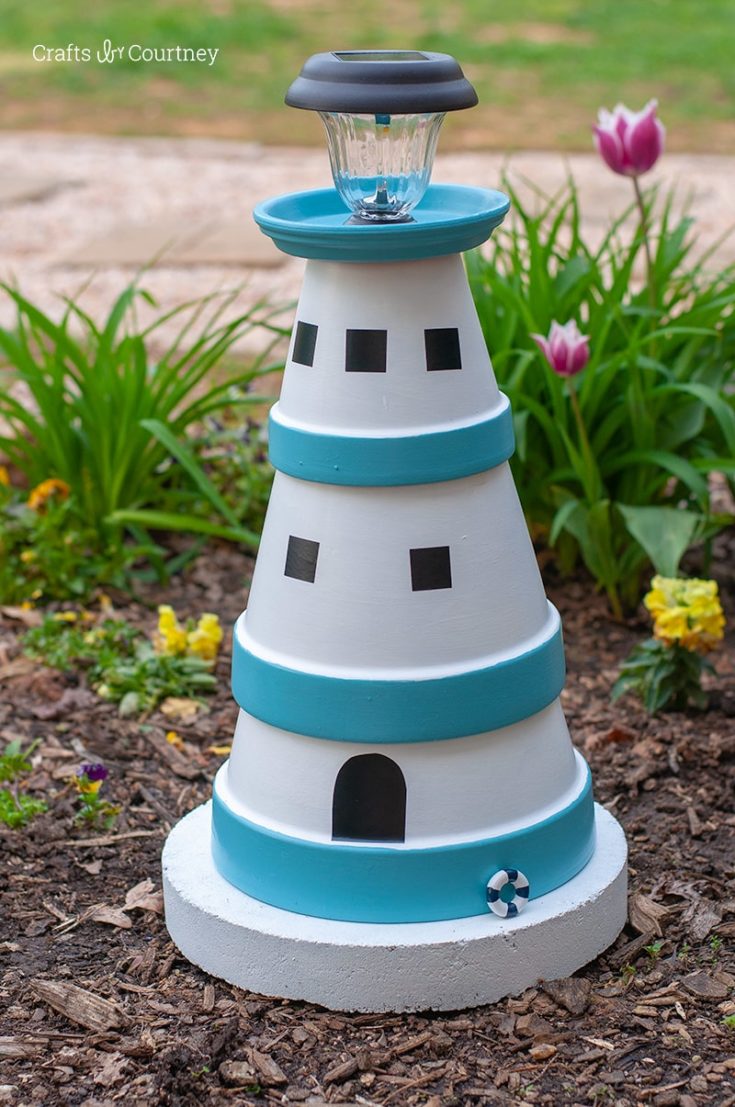
I fell in love with this lighthouse and it’s so simple to make!
This is from the Crafts by Courtney website.
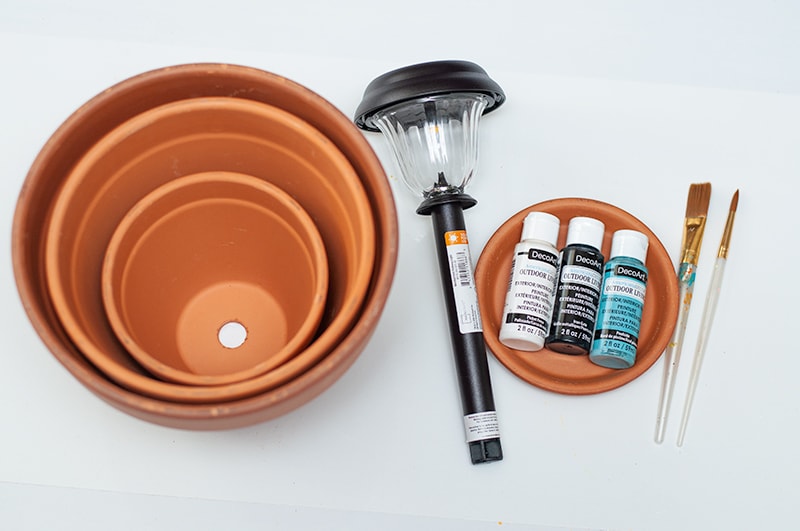
Supplies Needed for Your DIY Lighthouse Project:
Clay Pots in various sizes
Solar Light
E6000 Glue
Paint Brush
Americana Decor Outdoor Living 2oz – Picket Fence
Americana Decor Outdoor Living 2oz – Poolside
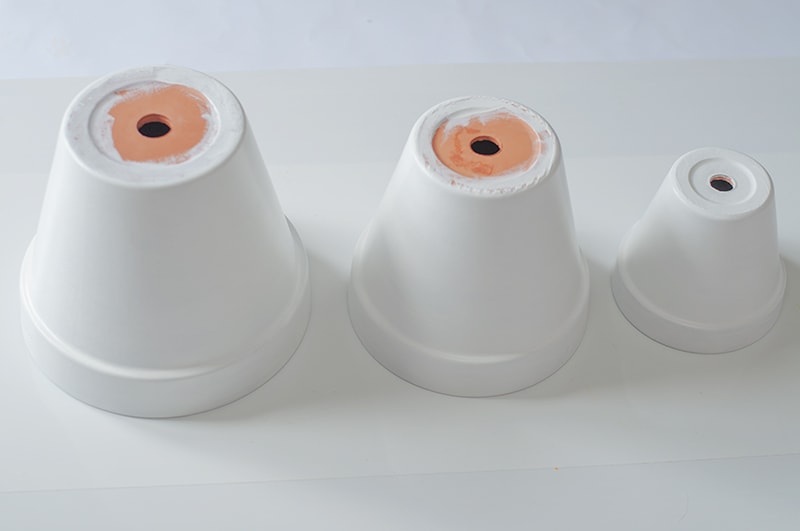
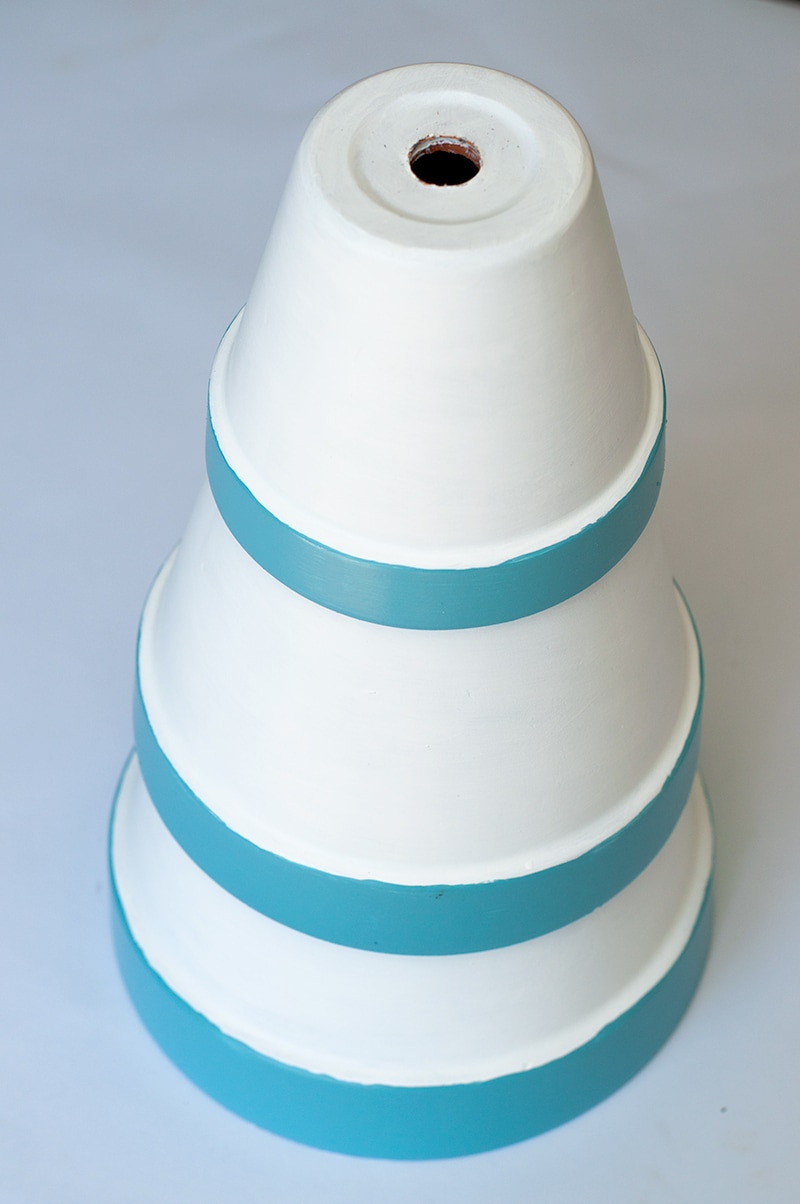
Step 1 – Paint Pots White
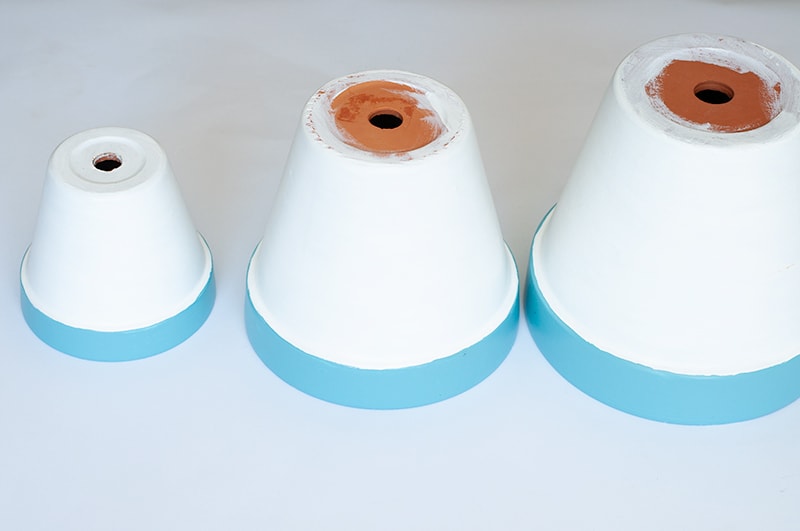
Step 2 – Add Your Blue Accent Color
Step 3 – Glue Pots together
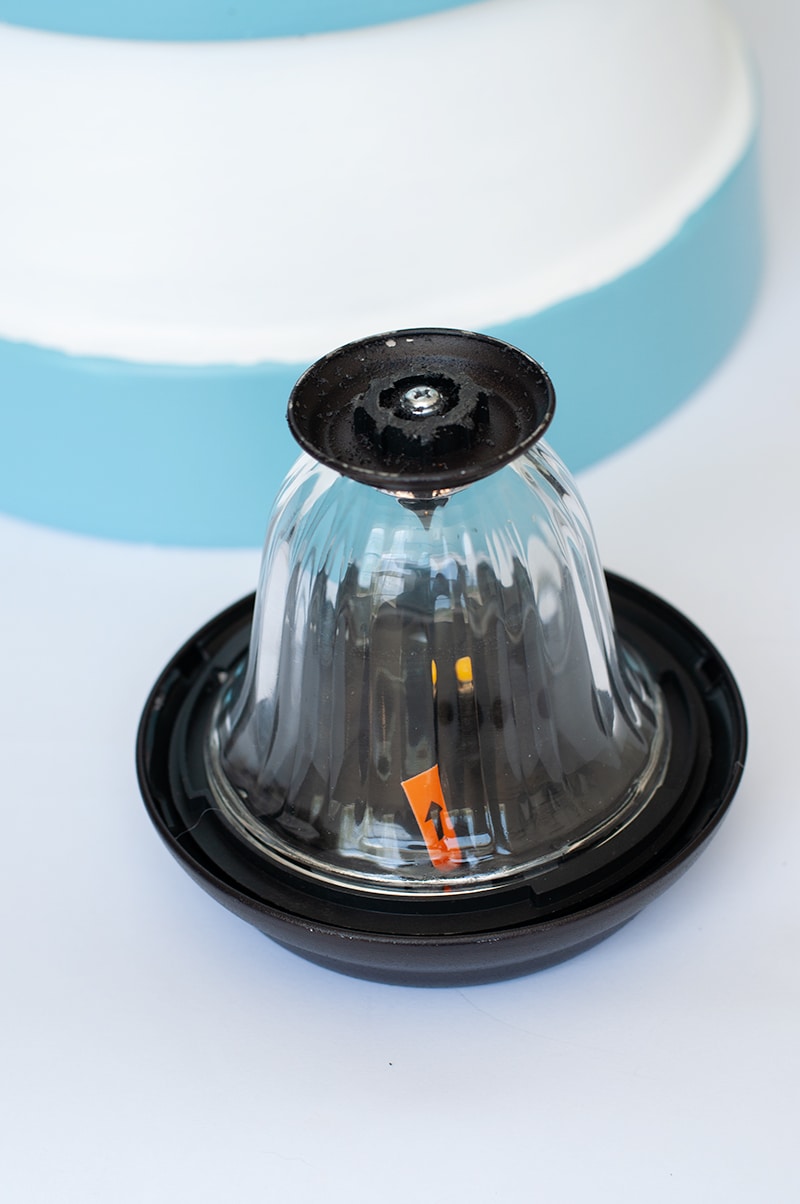
Step 4 – Add your Light
I found a solar light at Wal-Mart to place at the top of the Lighthouse. I used a small hack saw to cut the bottom of the solar light off, so that it would sit flush on the top of the lighthouse. I added a little E6000 glue to this part as well, and let sit overnight.
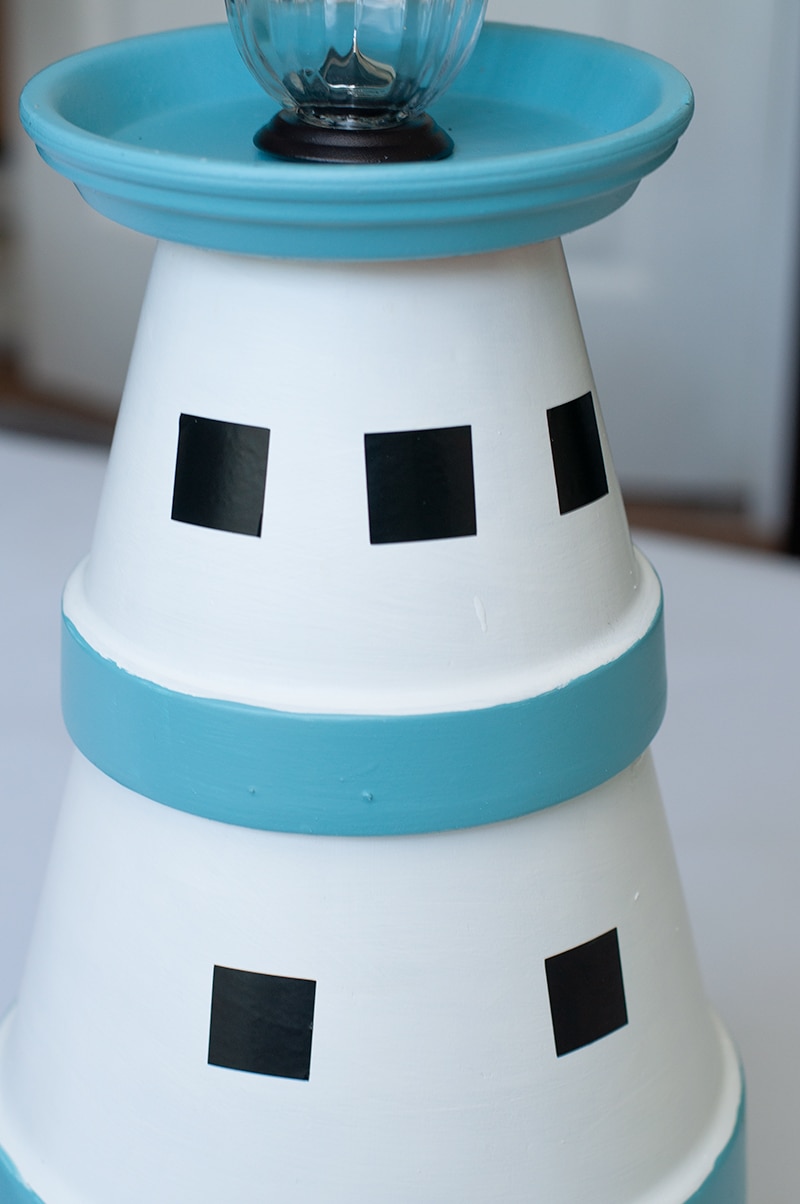
Step 5 – Add WindowsFor the window I decided to change this step last minute. I was originally going to use the black Iron gate paint. But I cut out my window shape in black vinyl to use as a stencil. Then I decided to just stick with the black vinyl as my window. That vinyl won’t go anywhere.But you can always paint in your window as well. Both options will work.
Finishing Touches
Now let’s take is baby outside and display it!
I’m very excited with how this DIY Lighthouse turned out, I really wanted to keep it simple with the details. But you can get pretty detailed with a project like this as well. I pinned some great ideas on my Pinterest page.
A few people have asked me where I got the base for the lighthouse. The base at the bottom of the lighthouse is a round paver I found at Wal-Mart. I used the outdoor paint to paint that as well.
SOURCE: https://www.craftsbycourtney.com/
PAT’S NOTE: These can be dressed up in so many ways or left plain…


LikeLiked by 1 person
LikeLiked by 1 person
LikeLiked by 1 person
LikeLiked by 1 person
awwwwwwwwwwwww
LikeLiked by 1 person
LikeLiked by 1 person
i don’t understand how someone can do that!
LikeLiked by 1 person
Same
LikeLiked by 1 person
LikeLiked by 1 person
Filly should see this one!
LikeLiked by 1 person
LikeLiked by 1 person
MOOSIE!!!!!!!!!!!!!!!!!!!!
i would take this cutie any time!!!!
LikeLiked by 1 person
Awwww emjoy
LikeLiked by 1 person
LikeLiked by 1 person
GORGEOUS dog!!!!
hair’s too long for me to want one though
LikeLiked by 1 person
LOL
LikeLiked by 1 person
LikeLiked by 1 person